Creating Shift Schedules
The shift schedules can help you to schedule the non-working hours in advance according to the rules, and realize the automatic forwarding of L1 notifications and alert upgrades. By default, there is no alert notification during non-working hours, so you need to create a new shift schedule to better support L1 Support.
Prerequisites
Before you start, make sure that the user account has been assigned the required permissions. If you need to be assigned, please contact the Organization Admin.
Procedure
You can create a new scheduling plan through the system, or import to create a scheduling plan.
Creating Shift Schedule
You can create shift schedules with the following steps.
Log in to the EOC and select Alerts > Voice Alerts > Shift Schedules in the left navigation bar.
Click New Schedule on the scheduling plan page to complete the configuration of the basic information of the scheduling plan.
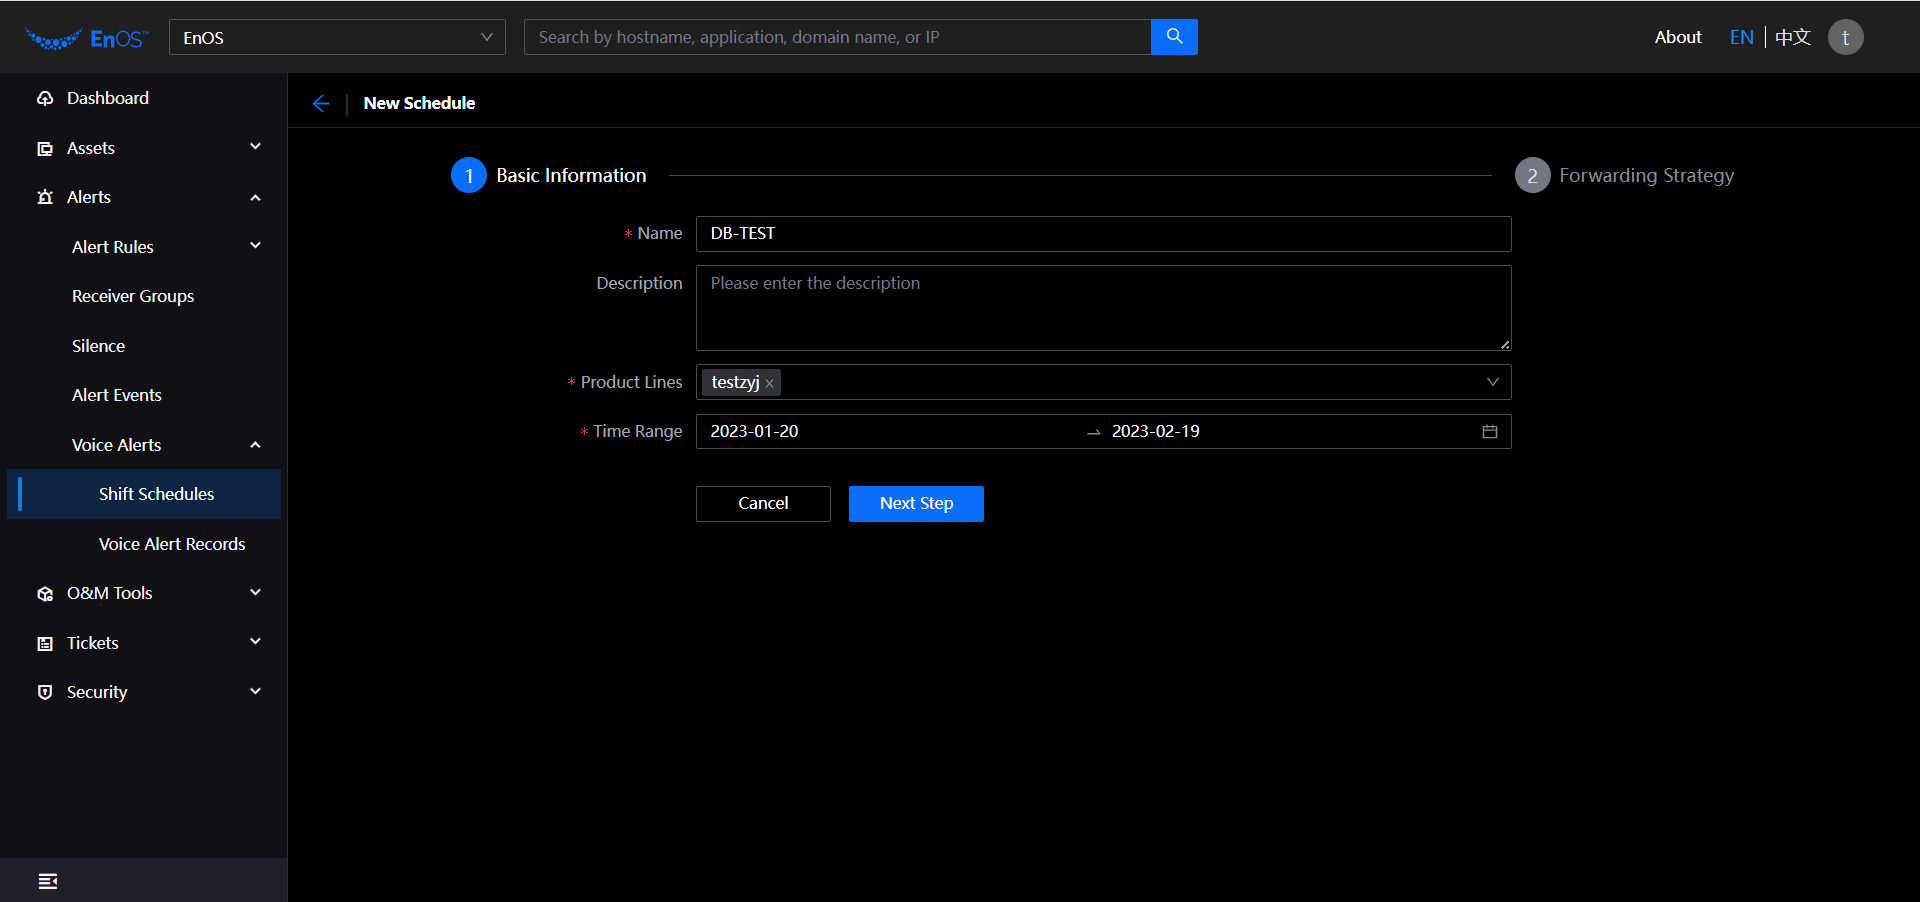
Name: Required, enter the name of the scheduling plan, which is 4 to 128 characters including Chinese and English case, numbers and special characters (-, _, (, )).
Description: Optional, enter a description of the scheduling plan with a maximum of 2048 characters.
Product Line: Required, select one or more product lines under the current organization.
Time Range: Required, select the start and end date of the scheduling plan. The scheduling plan time range is at least one month and up to one year.
Click Next Step to complete the configuration of the scheduling plan voice notification forwarding policy.
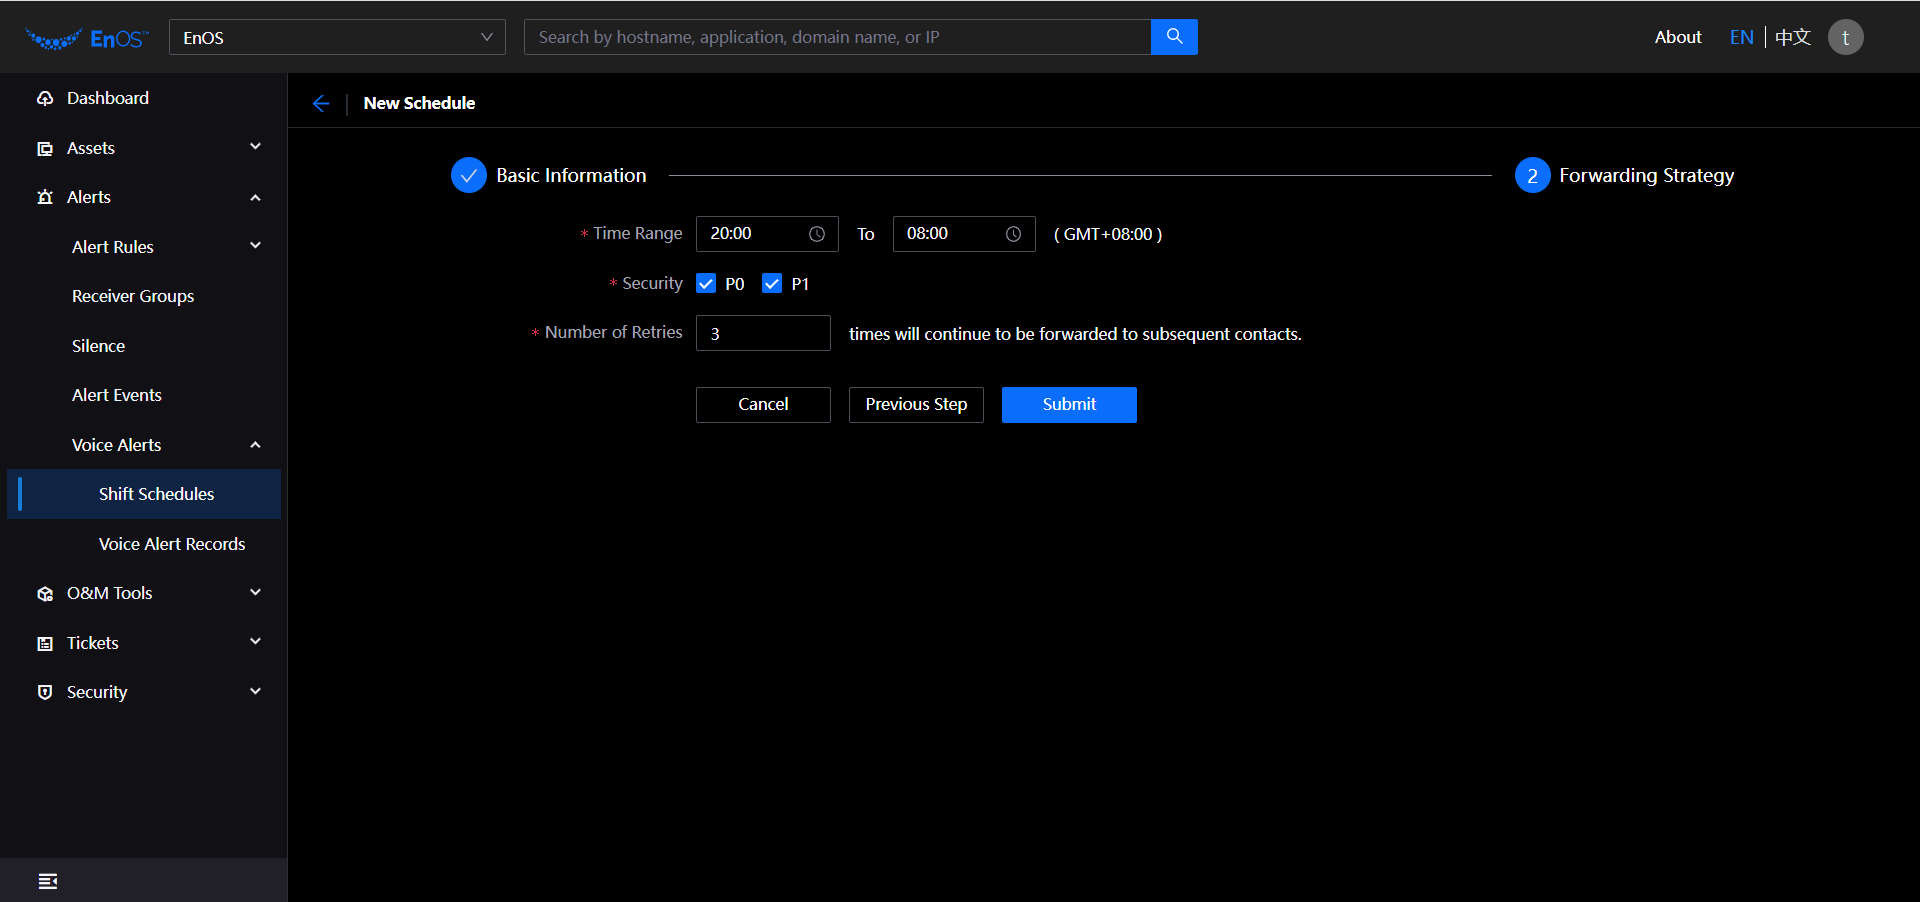
Time Range: Required, select the time period when the plan needs to be forwarded.
Security level: Required, select the security level of the plan forwarding, with P0,P1 all selected by default.
Number of Retries: Required, enter the number of missed messages, within 1~5 times.
Click Submit.
Importing Shift Schedule
When there is no scheduling plan under your organization, you can quickly create a scheduling plan and forwarding policy by importing it. When there is already a scheduling plan under your organization, you can update the scheduling content by importing it. You can import a schedule by following the steps below.
Log in to the EOC and select Alerts > Voice Alerts > Shift Schedules in the left navigation bar.
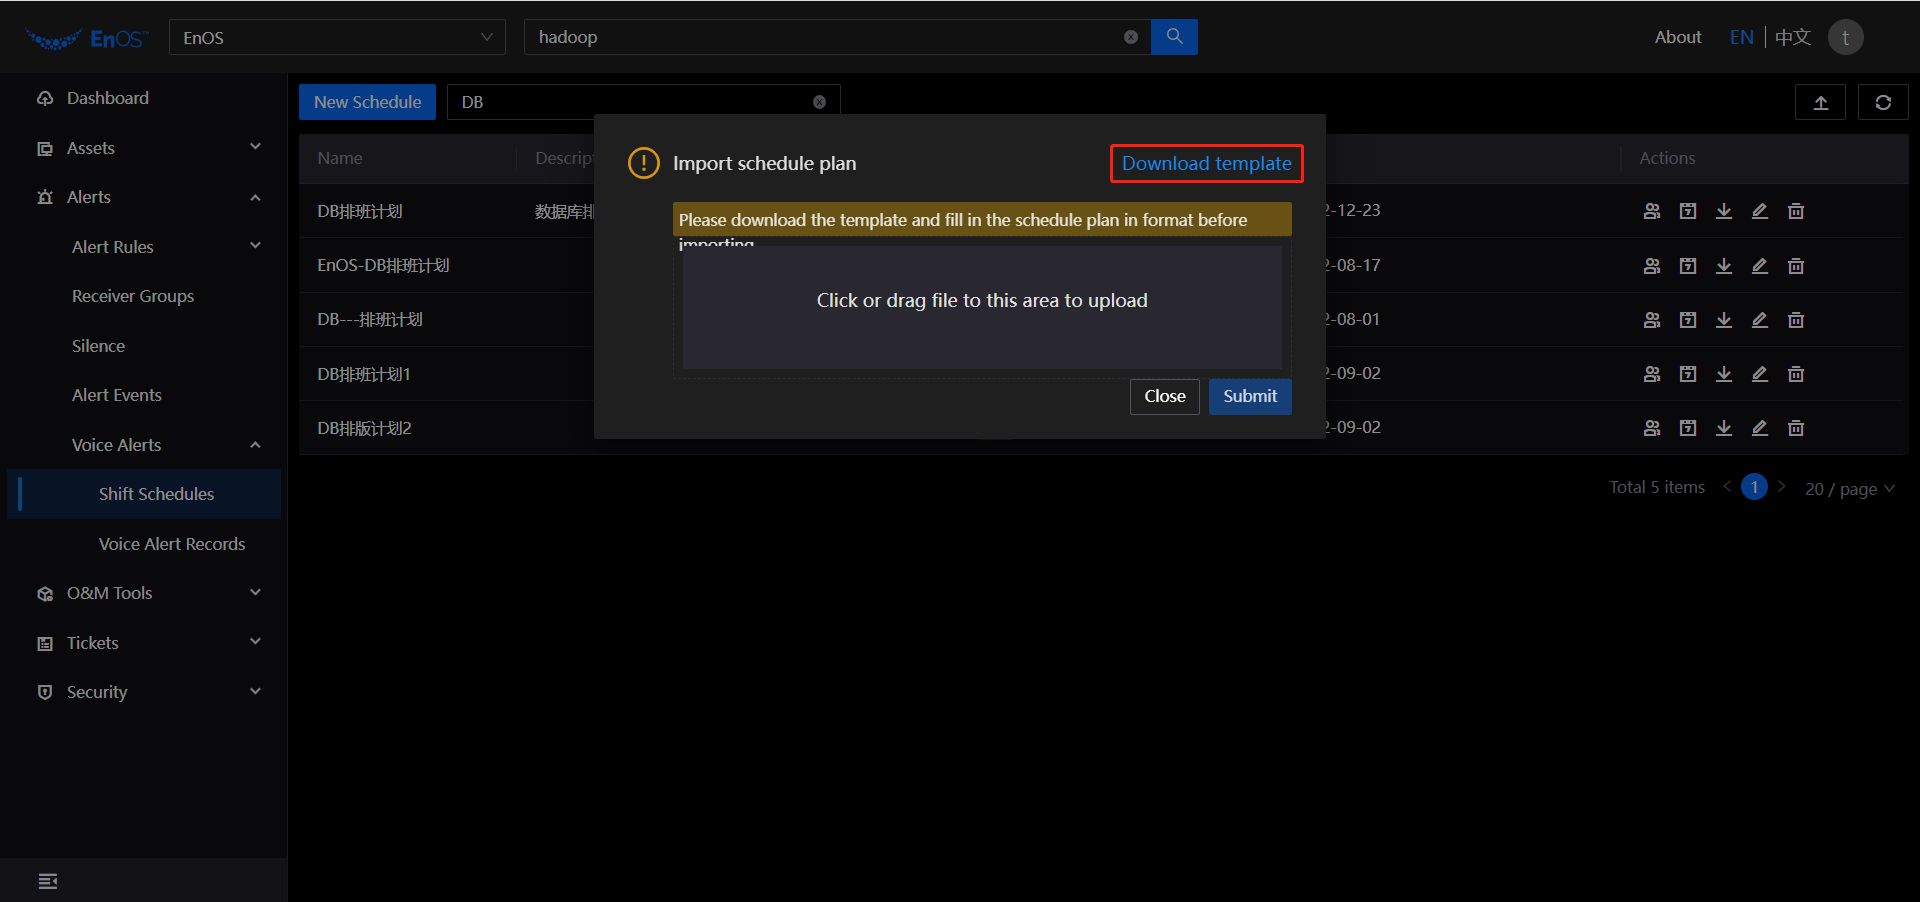
Click the Import icon
 .
.On the shift schedule import page, first click Template Download to complete the shift schedule and forwarding policy information.
Sheet 1 - Basic Info:
Date: Required, enter the date of the scheduled shift. E.g.: 2022/12/30.
Shift Plan: Required, enter the name of the shift plan. E.g.: Big Data Shift Plan.
ProductLine: Required, enter at least one or more product lines. E.g. Hadoop, Database.
First Contact: Required, enter the first contact. E.g.: san.zhang.
Second Contact: Optional, enter the second contact.
Third Contact: Optional, enter the third contact.
Fourth Contact: Optional, enter the fourth contact.
Sheet 2 - Forwarding Strategy:
Start Time(UTC+0): Required, enter the start time. E.g.: 20:00.
End Time(UTC+0): Required, enter the end time. E.g.: 08:00.
Severity: Required, enter the alert level. E.g. P0,P1.
Broadcast Rules: Required, enter the number of retries, a number from 1 to 5. E.g., 3.
Is Enable: Required, whether to enable forwarding, enter True or False.
Click or drag the file to the area to upload and click Submit.
Results
After the shift schedule is successfully created or imported, you can view the details in the scheduling plan list and do the following operations.