Grouping Widgets Using Containers
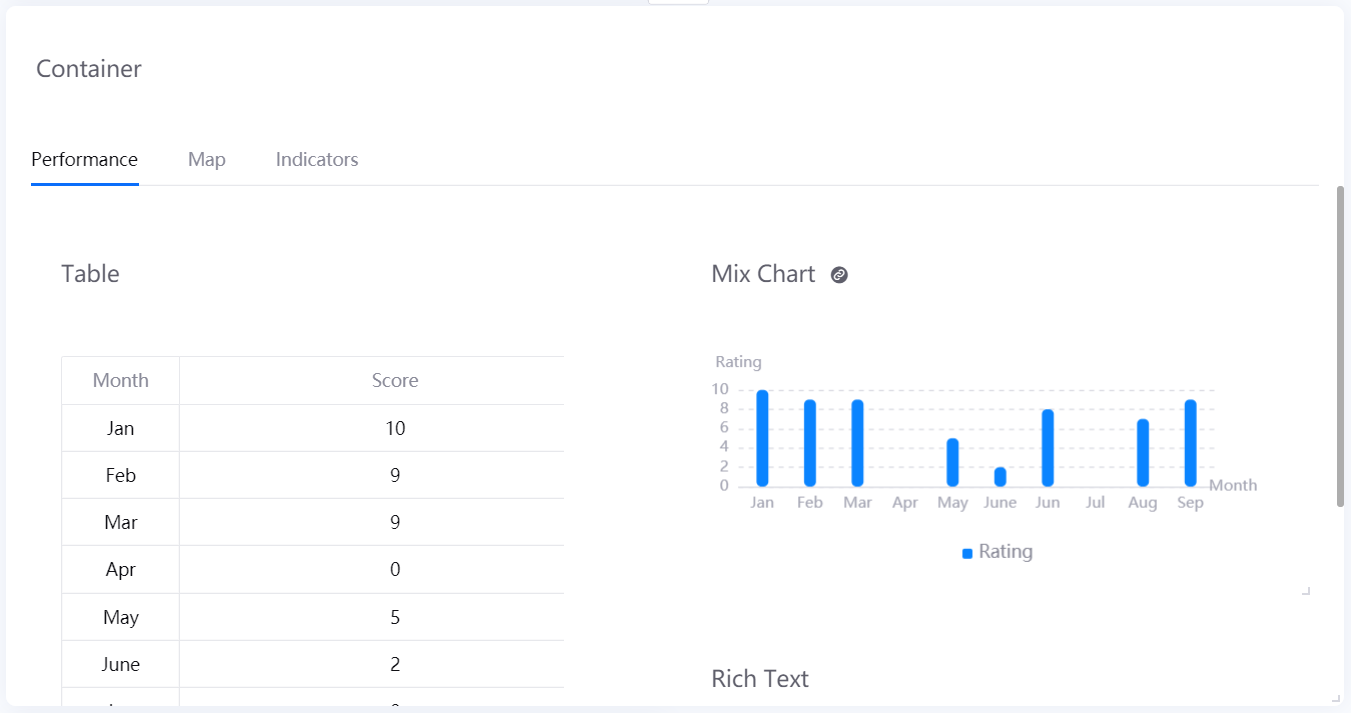
Containers enable you to group widgets and even organize widgets into tabs.
You can use containers when:
You want to keep widgets that display related information together
You want to display different types of widget in the same page area by using tabs
You want to have a structured page layout
As such, using containers is a great way to keep the dashboard clean and easy to use.
Adding a Container
Before you can use a container, you need to add it to your dashboard page first.
You can add a container by following these steps:
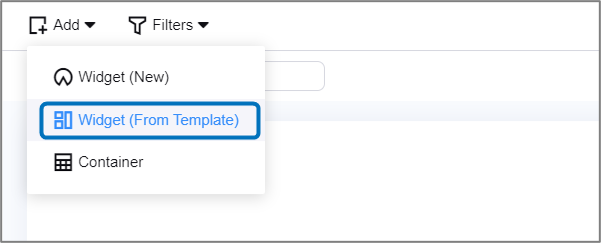
In the Page Editor, hover your cursor over Add and select Container.
Configure the settings in Basic Options as necessary.
Title: Specify the title of the container
Hide Title: Select this to hide the title
Title Font: Configure the font of the title
Description: Briefly describe your container
Configure the settings in Container Style as necessary.
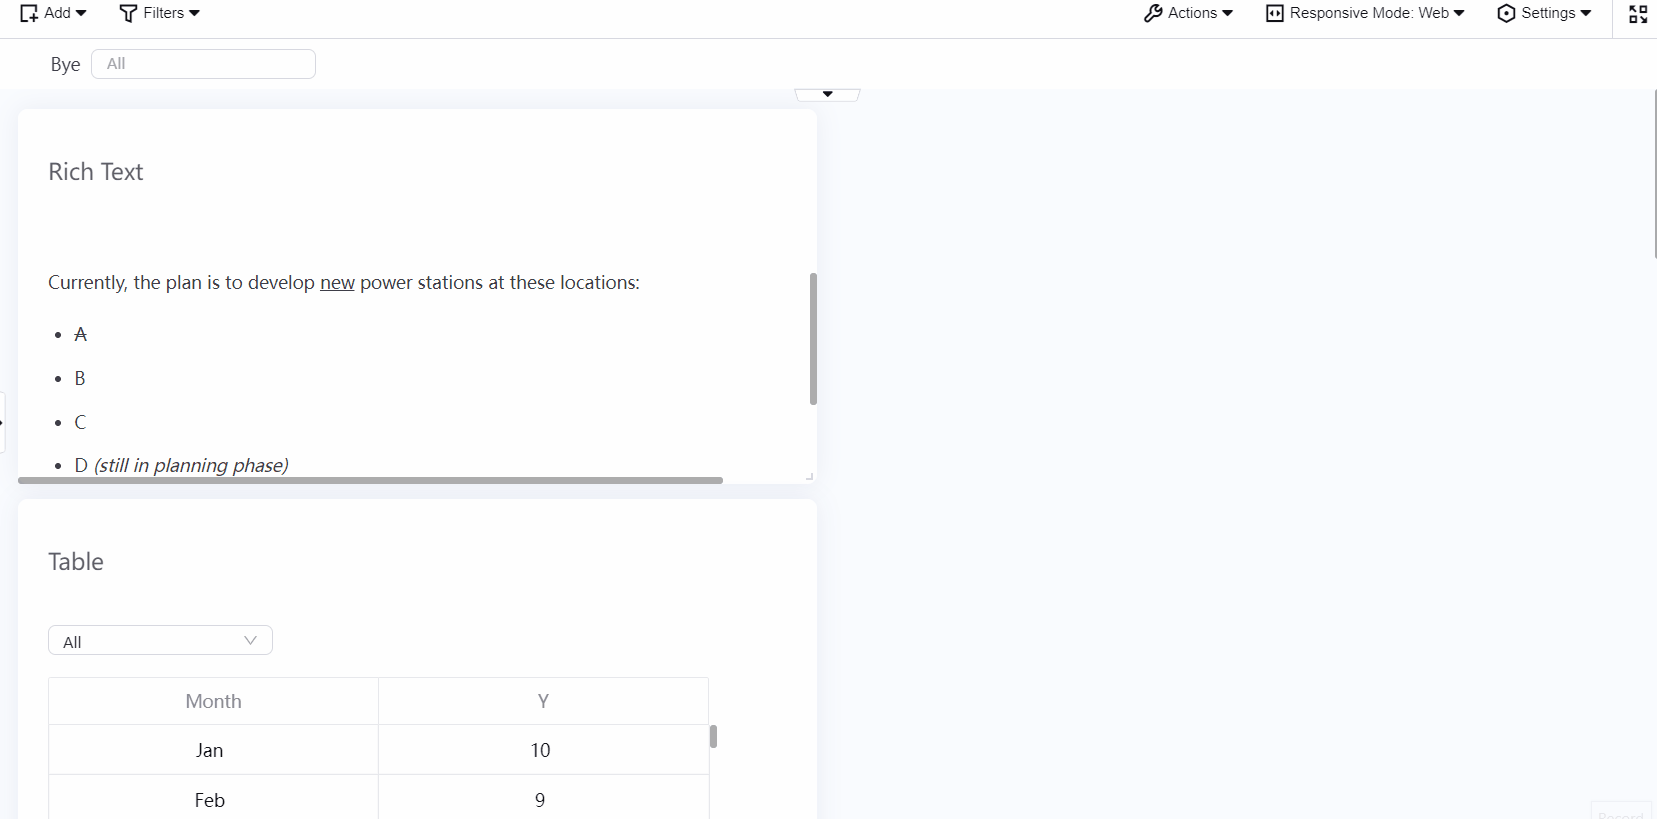
Hide Tabs: Select this to hide the container tabs
Tabs: Click +Add to add new tabs, or you can specify the name of a tab
Tab Font: Configure the font of the tab names
Hide Child Widget Title: Select this to hide the title of all widgets in the container
Child Widget Spacing: Specify the amount of space between each child widget
Configure the settings in Other Options as necessary.
Chart Padding: Specify the amount of space between each boundary of the container and the content
Background Color: Select the background color of the container
Title Decoration: Select how you want to decorate the title
Top Decorative Line: Add a decorative line for the top boundary of the container
Bottom Decorative Line: Add a decorative line for the bottom boundary of the container
Adding Widgets into a Container
After you have added a container to the dashboard page, you can start to organize your widgets by adding them into the container.
You can add a widget into a container by following these steps:
In the Dashboard Editor, hover your cursor over the top right area of the widget and click Add to Container
 .
.Select the container you want to put the widget in.
Select the tab you want to put the widget in.
Moving Widgets out of a Container
If you decided to directly display some critical widgets on the dashboard page, you can move them out of their containers.
You can move a widget from its container to the canvas by following these steps:
Locate the widget to be removed.
Hover your cursor over the top right area of the widget.
Click Move to Canvas
.
Saving Containers as Templates
You can save ready built containers as a template to be reused by following these steps:
Locate the container you wish to save as template.
Click edit
 on the top right corner of the container.
Click Save as template at the bottom of the pop up window.
Specify the Project Name for the container template.
Specify a name for the container template in the Template Name box.
Click OK.
A template of your chosen container will be created. Saved templates can be found under Widgets (From Template) in the toolbar.