Creating Projects and Pages
DTV organizes dashboard pages by using projects. Therefore, you must first create a project to hold any dashboard pages that you want to create.
Creating a Project
You can create a project by following these steps:
Open the DTViz application, and select Dashboard from the left navigation pane.
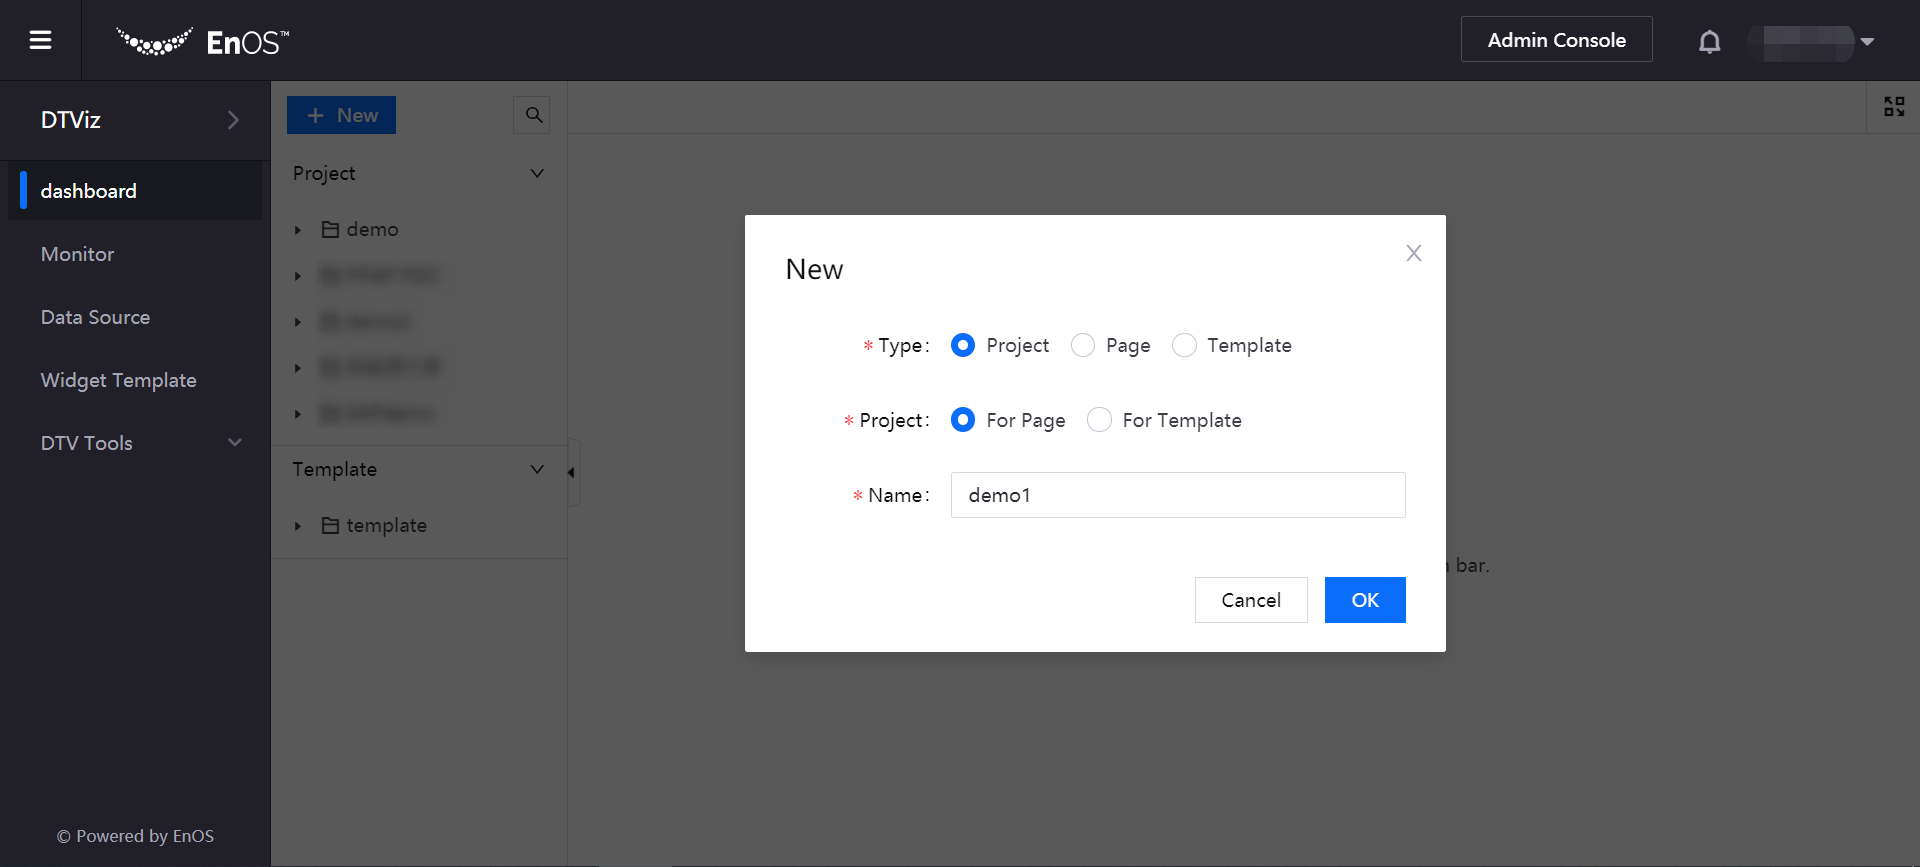
Click New, and provide the following information.
Type: Select Project
Project: Select For Page
Name: Specify the name of the project
Click OK to save the project configuration.
Note
If you want to create pages for template development, select For Template under the Project field. This will specially assign your project to house only page templates.
Creating a Page
After the project is created, you can create a page that belongs to the project by following these steps:
On the Dashboard page, click New.
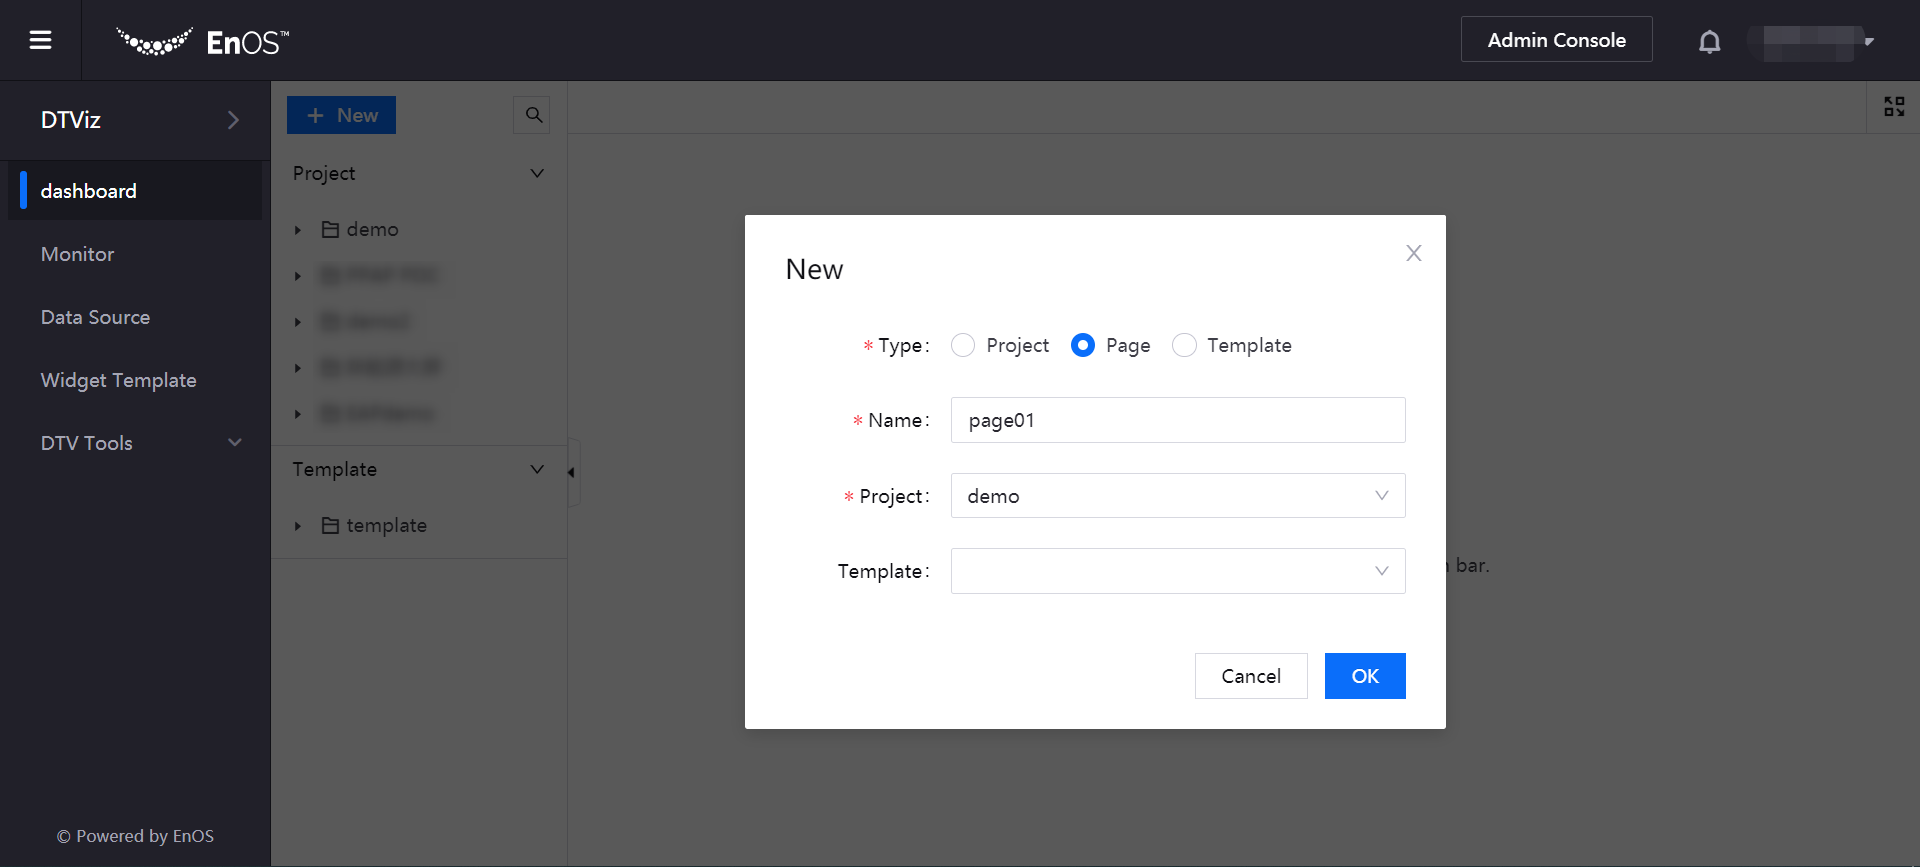
Complete the following configurations in the pop-up window.
Type: Select Page to create a page.
Name: Specify the name of the page.
Project: Select the project that the page belongs to.
Template: Select to create a page using a template.
Click OK to save the page configuration information.
Customizing Page Properties
You can configure display properties that affect the entire page, such as the page theme, widget headers, and background from Page Settings. By default, the page theme controls the colors used on all components of the page, including widgets, but you can change it in the independent component settings if necessary.
You can customize page properties by following these steps:
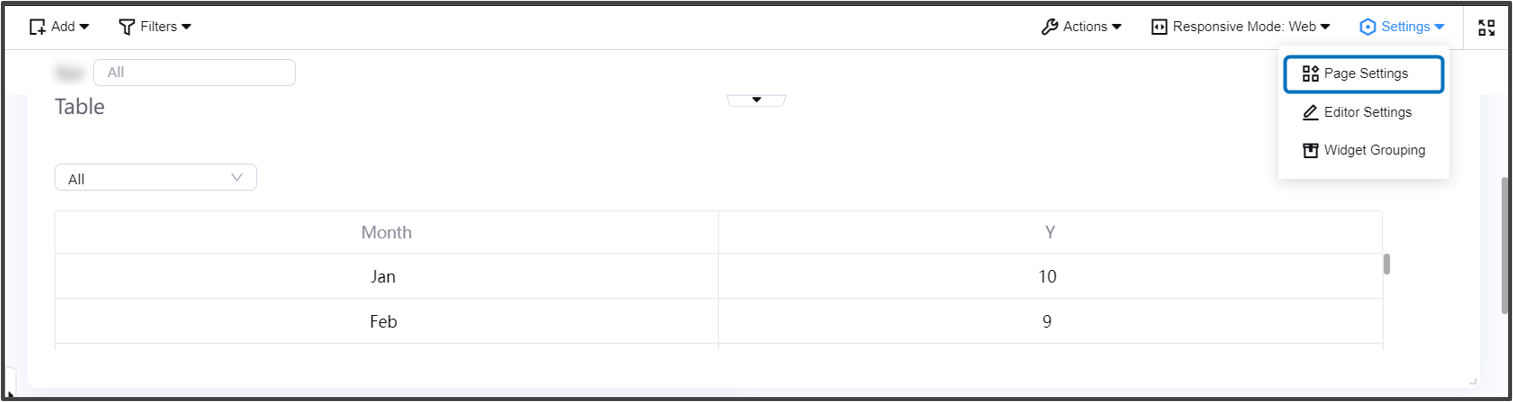
From the Page Editor toolbar, hover over Settings and click Page Settings.
From the Theme list, select a theme color for the page.
In the Widget Header Height box, specify the height of the widget header.
Note
The widget header is the top area of a widget that contains its title and filters.
Click Widget Header Color and select a background color for the widget header.
From the Background Color panel, select a background color for the page.
Note
To set a transparent background, drag the slider of the transparency bar, which is located below the color spectrum bar, to the far left.
From the Background Image panel, click Upload File to display an image on the page background.
Note
The background image will hide the background color. You can upload an image that has a transparent background to display both the selected background color and image on the page.
If you are using a background image, you can choose how the image is displayed from the Background Filling field.
Adaptive: The image is resized to fit the window.
Tilted: The image is repeated, while preserving its original size.
The modifications made take effect on the page immediately.
Customizing Editor Properties
You can configure display properties that affect only the dashboard editor from Editor Settings.
You can customize editor properties by following these steps:
Check the Enable Editor Settings checkbox.
By default, the editor shares the same display properties as the page, but you can override them by enabling editor settings.In the Page Width box, specify the page width of the editor.
In the Page Height box, specify the page height of the editor.
From the Background Color panel, select a background color for the editor.
Note
The page background lies above the editor background. If you have selected a background color for the page, you will not be able to see the color of the editor background.