Initial Setup
This guide will bring you through the configuration required to enable the DTV application in the EnOS Management Console and the Application Portal.
Before you can use the DTV application, you need to:
Purchase the DTV application on the EnOS Management Console
Authorize the DTV application for access to EnOS resources
Prepare the asset data
Synchronize your assets, and manage organization structure, menus, and user groups in the Application Portal
Prerequisites
You should have an EnOS account and have the permissions required for application registration, identity and authorization, and model and device management, see Policies, Roles and Permissions.
Step 1: Purchasing the DTV Application
Before using the DTV application, you need to purchase it through the EnOS Management Console.
Log in to the EnOS Management Console, and select Application Registration. Under the Purchased tab, click Purchase Application.
Enter the access key of the DTV application in the pop-up window for search purpose (you can contact EnOS Support to obtain the access key of the DTV application).
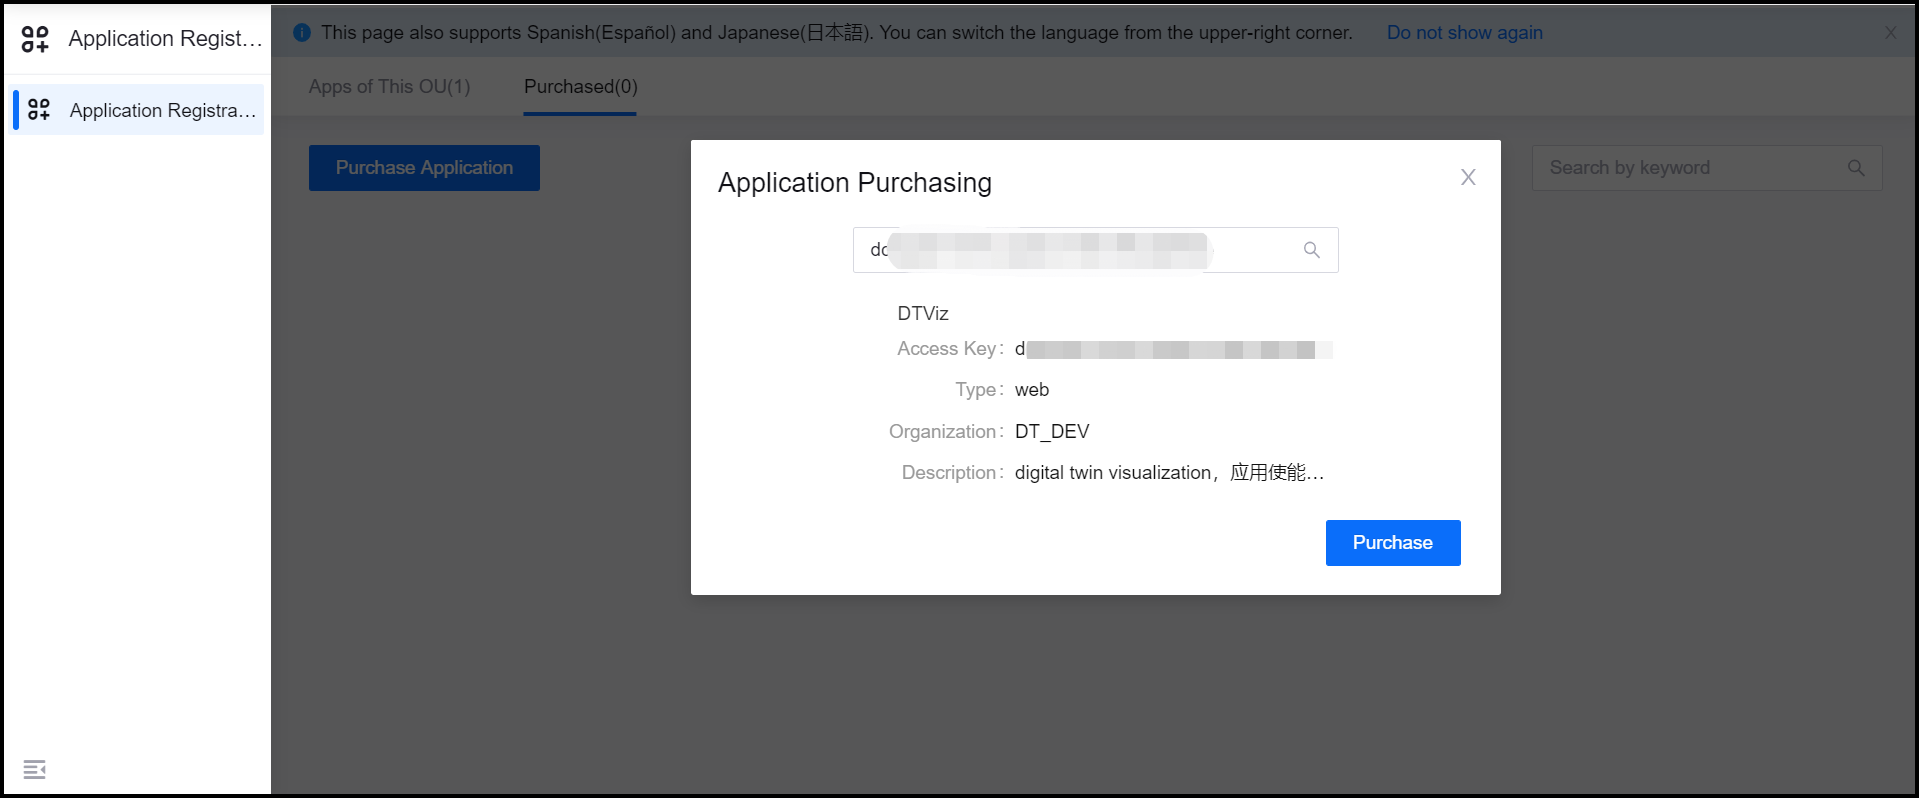
Click Purchase.
After the purchase application is approved, the DTViz application will be displayed in the list of Purchased applications.
Step 2: Authorizing the DTV Application
Grant the DTV application the authorization to access EnOS resources through the application service account authorization function.
Log in to the EnOS Management Console, and select Identity and Access Management > Service Account.
From the application list, find out the DTViz application, and click Authorize icon.
Under the Policy List tab, click Assign Policies. In the pop-up window, select the predefined or custom permission policies to be granted to the DTV application (if the custom permission policies are selected, you need to ensure that the Read permission of the corresponding asset data is configured in the policies; it is recommended to select the
administratorbuilt-in policy).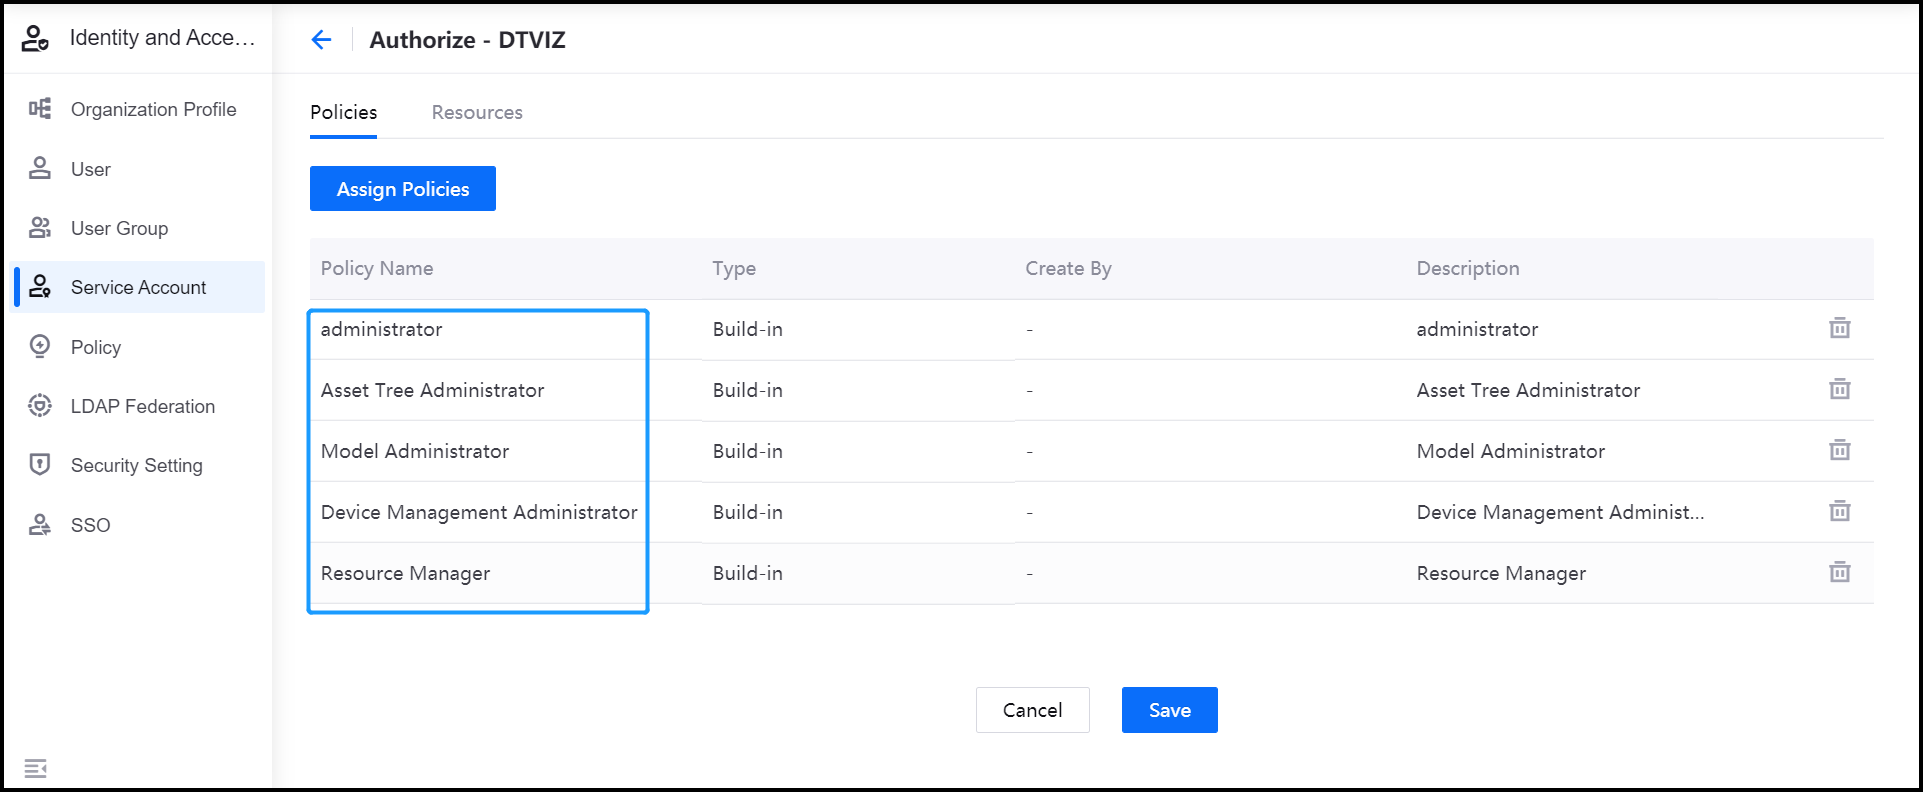
Click Save to complete the authorization for the DTV application.
Step 3: Preparing the Asset Data
The specific tags are required for the DTV to identify the asset data to be synchronized. Before using the DTV to access the historical asset data, it is required to ensure the TSDB storage policies has been configured for the asset measurement points.
Log in to the EnOS Management Console, select Models or Asset Trees, and find out the target model or asset.
Tag the model that the asset belongs to or the asset with
auth_unit:true, and the DTV can identify the asset data to be synchronized through this tag.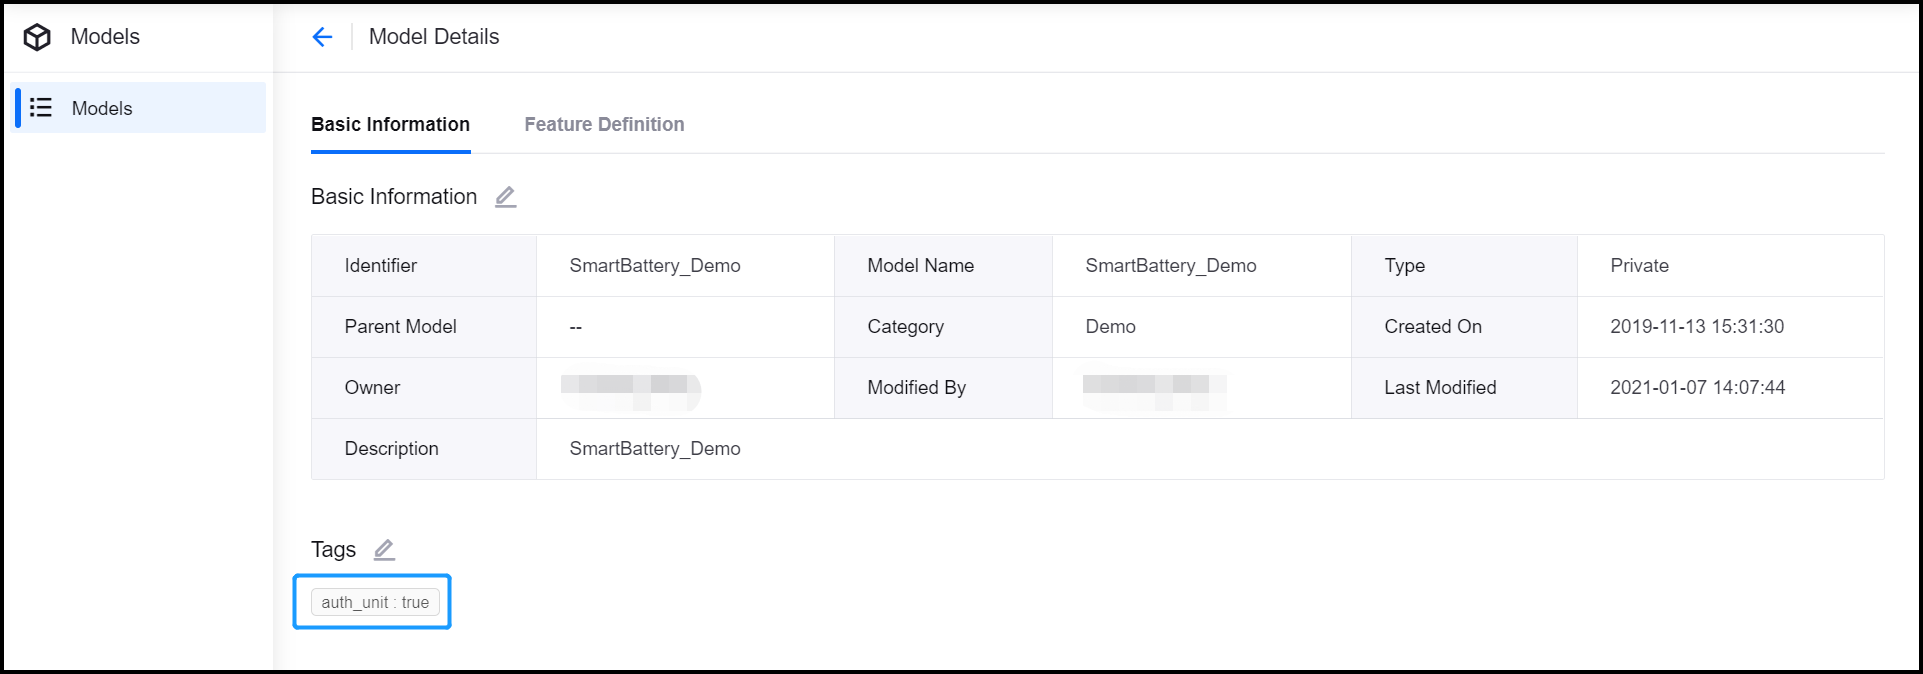
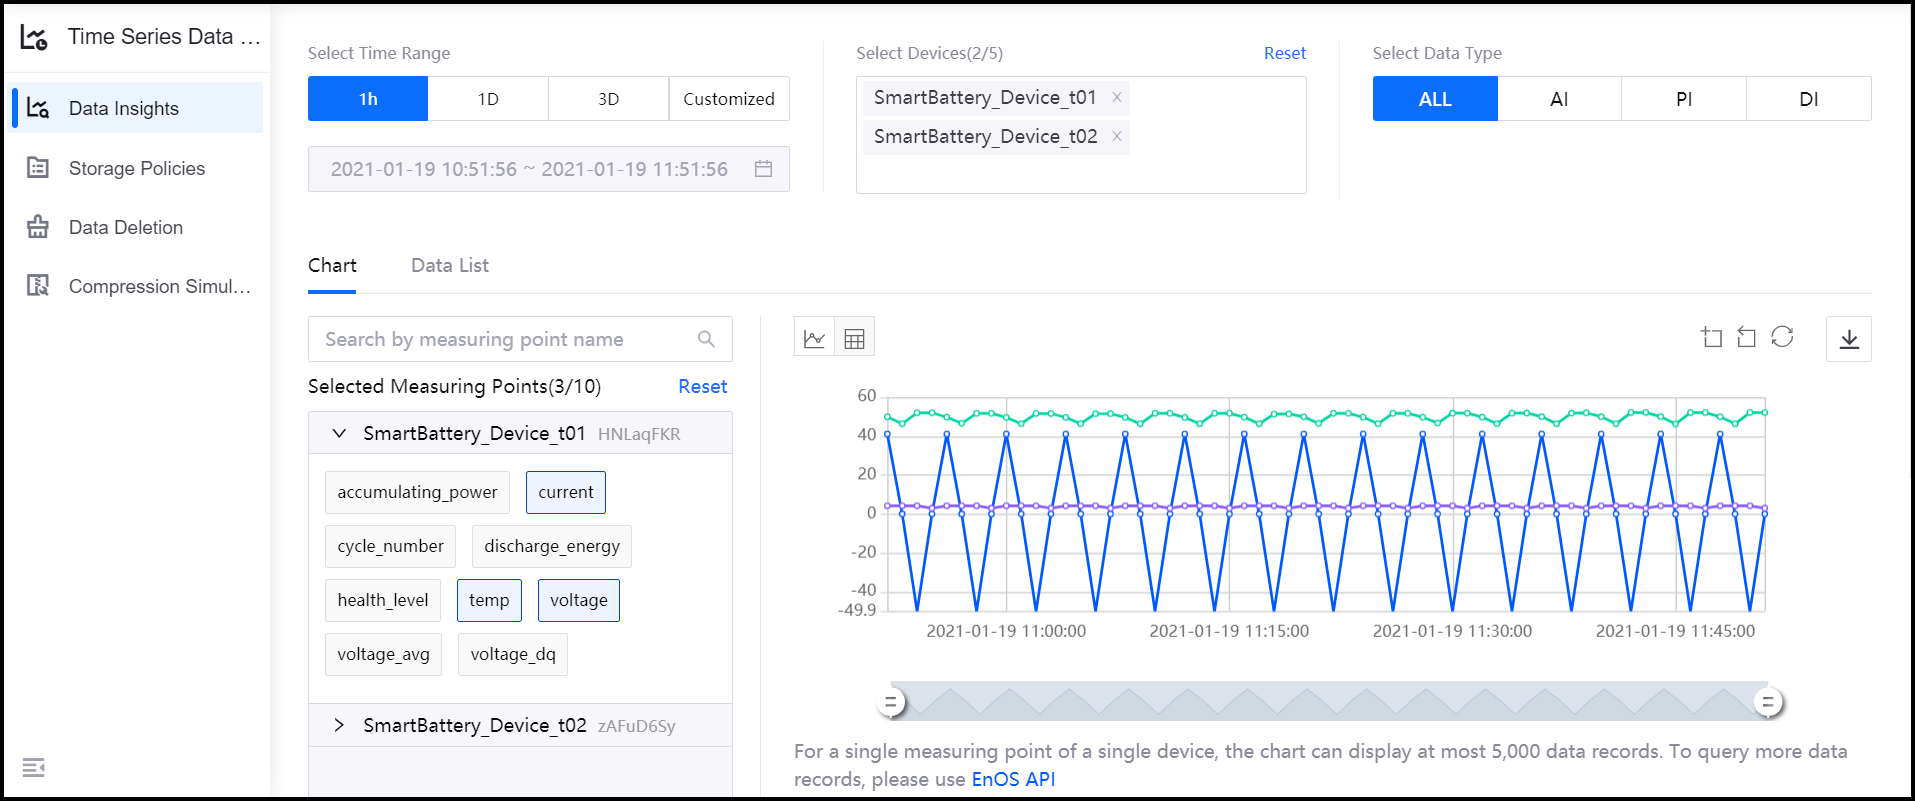
In the Time Series Data Management > Data Insights page, enter the query conditions and check whether the asset measurement point data is stored in TSDB.
Step 4: Managing the DTV Application
After purchasing the DTV application, you can manage and assign the DTV application to organization structures, assign the access permissions of the DTV application to roles, and synchronize asset information in the Application Portal.
Log in to the Application Portal as an OU administrator, and click Admin Console.
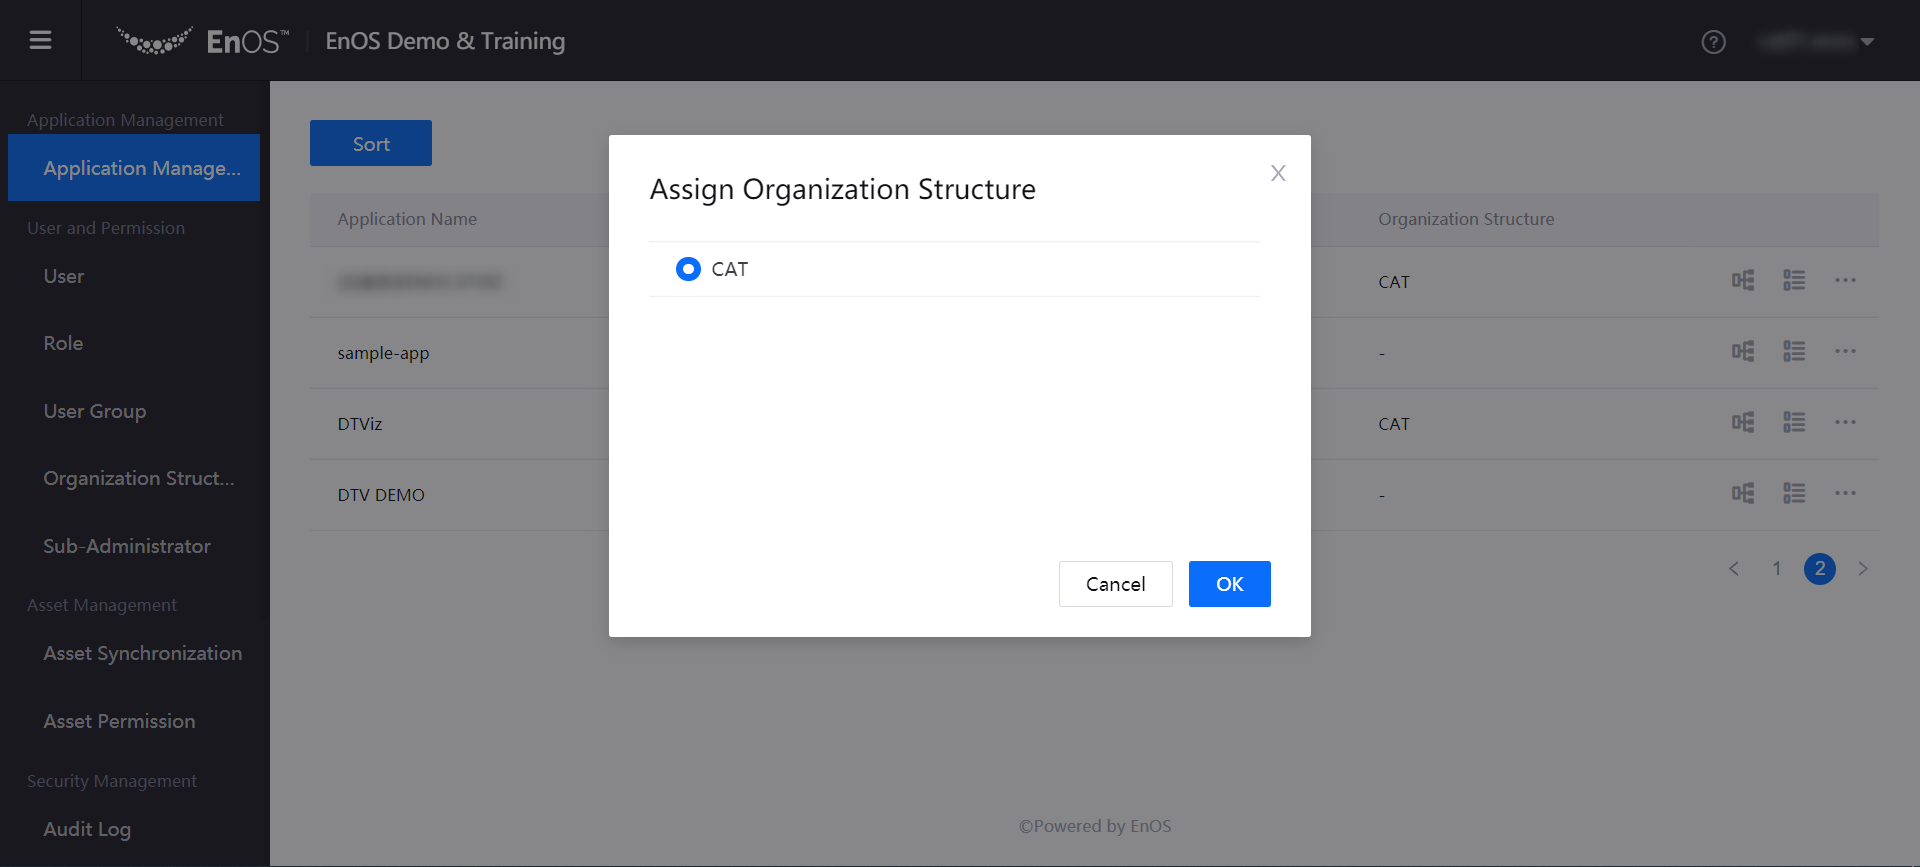
Select the Application Management menu, and assign the DTViz application to your organization structure.
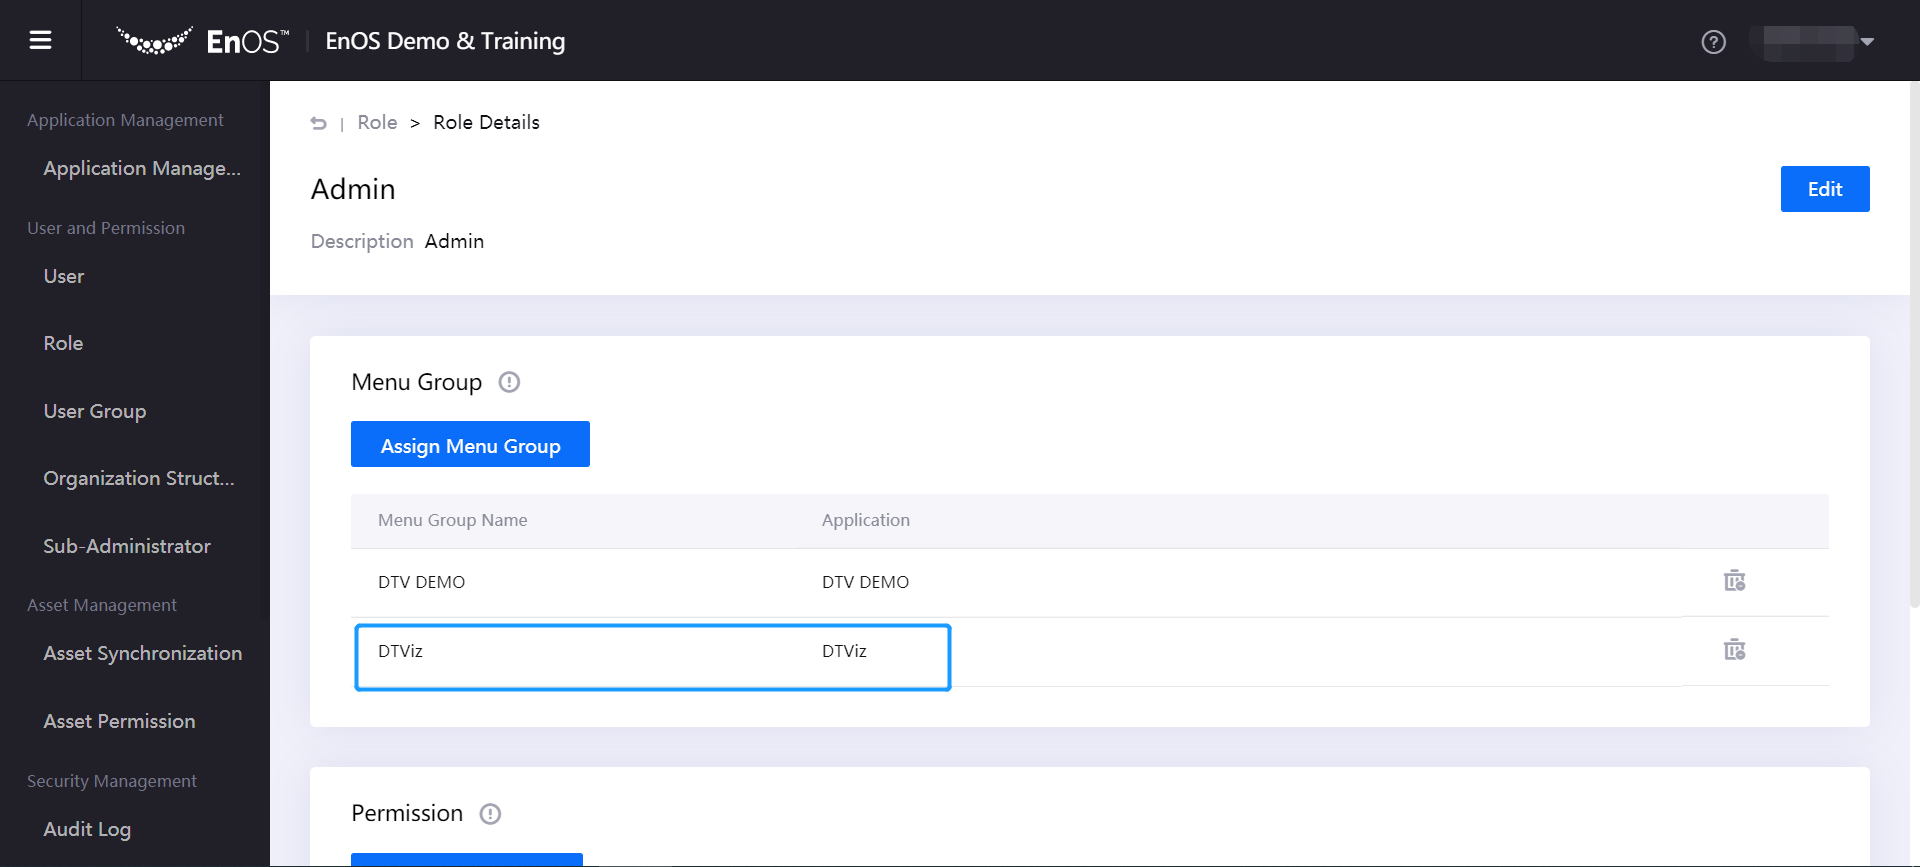
Select the Role menu, and assign menus of the DTViz application to the corresponding role.
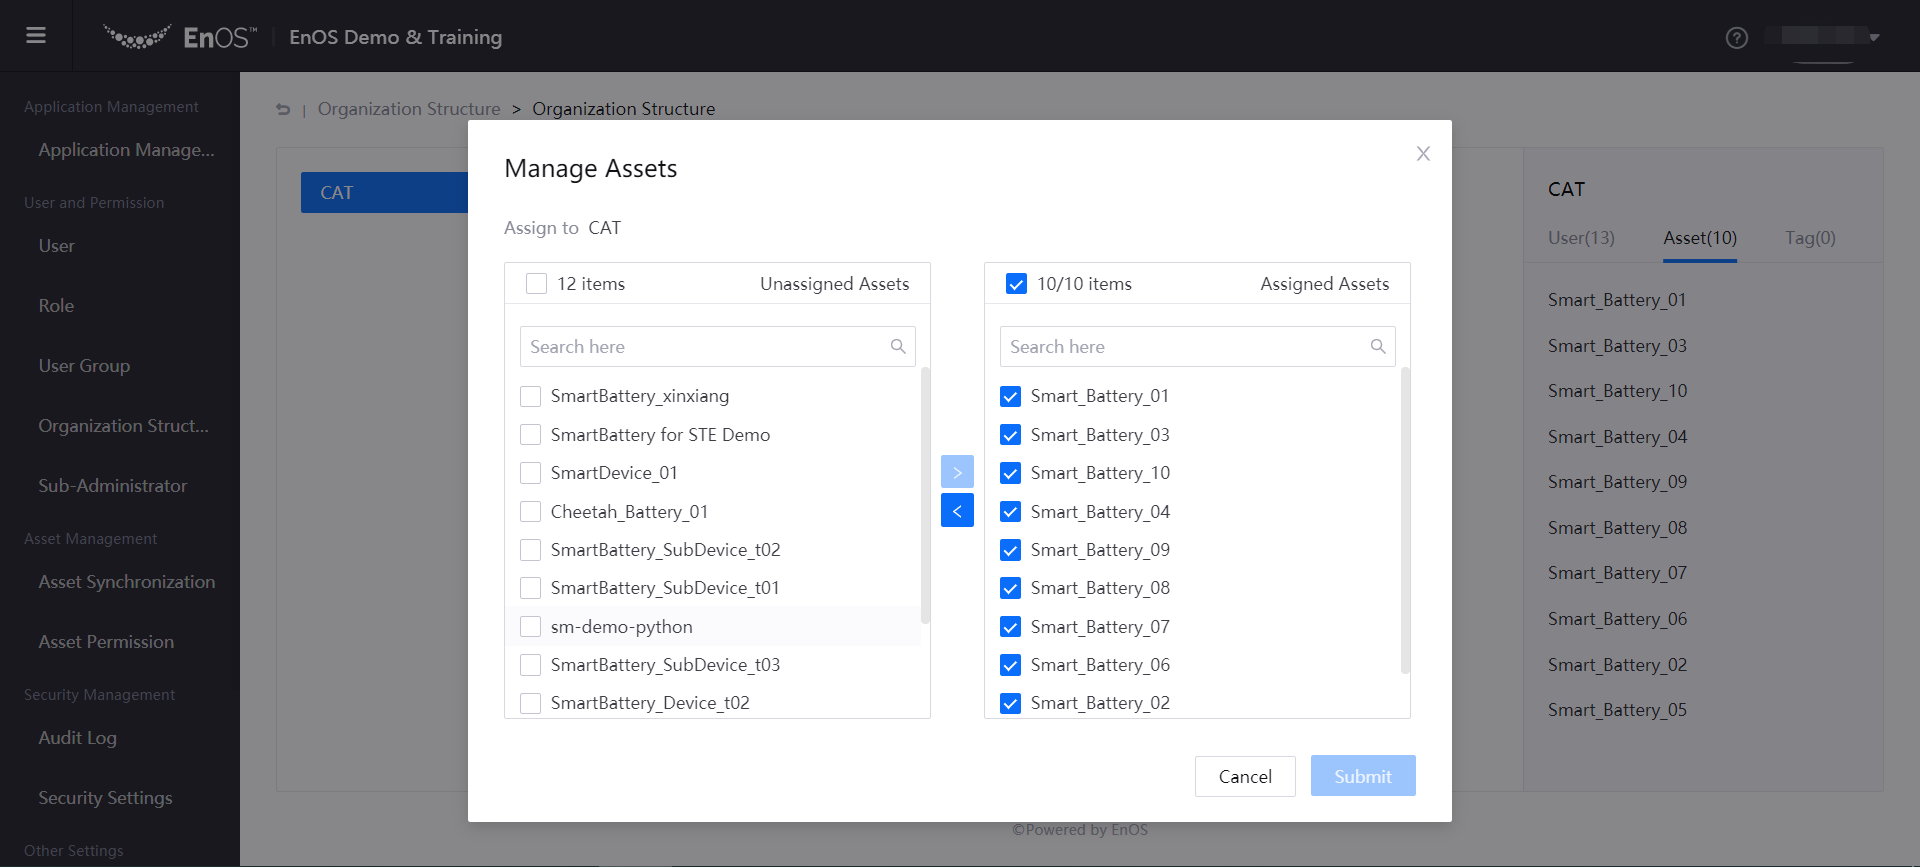
Select the Organization Structure menu, select the assets that are accessible by your organization structure, and enable Automatic Asset Authorization.
For more information about working with the Admin Console of the Application Portal, see Application Portal Documentation.