Adding Global, Widget & Internal Filters
DTV offers three variants of filters, the global filter, widget filter and internal filter, each operating in different scopes. Users can add multiple filters to their dashboards. If two or more filters overlap, the last added filter takes effect.
In this section, you will learn how to add the respective filters.
Adding Global Filters
Global filters enable users to filter data in all the widgets on the same page. They are fixed to the top of the dashboard page and cannot be repositioned.
You can add a global filter by following these steps:
- In the Page Editor, hover your cursor over
 and select Global Filter.
 - In the Name box, specify the name of the global filter.
- In the Key box, specify the name of your page parameter.
- If you want to enable filtering from the dashboard, select the Visible on Pages checkbox.
- If you want to pass in filtering values through the URL, select the Accepting External Parameters checkbox.
- From the Filter Type list, select the type of global filter that you want to use.
- In Linked Data Sources, specify the data source, dataset, and data field that you want to filter.
- If you want to exclude any widgets from the current global filter, you can select them from the Excluded Widgets list.
- Configure the filter fields and options accordingly.
For more information on how to configure the different types of filters, refer to their respective pages. - Click Save.
Note
Data fields prefixed with [P] are custom variables. You can enable users to set the values of custom variables through the use of global and widget filters.
Adding Widget Filters
Widget filters enable users to filter data in multiple linked widgets on the same page.
You can choose which widgets you want to link to a widget filter. After adding a widget filter to the page, you can drag it around the page to change its position, just like a widget.
You can add a widget filter by following these steps:
- In the Page Editor, hover your cursor over and select Widget Filter.
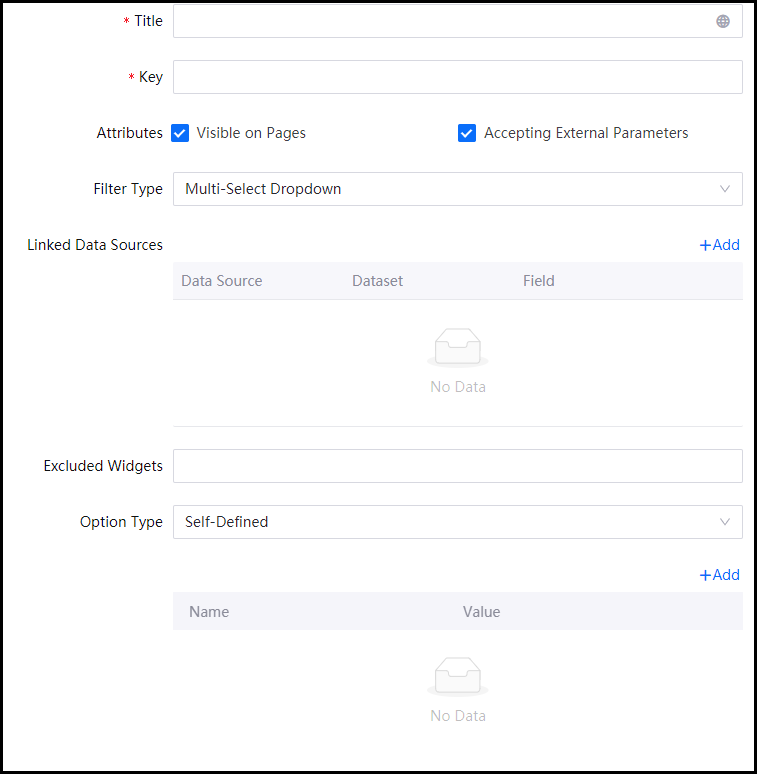
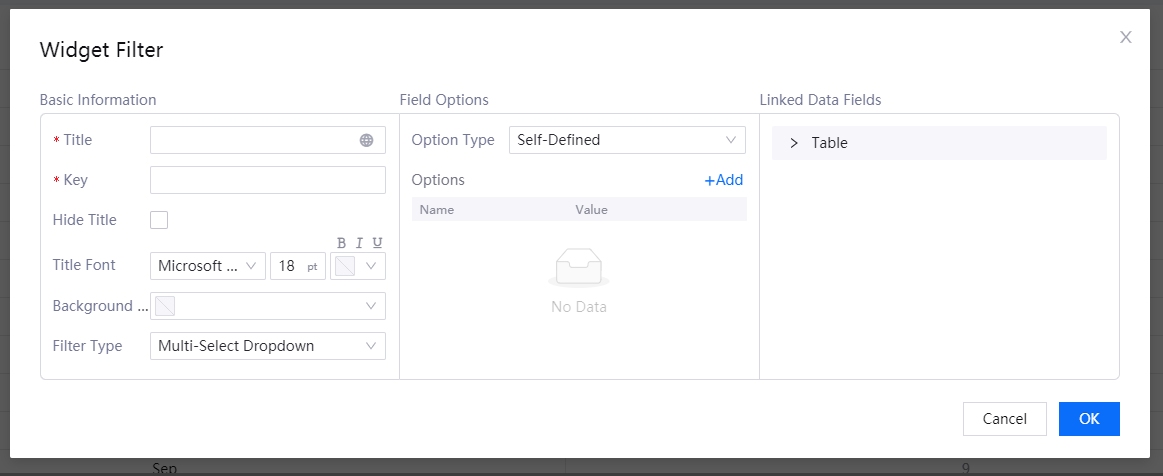
- In the Title box, specify a name of the widget filter.
- In the Key box, specify a unique key for the widget filter.
- If you do not want to display the name of the widget filter, select the Hide Title checkbox.
- In the Title Font field, configure the font for the title label.
- In the Background field, select a background color for the widget filter.
- From the Filter Type list, select the type of widget filter you want to use.
- In Linked Data Fields, select the data fields that you want to filter.
- Configure the filter fields and options accordingly.
For more information on how to configure the different types of filters, refer to their respective pages. - Click OK.
Note
Data fields prefixed with [P] are custom variables. You can enable users to set the values of custom variables through the use of global and widget filters.
Adding Internal Filters
Internal Filters enable users to filter data within a single widget based on specified criteria.
Internal filters appear within the widget, on the right or bottom of title, depending on their configurations.
Note
Internal filters are not supported for Inline Frame, Picture, Rich Text widgets.
You can add an internal filter by following these steps:
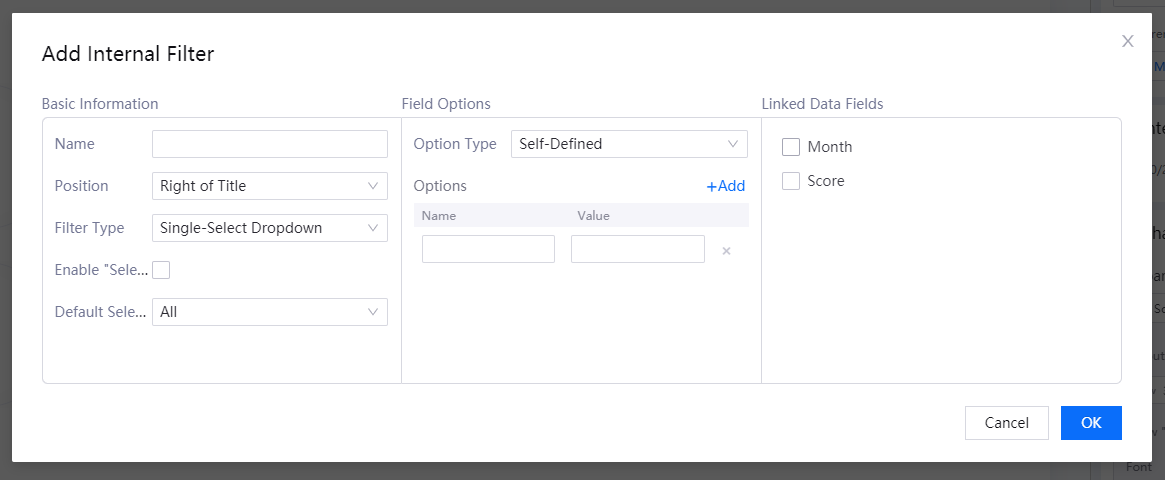
- In the Chart Editor, navigate to the Internal Filter section and click Add.
- In the Name box, specify the name of the internal filter.
- From the Position list, select where you want to place the internal filter.
If you select Hide, the internal filter will not be visible. - From the Filter Type list, select the type of internal filter you want to use.
- In Linked Data Fields, select the data fields that you want to filter.
- Configure the filter fields and options accordingly.
For more information on how to configure the different types of filters, refer to their respective pages. - After setting the desired configuration, click the OK button below the chart.