Arranging Multiple Container Cards with Array Container
Array containers can automatically tile multiple container cards in an array based on comparative demands. Array containers display groups of data information in multiple container cards to compare the status of different assets. Container cards can hold multiple widgets to meet multi-asset scenarios. You can use array containers for the quick configuration of container cards with the same layout, to visualize and compare data in a clear DTV page.
Array containers can be used in several scenarios, such as:
- Compare the data of multiple assets/locations in the same chart.
- Compare the data of multiple months/years in the same chart.

Adding Array Container
Add an array container by following these steps:
- In the Page Editor, hover the cursor over Add, and select Array Container.
- Configure the settings in the Basic Options as necessary:
- Title: Specify the title of the array container.
- Hide Title: Select to hide the title of the array container.
- Title Font: Configure the font of the title.
- Description: Briefly describe the array container.
- Configure the settings in the Array Configuration as necessary:
- Array Method:Configure the array to array based on a data source or time calendar.
- Data Source:
- Data Source, Category, and Array Field: Specify the data fields to generate an array, determining the number and names of container cards. For example: select location as the Name field to generate a container card for each location.
- Sort Field: Specify that the container cards are sorted by this field in ascending, descending, or default order.
- Card Layout: Configure the columns and rows displayed in a container card.
- Calendar:
- Interval: Configure the array display format.
- Show Working Days: Check the box to show only weekdays.
- Week Start Day: Set Monday or Sunday as the starting day.
- Date Format: Set the format of the time data.
- Data Source:
- Title Jump: Configure the name, opening and jumping method of the title jump. Supports the use of placeholder parameters. For more information, see Configuring Parameters.
- Linked Fields: Specify the data source used to filter widgets in container cards according to linked fields. For example: if you choose the location name, the container card will filter data according to location names.
- Card Layout: Configure the columns and rows displayed in a container card.
- Array Method:Configure the array to array based on a data source or time calendar.
- Configure the settings in the Card Style as necessary:
- Widget Layout: Configure the widget layout of a container card.
- Name Font: Configure container card title font.
- Show Array Name: Select this to hide the title of the cards.
- Title Decoration: Configure title decoration, top and bottom decorating bar, card color and card spacing.
- Enable Pagination: Select to enable pagination.
- Widget Spacing: Specify the amount of space between each widget.
- Configure the settings in the Container Style as necessary:
- Allow Maximize: Check this to allow the array container to be maximized in the preview or published page. For more information, see Maximizing Widgets.
- Chart Padding: Specify the amount of space between each boundary of the container and the content.
- Background Color: Select the background color of the array container
- Background Image: Upload an image to be displayed as the array container background. It adaptively fills the container according to the size of the array container.
- Title Decoration: Select how you want to decorate the title.
- Top Decorative Line: Add a decorative line for the top boundary of the array container.
- Bottom Decorative Line: Add a decorative line for the bottom boundary of the array container.
- Configure the settings in Filter Settings as necessary. For more information, see Adding Container Filters.
- Select OK to create an array container.
Adding Widgets into a Container
After you have added an array container to the page, you can add and organize your widgets.
Add a widget to an array container by following these steps:
- Select + Add Widget to open the Create Widget page.
- Choose the widget type you want to create:
- On the New Widget tab, select a chart type to create a new widget.
- On the Widget Template tab, select a template to create a widget based on the template. For more information, see Widget Template.
- Locate the widget, hover over the ellipsis (…), and the dropdown menu appears.
- Select Edit to open Widget Editor.
Note
- When you add more than 2 widgets to a card, you can drag widgets to any position in the card.
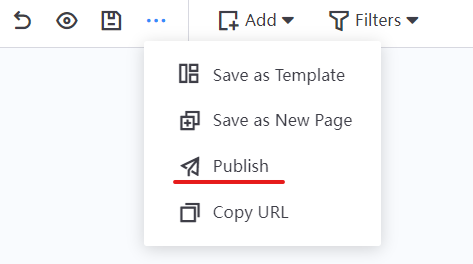
- When you are editing, the container only displays the first card. If you want to view all cards, select Preview or publish the array container.