Managing Roles
Application Portal supports the creation of different roles. After assigning the application permission and menu access permission to a role, the user of that role would gain access to the corresponding menus and operation permissions within the application.
Menu group: A menu group is a collection of menus displayed in an application, which is formed by combining menus. Once a menu group is assigned to a role, the user of that role would have the rights to access any menus in the menu group.
Permission: Permission is the privilege name that is named in an application and has specific operations. When a permission is assigned to a role, the user of that role would have the appropriate operational permissions within the application.
Create a Role
Log in to the Application Portal admin console and select Role from the navigation bar.
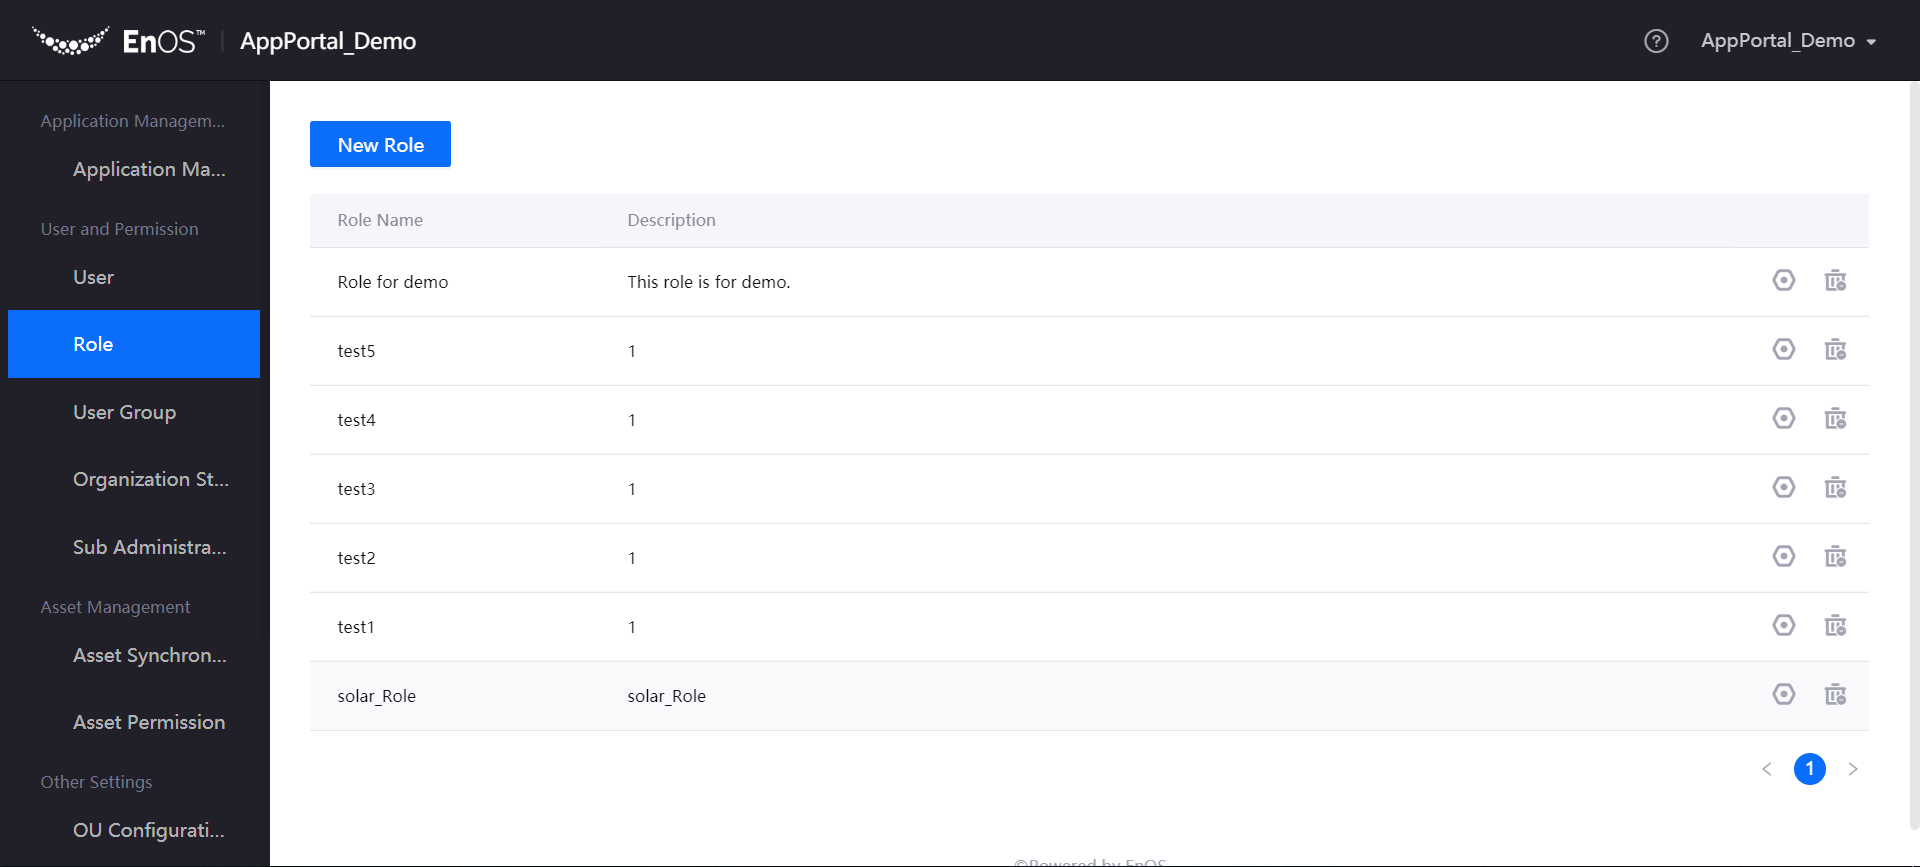
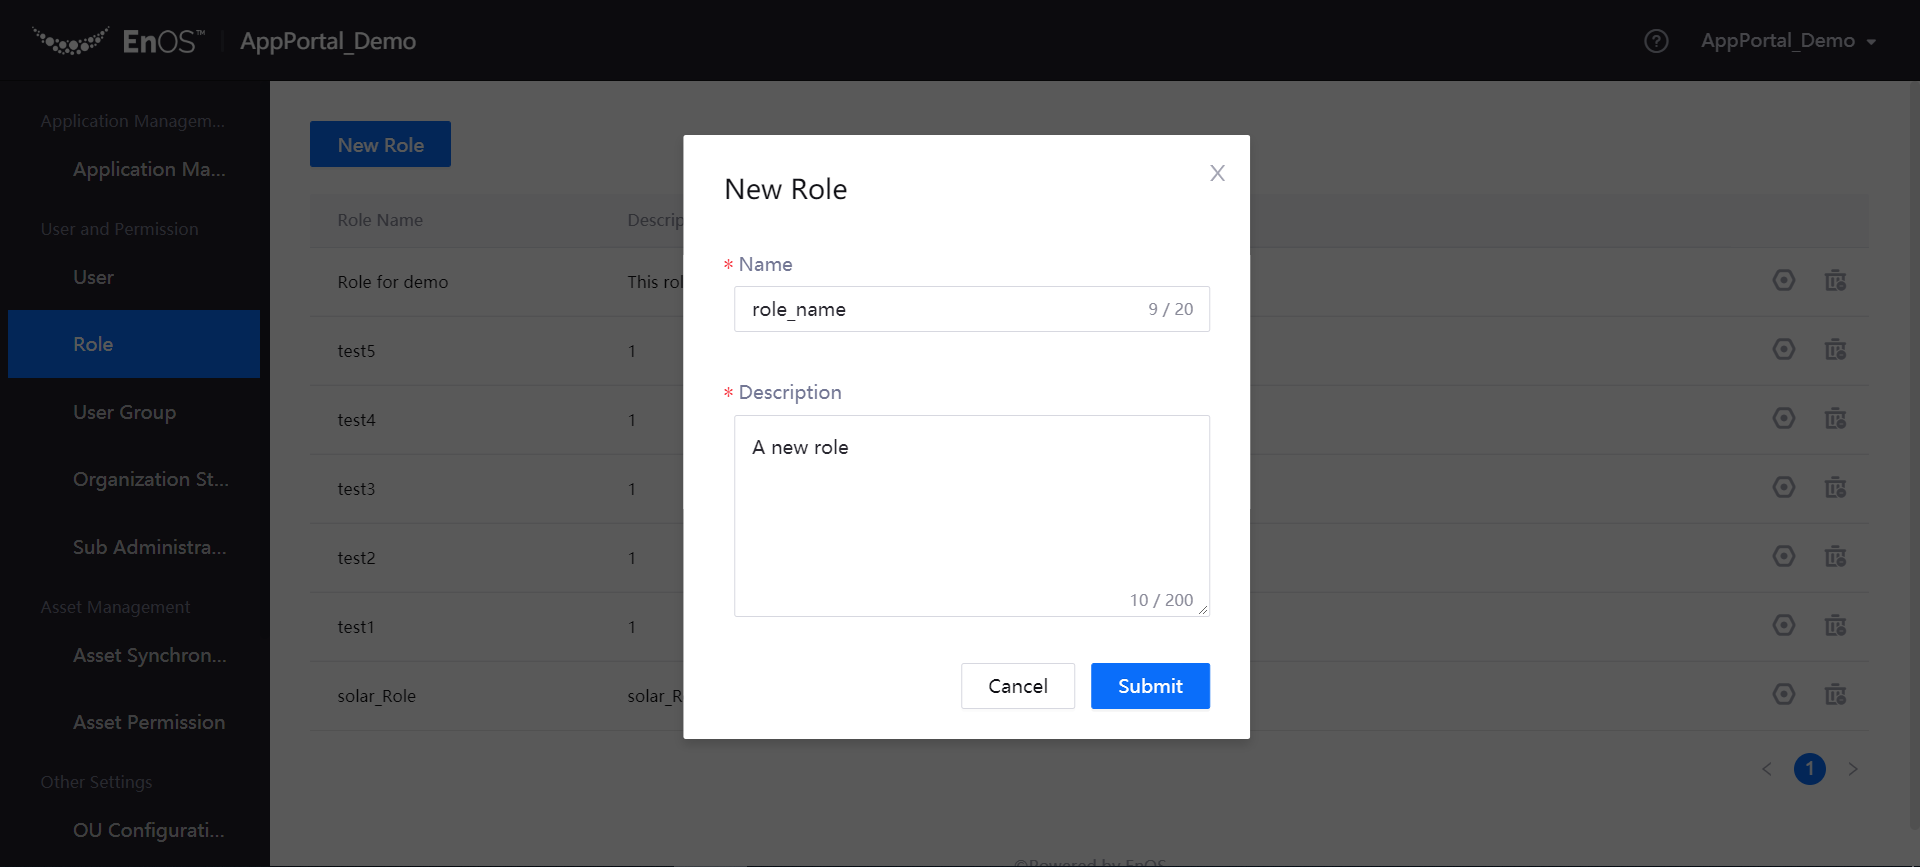
Click New Role, type the Name and Description of the role, then click Submit to complete the creation of the role.
Click the Manage icon for the created role to enter the Role Details page.
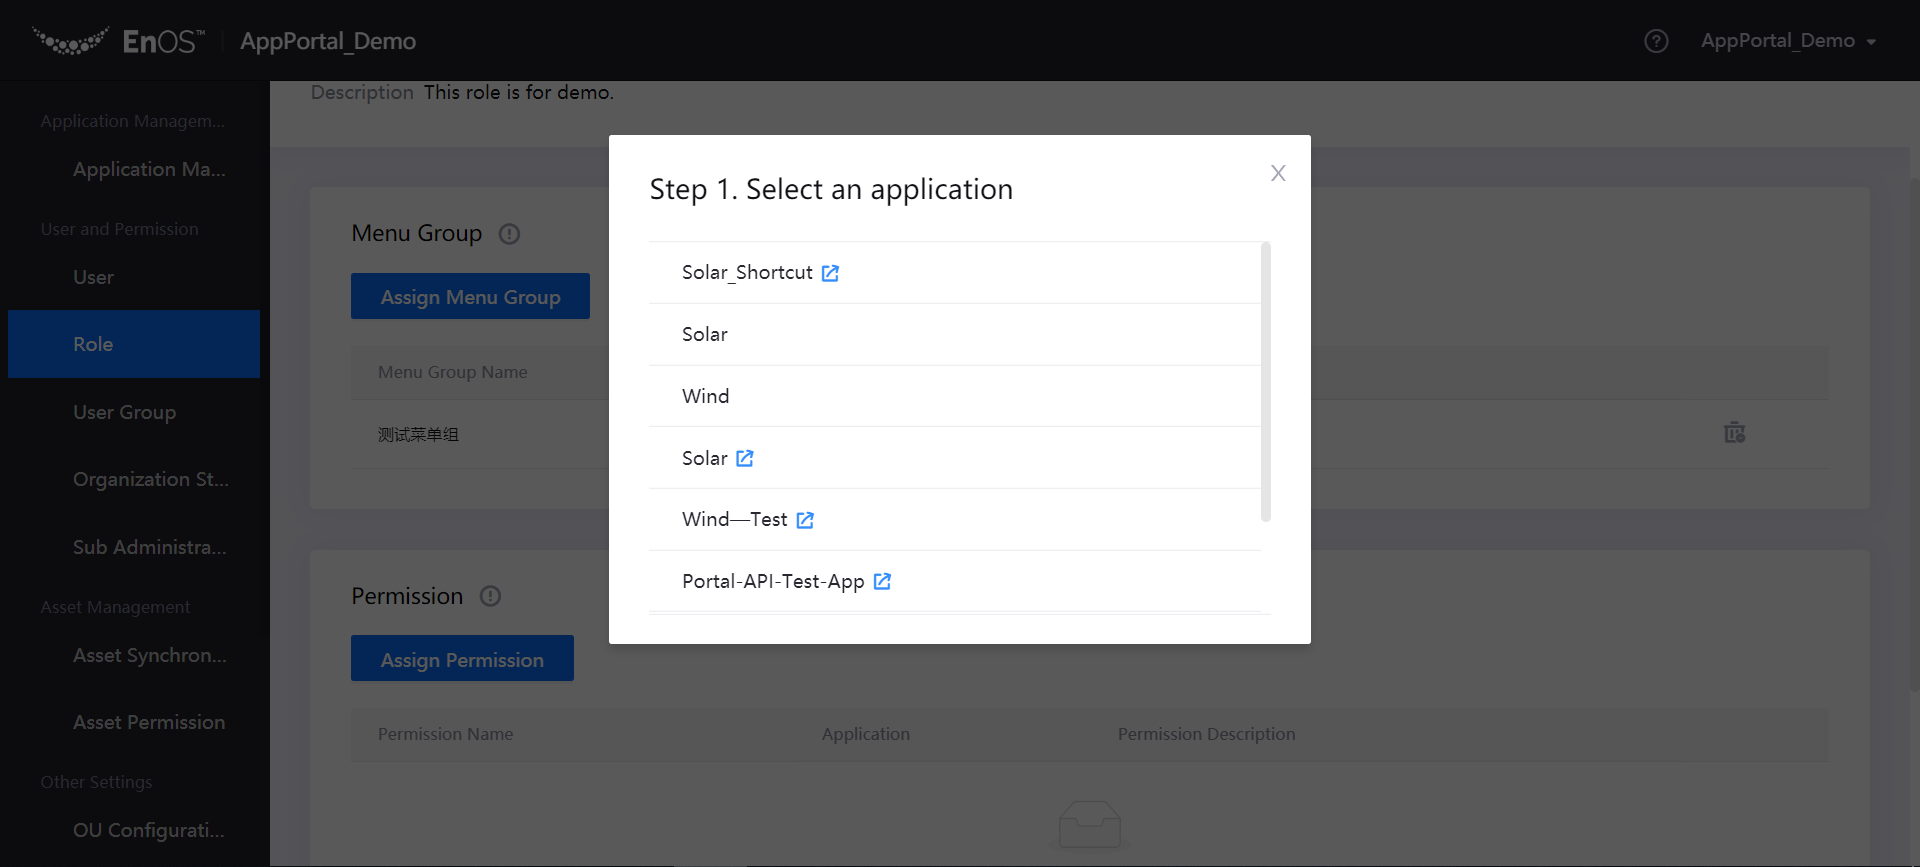
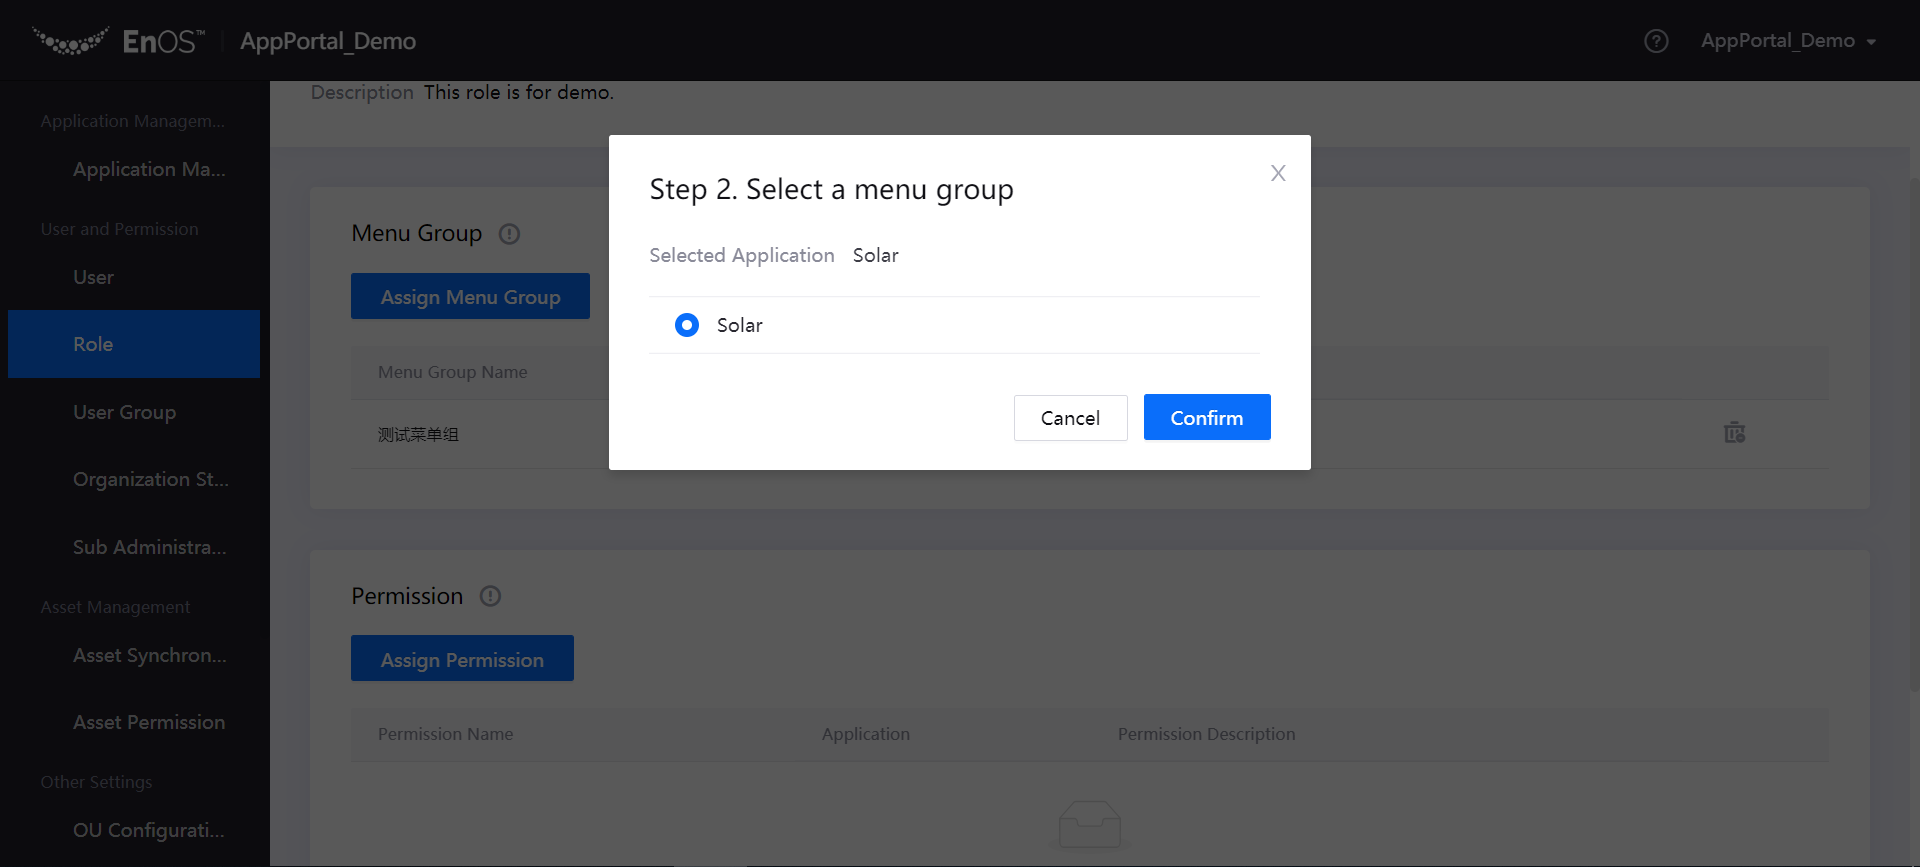
Click Assign Menu Group, select the application and menu groups to which the role can access, and then click Confirm.
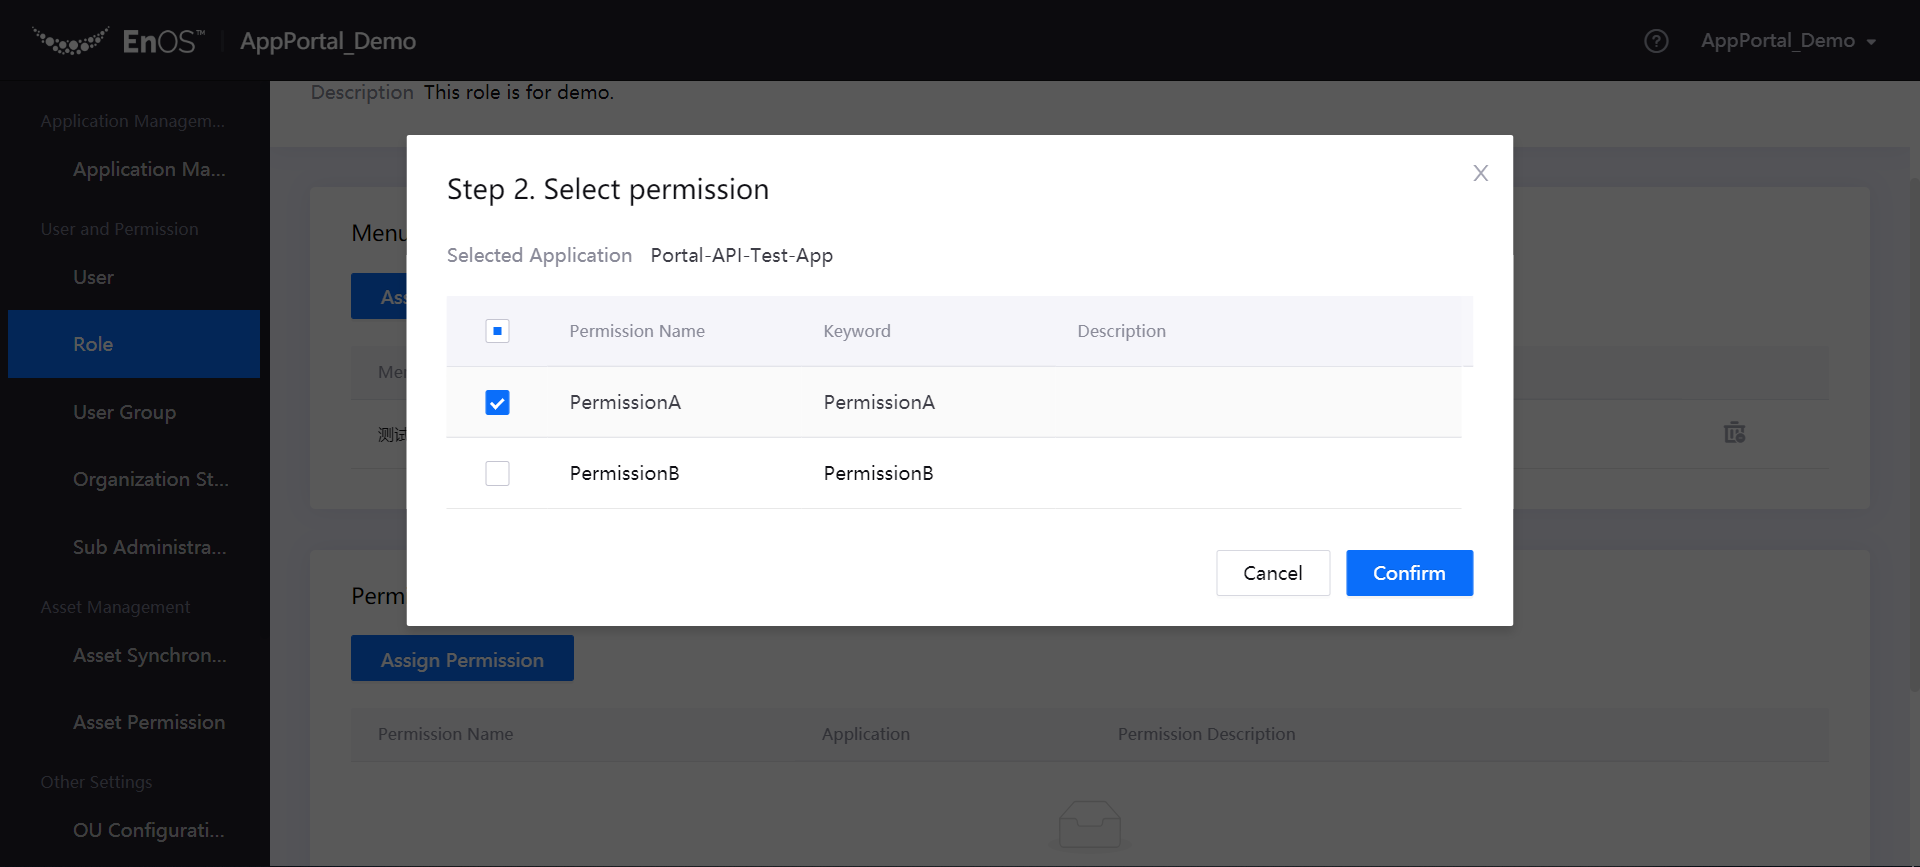
Click Assign Permission, select the application and permission that the role has, and then click Confirm.