Creating Application Shortcuts
Application Portal supports the creation of application shortcuts, which can integrate the modules or menus of different applications to form a new application to meet the needs of different business scenarios.
Prerequisites
The enterprise or organization has registered or purchased applications for creating shortcuts, and the organization has obtained the permissions to configure menus from multiple applications.
Create an Application Shortcut
The OU administrator can create a shortcut of an application by taking the following steps:
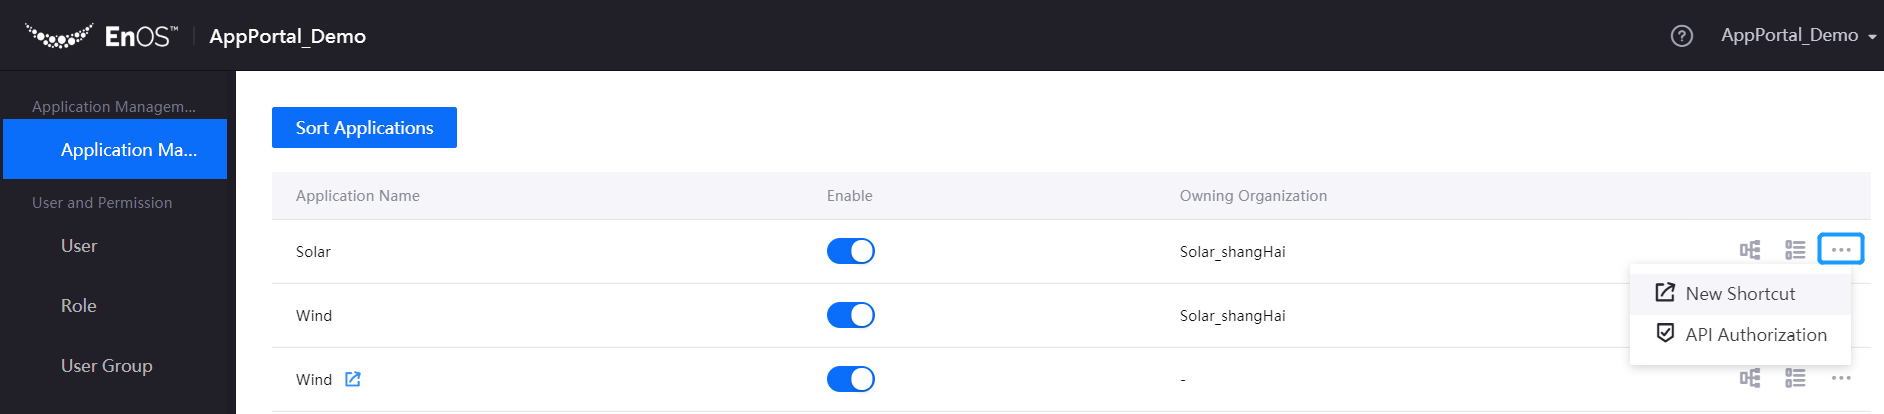
Log in to the Application Portal admin console and select Application Management from the navigation bar.
In the list of applications, find out the application for which a shortcut needs to be created, move the cursor over the More icon, and select New Shortcut.
On the Shortcut Details page, click Edit to edit the name, category, and description of the application shortcut.

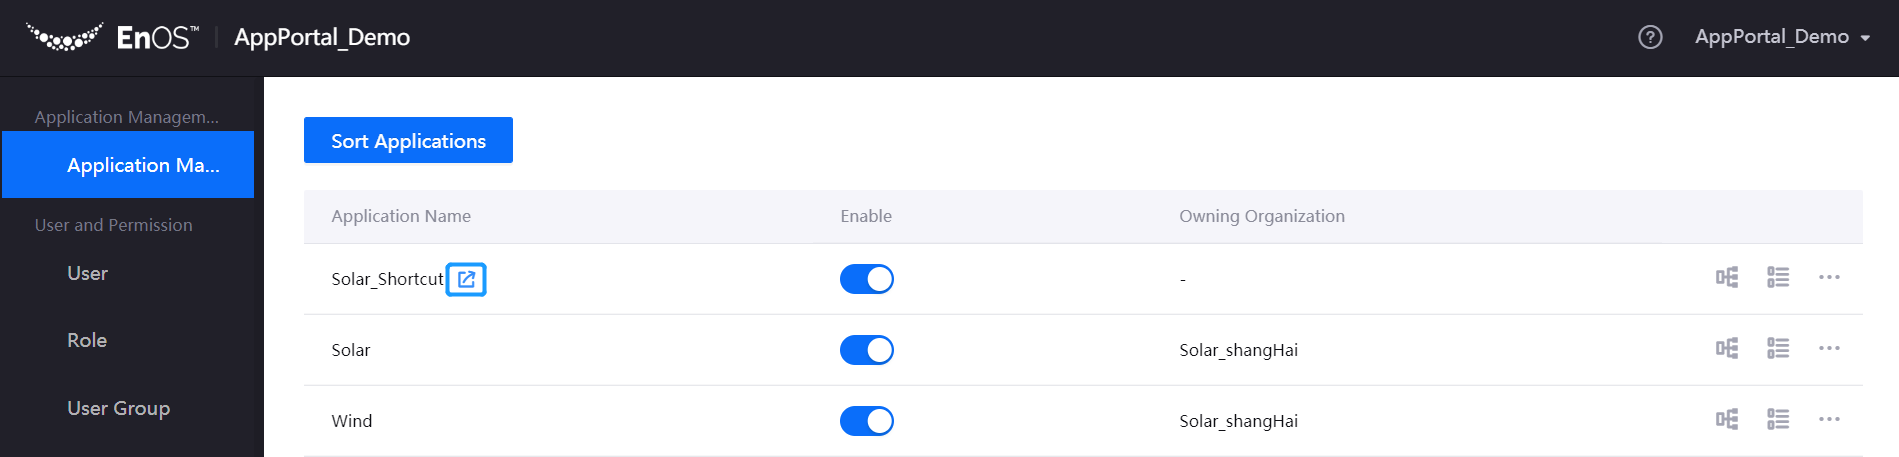
Go back to the application list page, and in the Application Name column, you can view the application shortcut you created. A Shortcut icon is displayed next to the name of the application shortcut, which is different from the main application.
Combine Application Menus
Once an application shortcut is created, the application shortcut will inherit all valid menus and menu structure of the main application by default. You can combine new menus for the application shortcut by adding, subtracting, or ordering menus.
In the list of applications, find out the application shortcut just created, move the cursor over the More icon, and select Manage Shortcut.
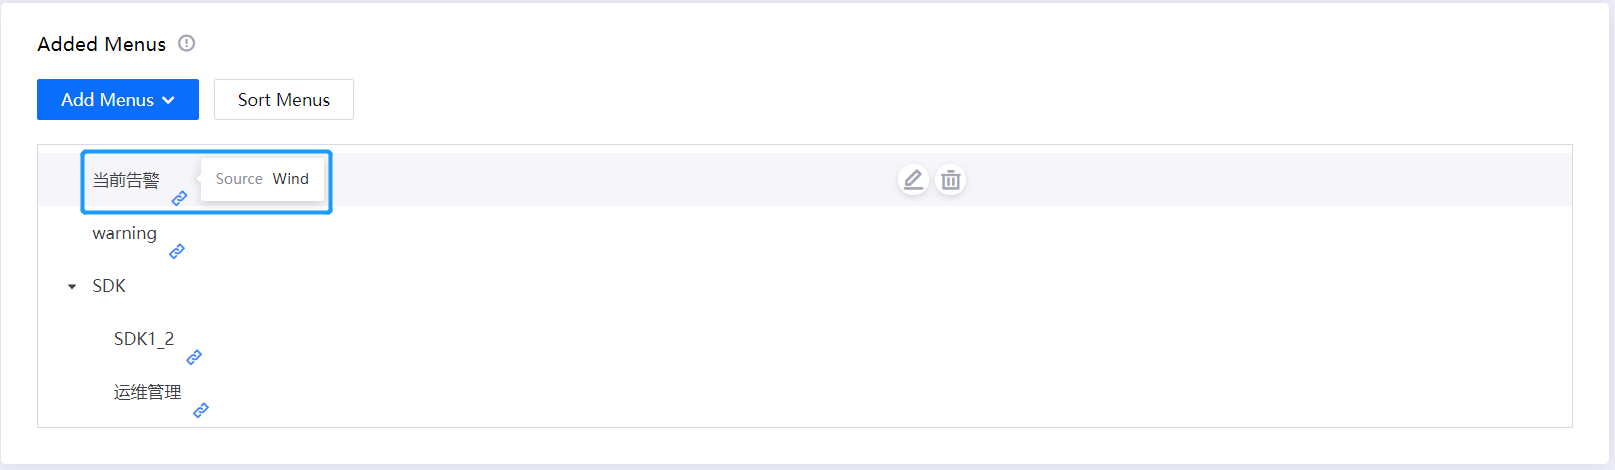
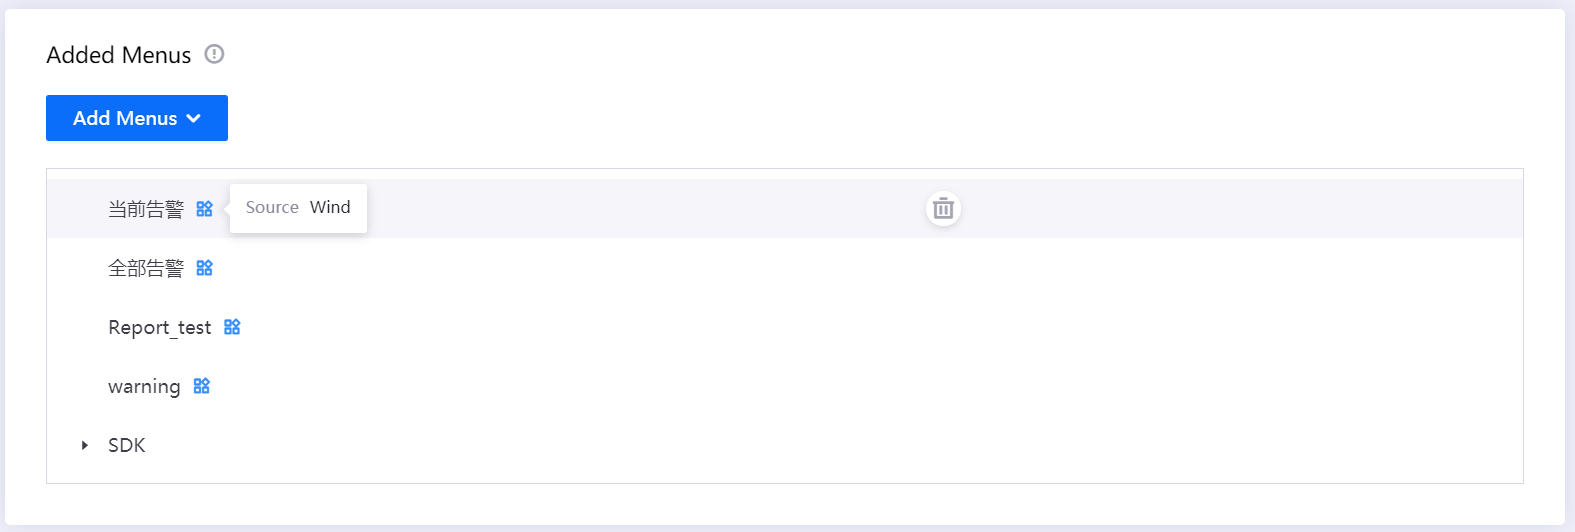
Go to the Shortcut Details page, and in the Added Menus section, move the cursor on to Link icon to view the main application from which the menu inherits.
Click the Rename icon, and enter the new name for the menu in the pop-up window.
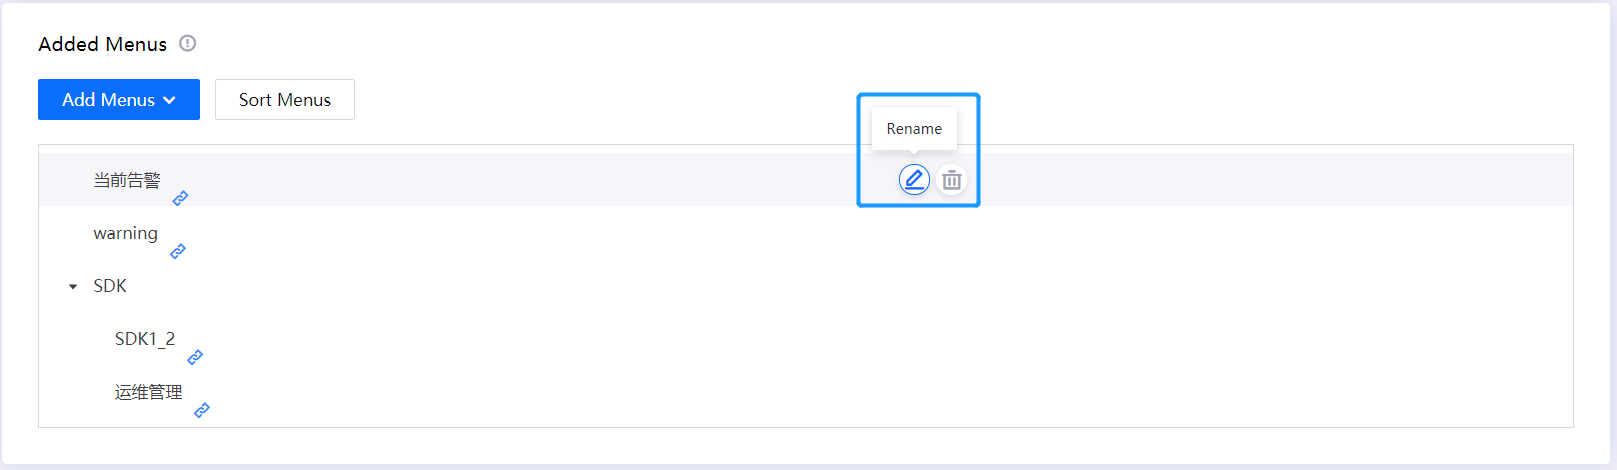
Click the Delete icon to remove a menu.
(Optional) From the Add Menu drop-down menu, select New First-class Menus to create a new level 1 menu for the application shortcut.
(Optional) From the Add Menu drop-down menu, select Add from Other Applications to get more menus from other applications to which your organization has permissions. Then combine the menus from multiple applications into the created application shortcut.
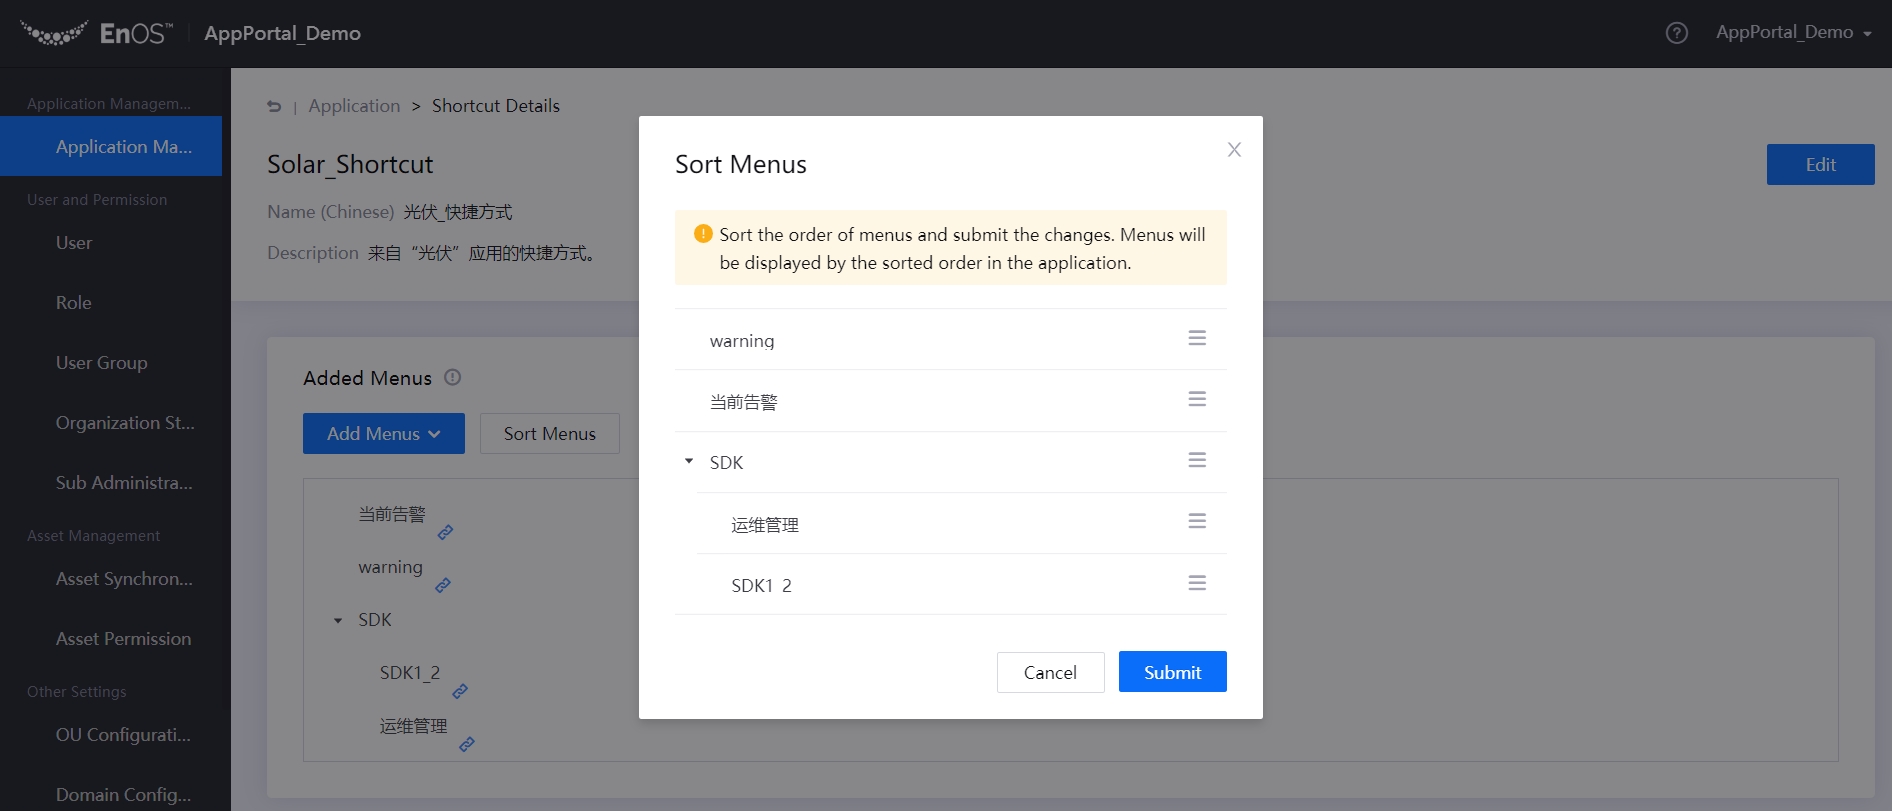
Click the Sort Menus button, drag the menu names to sort the menus in the pop-up window, and then click Submit. The menus will be displayed by the new order in the application shortcut.
Manage Application Shortcuts
The management operations for the created application shortcuts are basically the same as for the main applications, including enabling, disabling, assigning organization structures, and managing menu groups.
If the atomic menu in the application shortcut is de-authorized, the menu will be automatically deleted; if the main application is de-authorized, the application shortcut will be automatically deleted.
To delete an application shortcut, move the cursor over the More icon and select Delete Shortcut.