Quick Start: Plug-and-Play Onboarding
This section helps you quickly learn how to onboard and allocate a device to EnOS via the Device Provisioning Service using the plug-and-play (PNP) method.
About This Scenario
PNP is a method that can be used to onboard a device using the Device Provisioning Service. It involves the manufacturer applying the Device Provisioning Service’s connection information to a device before it is sold to clients, allowing clients to directly onboard the device to EnOS without any configuration needed on their side after receiving the device. PNP increases efficiency and convenience to the clients, as well as automates the manual deployment process of connecting devices.
About This Task
This task will configure and pre-register a Raspberry Pi in EnOS via the Device Provisioning Service. After successful onboarding and connecting, the device will be able to communicate with EnOS and send its data over.
This task has the following steps:
Create a model.
Configure a master data group.
Configure a registration group.
Register a device.
Connect and allocate a device.
Prerequisites
Ensure that you have registered a personal or business account with EnOS to access the EnOS Management Console.
Ensure the account has all the access for Asset and Model, and full access for Device Management Service. For more information, see Policies, Roles, and Permissions.
Ensure that your OU has purchased the Device Provisioning Service application.
Step 1: Create a Model
Log in to the EnOS Management Console and select Models from the left navigation menu.
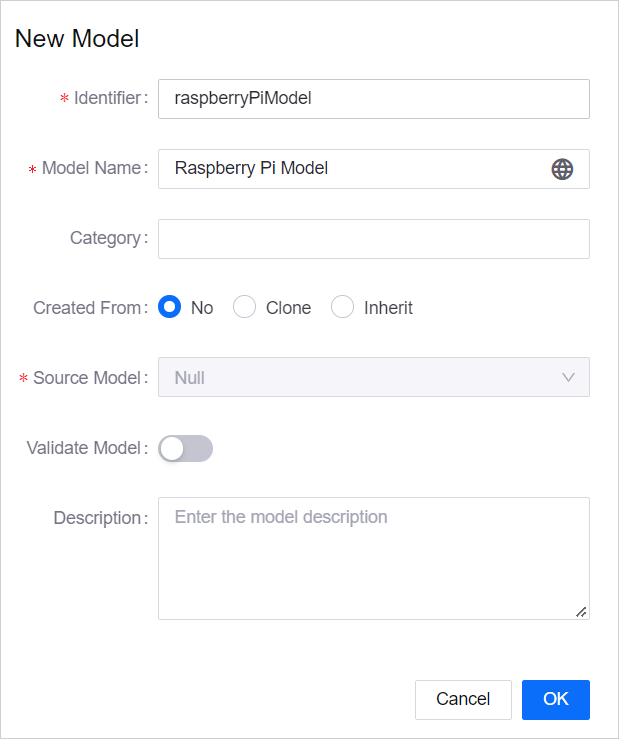
Click New Model, enter the following in the New Model window, and click OK.
Identifier:
raspberryPiModelModel Name:
Raspberry Pi ModelCategory: None
Created From:
NoValidate Model: Disabled
Description:
Model for Raspberry Pi
The created model will appear in the list of models in the Models page.
Step 2: Configure a Master Data Group
Select Device Provisioning Service > Master Data Group Management from the left navigation menu.
Click New Master Data Group, enter the following in the New Master Data Group page, and click Save.
Name:
Raspberry Pi Master Data GroupDescription:
Master data group for Raspberry Pi
The created master data group will appear in the list of master data groups in the Master Data Group Management page. Click its View Details icon.
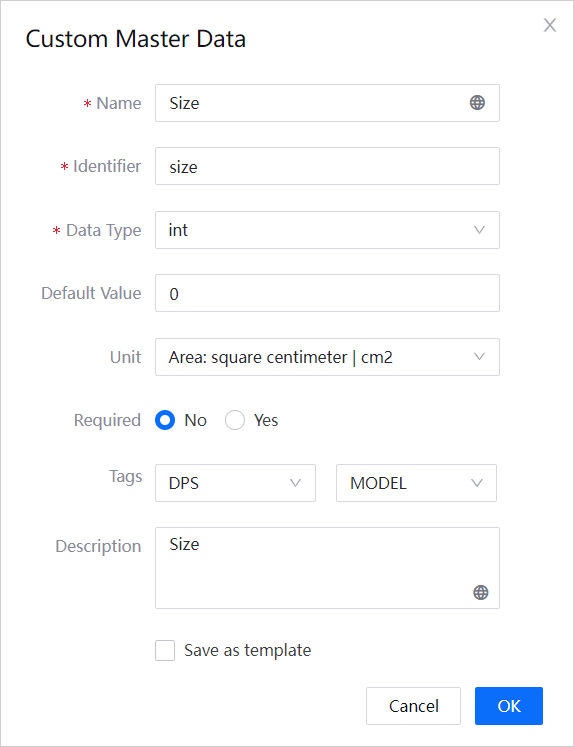
Click Create Master Data > Create Custom Master Data, enter the following in the Custom Master Data window, and click OK.
Name:
SizeIdentifier:
sizeData Type:
intDefault Value:
0Unit:
Area: square centimeter | cm2Required:
NoTags:
DPS(key),MODEL(value)Description:
Size
The created master data will appear in the list of master data under Master Data Group Master Data.
Step 3: Configure a Registration Group
Select Device Provisioning Service > Registration Group Management from the left navigation menu.
Click New Registration Group, enter the following in the New Registration Group page, and click Save.
Basic Information
Registration Group:
Raspberry Pi Registration GroupMaster Data Group:
Raspberry Pi Master Data GroupReprovision Method:
Reprovision and migrate configuration informationDescription:
Registration group for Raspberry Pi
Gateway Information
Gateway:
IotHubModel Type:
PrivateOU to Allocate: Select the environment the OU where the model created in Step 1 is located and the OU
Model: Select the model created in Step 1, which is the
Raspberry Pi ModelData Parsing Format:
Json
Connection Information
Auto Device Allocation: Enabled
The created registration group will appear in the list of registration groups in the Registration Group Management page.
Step 4: Register a Device
In the Registration Group Management page, find the registration group
Raspberry Pi Registration Groupcreated in Step 3 and click its View Details icon.Click the Device Information tab and click Register Device.
Enter the following fields and click Register.
Registration Method:
Manual InputDevice Serial No.:
ELS0718Batch Tag:
1
The registered device will appear in the list of devices under the Device Information tab.
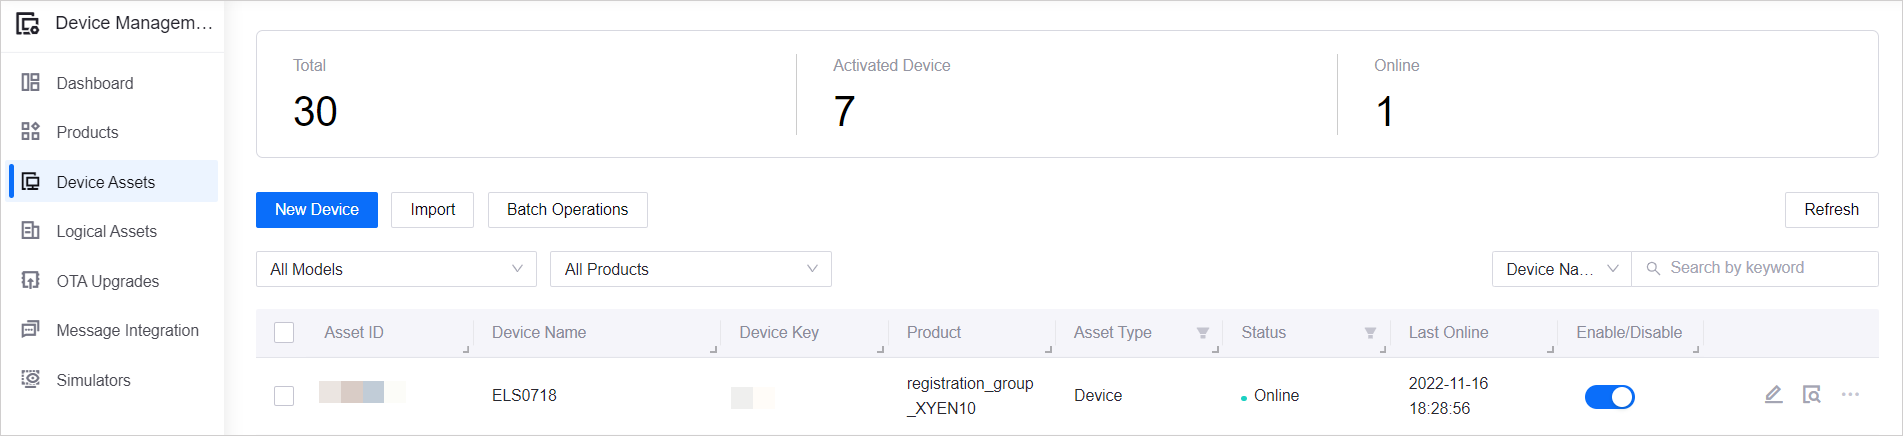
Step 5: Connect and Allocate the Device
Connect the device to EnOS by using the registration group’s credentials (Group ID and Group Secret) and the device’s serial number. For more information, see Configure and Connect the Raspberry Pi to EnOS.
After successfully connecting, the device’s Connectivity Status will change from Not connected to Connected and Allocation Status will change from Not allocated to Allocated.
The device will also appear in the list of devices in Device Management > Device Assets.