Quick Start: Device Provisioning Preparation
This section helps you quickly learn how to generate QR codes for provisioning devices to EnOS via the Device Provisioning Service.
About This Scenario
Before selling devices to clients, manufacturers can register the devices on EnOS using the Device Provisioning Service, and batch generate QR codes and device authentication information and apply them to the devices, after which the clients can scan the QR code for the devices to automatically onboard them to the cloud without any further complicated configurations.
This method enables the efficient onboarding of device with minimal on-site human efforts through a smooth device adding and mobile onboarding verification process.
About This Task
This task will configure, pre-register, and generate the QR codes for 5 devices for onboarding in EnOS via the Device Provisioning Service.
This task has the following steps:
Create a model.
Configure a master data group.
Configure a registration group.
Generate QR codes.
Prerequisites
Ensure that you have registered a personal or business account with EnOS to access the EnOS Management Console.
Ensure the account has all the access for Asset and Model, and full access for Device Management Service. For more information, see Policies, Roles, and Permissions.
Ensure that your OU has purchased the Device Provisioning Service application.
Step 1: Create a Model
Log in to the EnOS Management Console and select Models from the left navigation menu.
Click New Model, enter the following in the New Model window, and click OK.
Identifier:
meterModelModel Name:
Meter ModelCategory:None
Created From: No
Validate Model: Disabled
Description:
Model for meter

The created model will appear in the list of private models in the Models page.
Step 2: Configure a Master Data Group
Select Device Provisioning Service > Master Data Group Management from the left navigation menu.
Click New Master Data Group, enter the following in the New Master Data Group page, and click Save.
Name:
Meter Master Data GroupDescription:
Master data group for meter
The created master data group will appear in the list of master data groups in the Master Data Group Management page. Click its View Details icon.
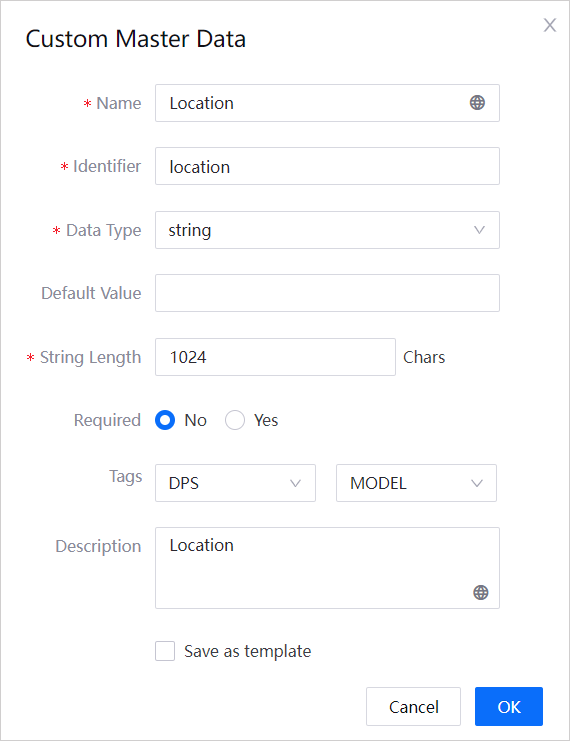
Click Create Master Data > Create Custom Master Data, enter the following in the Custom Master Data window, and click OK.
Name:
LocationIdentifier:
locationData Type:
stringDefault Value: None
String Length:
1024Required:
NoTags:
DPS(key),MODEL(value)Description:
Location
The created master data will appear in the list of master data under Master Data Group Master Data.
Step 3: Configure a Registration Group
Select Device Provisioning Service > Registration Group Management from the left navigation menu.
Click New Registration Group, enter the following in the New Registration Group page, and click Save.
Basic Information
Registration Group:
Meter Registration GroupMaster Data Group:
Meter Master Data GroupReprovision Method:
Reprovision and migrate configuration informationDescription:
Registration group for meter
Gateway Information
Gateway:
IotHubModel Type:
PrivateOU to Allocate: Select the environment the OU where the model created in Step 1 is located and the OU
Model: The model created in Step 1, which is the
Meter ModelData Parsing Format:
Json
Connection Information
Auto Device Allocation: Enabled
The created registration group will appear in the list of registration groups in the Registration Group Management page.
Step 4: Register a Device
In the Registration Group Management page, find the registration group
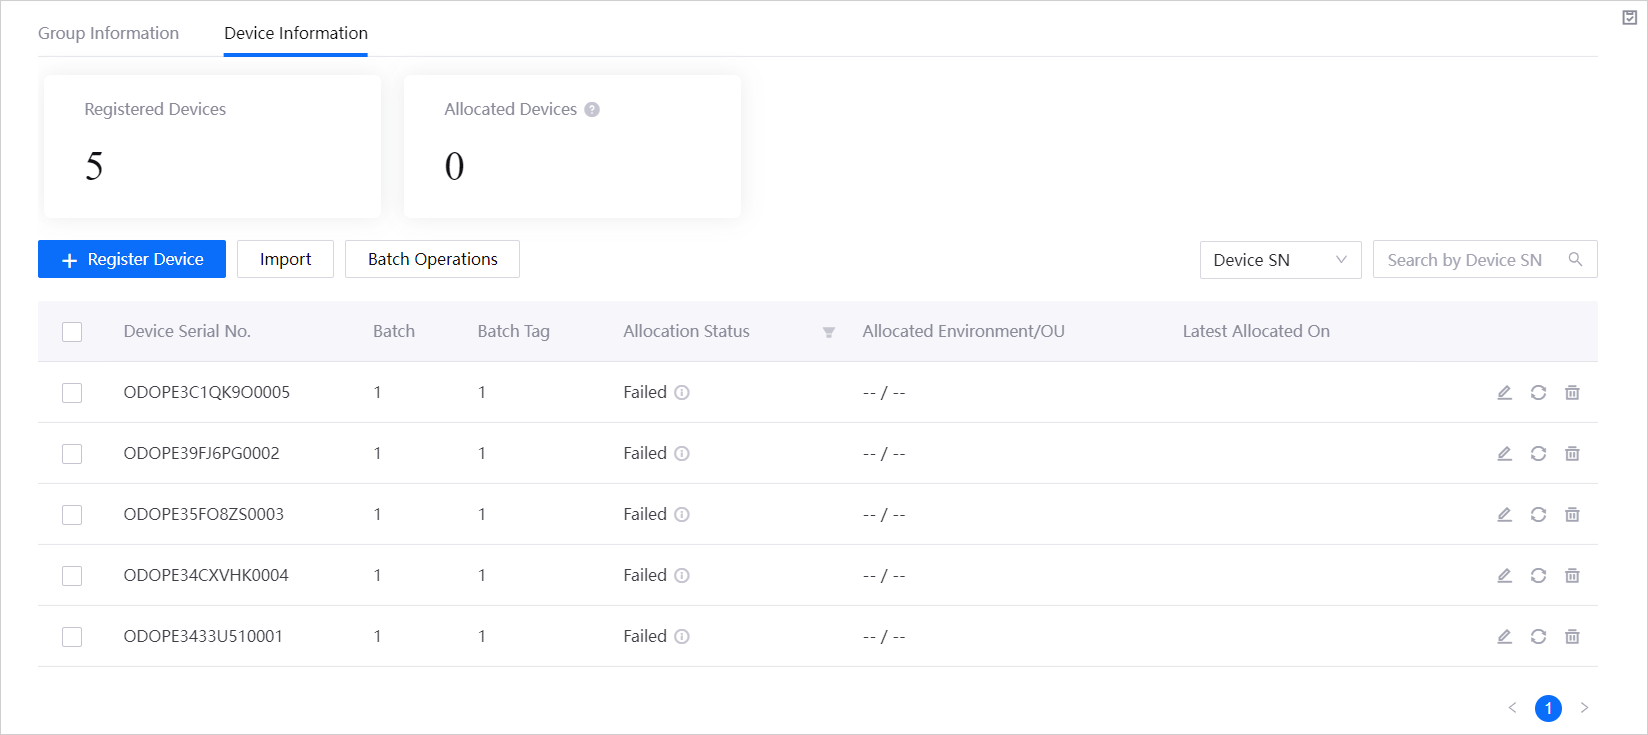
Meter Modelcreated in Step 3 and click its View Details icon.Click the Device Information tab and click Register Device.
Enter the following fields and click Register.
Registration Method:
System GeneratedQuantity:
5Batch Tag:
1Tick the Export QR Code checkbox.
The QR codes will be in a ZIP file. Save the ZIP to your local directory.
The registered devices will appear in the list of devices under the Device Information tab.
Next Steps
After generating the QR code, you can affix it to the surface of the device and burn the device SN into the device, create a QR code scanning application to retrieve the device status by scanning the QR code, and utilize the Device Provisioning Service APIs and Device SDK to integrate the device with the burned SN into EnOS, completing the device’s connection to the cloud.