Managing Logical Assets
The logical asset refers to a physical location or container that includes a series of devices that are of the same type or different types. For example, a wind farm is a logical asset, which includes several wind generators. Different wind farms will have common attributes, runtime data, and status, such as average wind speed, average power generation, etc.
Prerequisites
Ensure you have the Developer role to access Application Portal > Developer Console. If not, you need to contact the OU Administrator to add.
For limitations on logical assets, see Limitations.
Creating Logical Assets
In EnOS Application Portal, you can create logical assets under Device Management > Asset Trees.
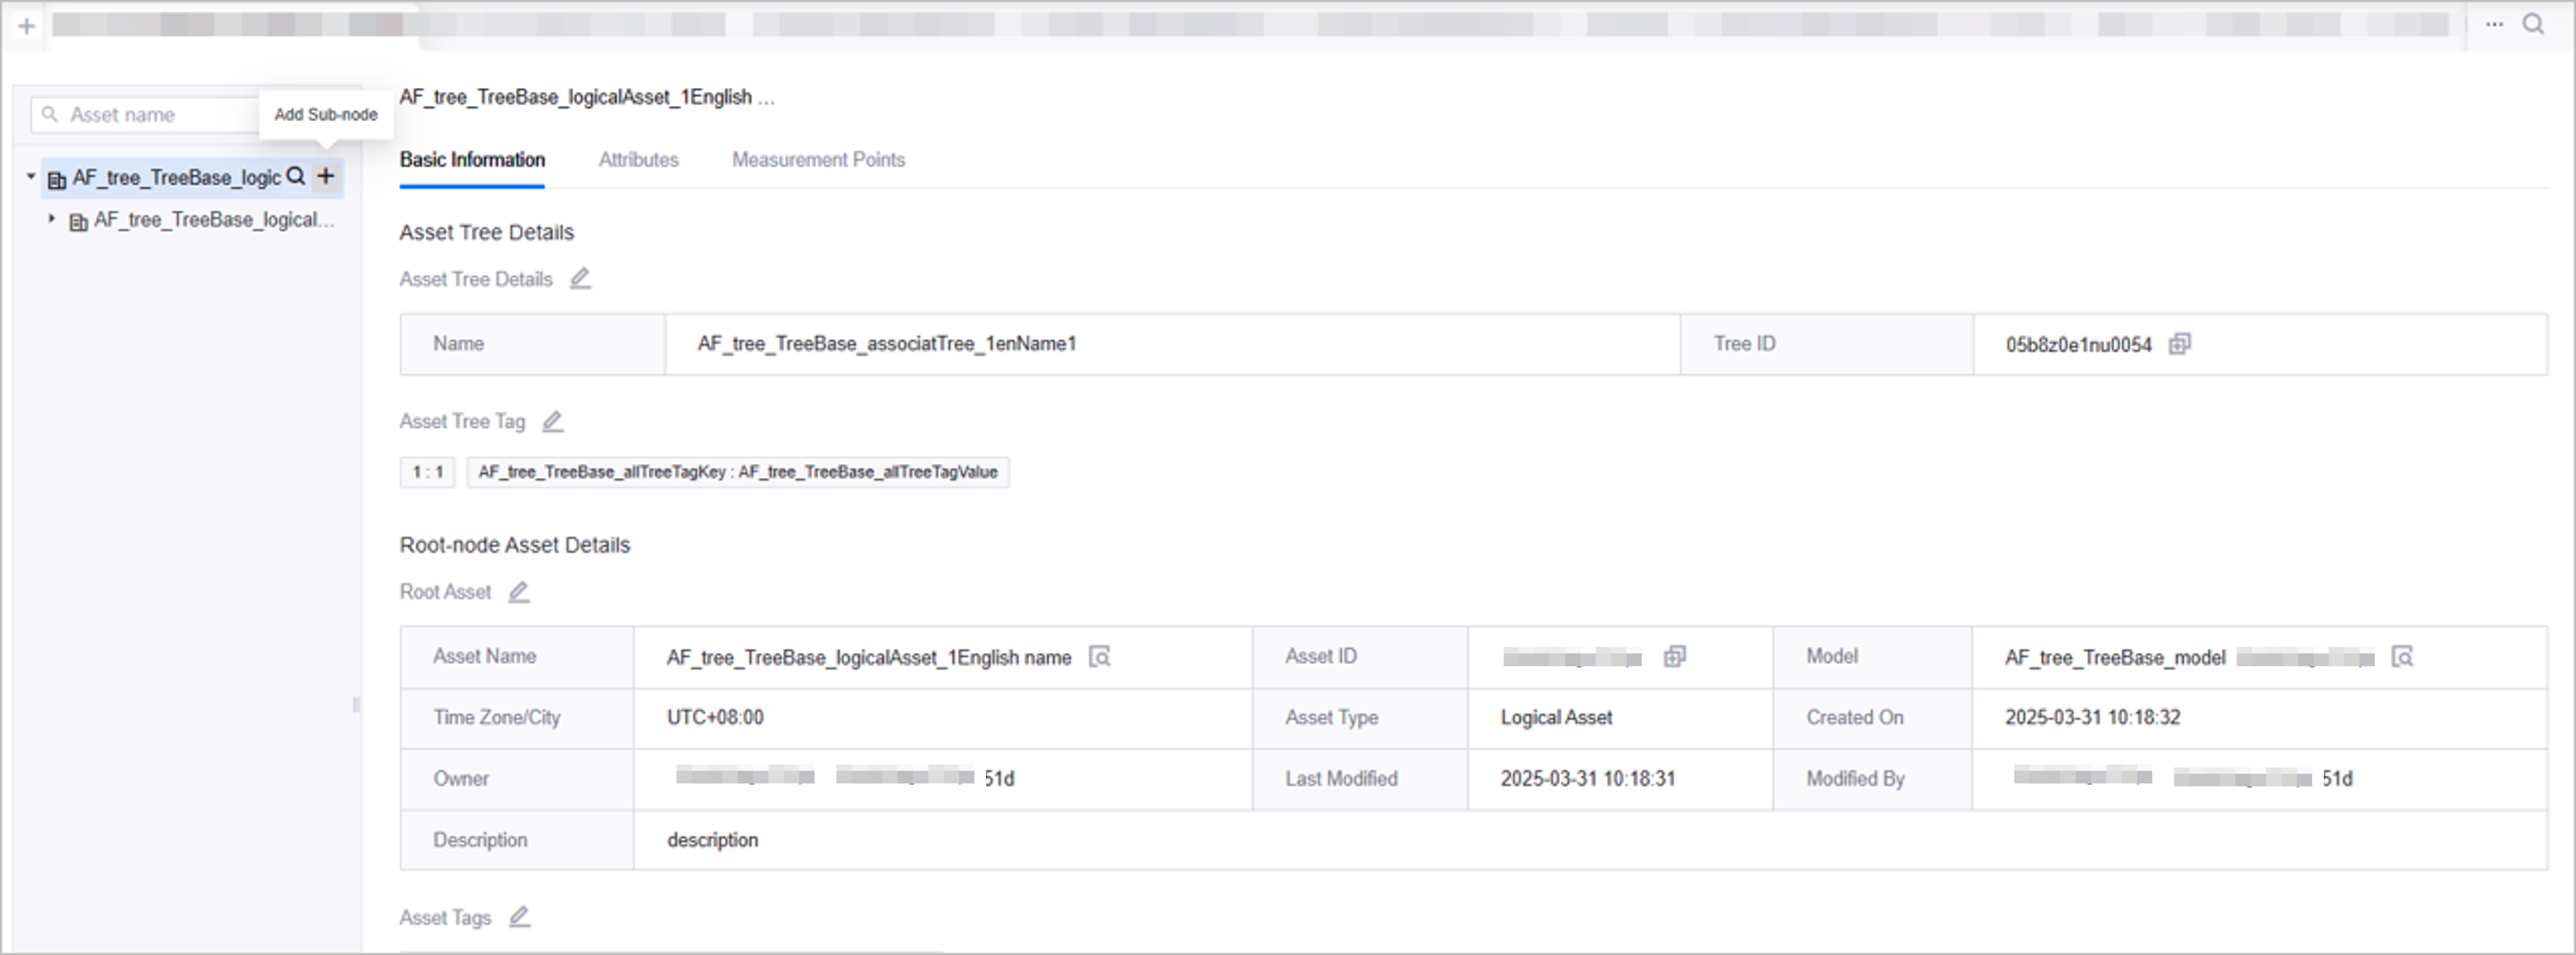
In EnOS Application Portal > Developer Console, select Device Management > Asset Tree. From the asset tree list at the top, select an existing asset tree or Creating an Asset Tree.
Select a node in the asset tree to serve as the parent node for your logical asset. Click + Add Sub-node for that node.
In the popup window, select Create an Asset and Bind.
Fill in the logical asset’s basic information and attribute values, then click Confirm.
After creation, the asset will appear under the parent node and be synchronized to Device Management > Logical Assets list.
Editing and Deleting Logical Assets
In EnOS Application Portal’s developer console, go to Device Management > Logical Assets.
Click the Edit icon
 for a logical asset to modify its name, timezone, and description.
Click the View icon
 for a logical asset. Under Tags, you can:
Add tags
Edit existing tags
Delete existing tags
To delete a logical asset:
Click … > Delete for a single asset or use Batch Operations at the top of the list.
Select assets to delete and click Delete.
Viewing Logical Asset Details
In EnOS Application Portal > Developer Console, go to Device Management > Logical Assets.
Click the View icon
for a logical asset to:View basic information and associated model details under Asset Details.
View attribute values under Attributes.
View uploaded measurement values under Measurements.
View uploaded files, download files and delete files under File.
Exporting Logical Assets
This function enables you to export logical assets across different models.
In EnOS Application Portal > Developer Console, select Device Management > Logical Assets, and click Batch Operations.
You can either export all of the logical assets listed by clicking Export > Export All, or export specific logical assets by selecting the logical assets you wish to export and click Export > Export Selected.
Save the ZIP file to your local directory. The ZIP file will contain Excel files. Each Excel file represents a model with the file name containing the model’s model ID, with the logical assets inside each Excel file under the model that the Excel template represents.
Importing Logical Assets
This function enables you to batch create new logical assets or batch update existing logical assets across different models using Excel.
Batch importing of existing logical assets will update the existing information. If there are no existing logical assets, new logical assets will be created.
In EnOS Application Portal > Developer Console, select Device Management > Logical Assets.
Click the Import button.
Upload a ZIP File that contains one or multiple logical asset .xlsx files. For file size limitations, refer to the pop-up window.
If you require a template, select one or multiple existing models from Template and click Generate Template to generate Excel templates based on the selected models. The templates will be inside a ZIP file. Edit the template once it’s downloaded, ZIP it up, and upload the file.Do not leave blank rows between the rows as the file may fail to import.
Note
Each Excel template represents a model. The naming convention is "ModelId_yourModelId.xlsx", where yourModelId refers to the model ID of a model, which can be found in Models. Therefore, all logical assets inside the Excel file will be under the model that the Excel template represents.

4. Click Import.
5. If invalid records exist, a pop-up window will show an error message and a Download Error File link. Click to download the file, check the cause of the error, rectify it, and upload the file again.
6. Once the logical assets are successfully imported, the new logical assets will appear in the list of logical assets in Device Management > Logical Assets. You can also click … > Asset Tree Total in the logical asset list to view the asset tree where the logical asset is located.