Managing Sites and Devices
After creating sites and devices, you can edit, delete, and enable or disable operations on sites, devices, components, and custom type assets in Site Onboarding.
Prerequisites
The current account has access permissions for Site Onboarding, as well as permission points related to asset management. Contact the application administrator if necessary.
Normal users can only edit sites with a status of Draft. If you need to edit a site with a status of Released, ensure that the current account has super administrator authority in the current OU.
Managing Sites
On Site Onboarding > Configure Sites step page, you can edit sites that have been created but not connected, or delete the sites.
Editing Sites
Select Site Onboarding in the left navigation bar.
Select the site to edit, enter the site details page, and edit the site attribute values.
After editing, select Save to complete site editing.
Deleting Sites
In Site Onboarding, select Delete  for the site to be deleted. The site will be deleted after confirmation.
When deleting a site, if you see the prompt
Cannot be deleted because there are devices under the site, it means that devices have been created under the site. You need to enter Configure Devices step page and delete all devices under the site before deleting the site.When deleting a device under a site, if you see the prompt
This asset is already assigned on the asset tree, please unmount and try again, indicating that the site and the device have been automatically synchronized and assigned on the asset tree of EnOS Management Console, you cannot delete it directly in Onboarding Tool. You need to contact the system administrator and then go to EnOS Management Console to remove the corresponding device node on the asset tree. Then, in Onboarding Tool > Site Onboarding page, delete all devices under the site on Configure Devices step page to delete the site.
Managing Devices and Components
On Site Onboarding > Configure Devices step page, you can enable, disable, edit, delete, and export the devices and components under the current site.
Enabling/Disabling Devices and Components
Enabling/disabling individual devices:
Select Site Onboarding in the left navigation bar. After selecting the target site. On Configure Devices step page, select Device/Component tab.
Once turned on, devices and components must be Enabled to use the device/component. Turning off the switch disables the device/component.
Batch enabling/disabling devices:
Select Site Onboarding in the left navigation bar. After selecting the target site. On Configure Devices step page, select Device/Component tab.
Check the devices/components that need to be enabled/disabled. In More, select Enable to batch enable the checked devices/components. Select Disable to batch disable the checked devices/components.
Editing Devices and Components
Select Site Onboarding in the left navigation bar. After selecting the target site. On Configure Devices step page, select Device/Component tab.
Select View Details
 for the device/component to be edited.
Select Edit to edit the device/component information. Information such as the type, model, manufacturer, and model of the device/component cannot be edited.
After editing, select Save to complete editing of the device/component.
Deleting Devices and Components
To delete a single device:
Select Site Onboarding in the left navigation bar, then select the corresponding site to go to Configure Devices step page.
Select Delete
for the device/component to be deleted, then select OK in the pop-up to complete the deletion.
Batch deleting devices:
Select Site Onboarding in the left navigation bar, then select the corresponding site to go to Configure Devices step page.
Check the devices/components that need to be deleted, then under More, select Delete to batch delete the checked devices/components.
When deleting a device, if you see the prompt This asset is already assigned on the asset tree, please unmount and try again, indicating that the site and the device have been automatically synchronized and assigned on the asset tree of EnOS management console, and cannot be connected import tool to delete directly. You need to contact the system administrator to go to EnOS management console to remove the corresponding device node on the asset tree. Then, on Onboarding Tool > Site Onboarding page, delete all devices under the site in Configure Devices step.
Exporting Devices and Components
Select Site Onboarding in the left navigation bar. After selecting the target site. On Configure Devices step page, select Device/Component tab.
Select Export to generate an export file. If you need to export some part of the list, you can query or filter and then select Export.
After the file is generated successfully, you can select Download File to download the file to local.
Managing Custom Type Assets
On Configure Devices step page, you can edit and delete custom type assets in the current site.
Editing Custom Type Assets
Select Site Onboarding in the left navigation bar. After selecting the target site. On Configure Devices step page, select Custom Type tab.
Select View Details
 for the custom type asset to be edited to edit its information. Information such as custom type asset type and model cannot be edited.
After editing, select Save to complete custom type asset editing.
Deleting Custom Type Assets
Select Site Onboarding in the left navigation bar. After selecting the target site. On Configure Devices step page, select Custom Type tab.
Select Delete
for the custom type asset to be deleted, and select OK in the pop-up to complete its deletion.
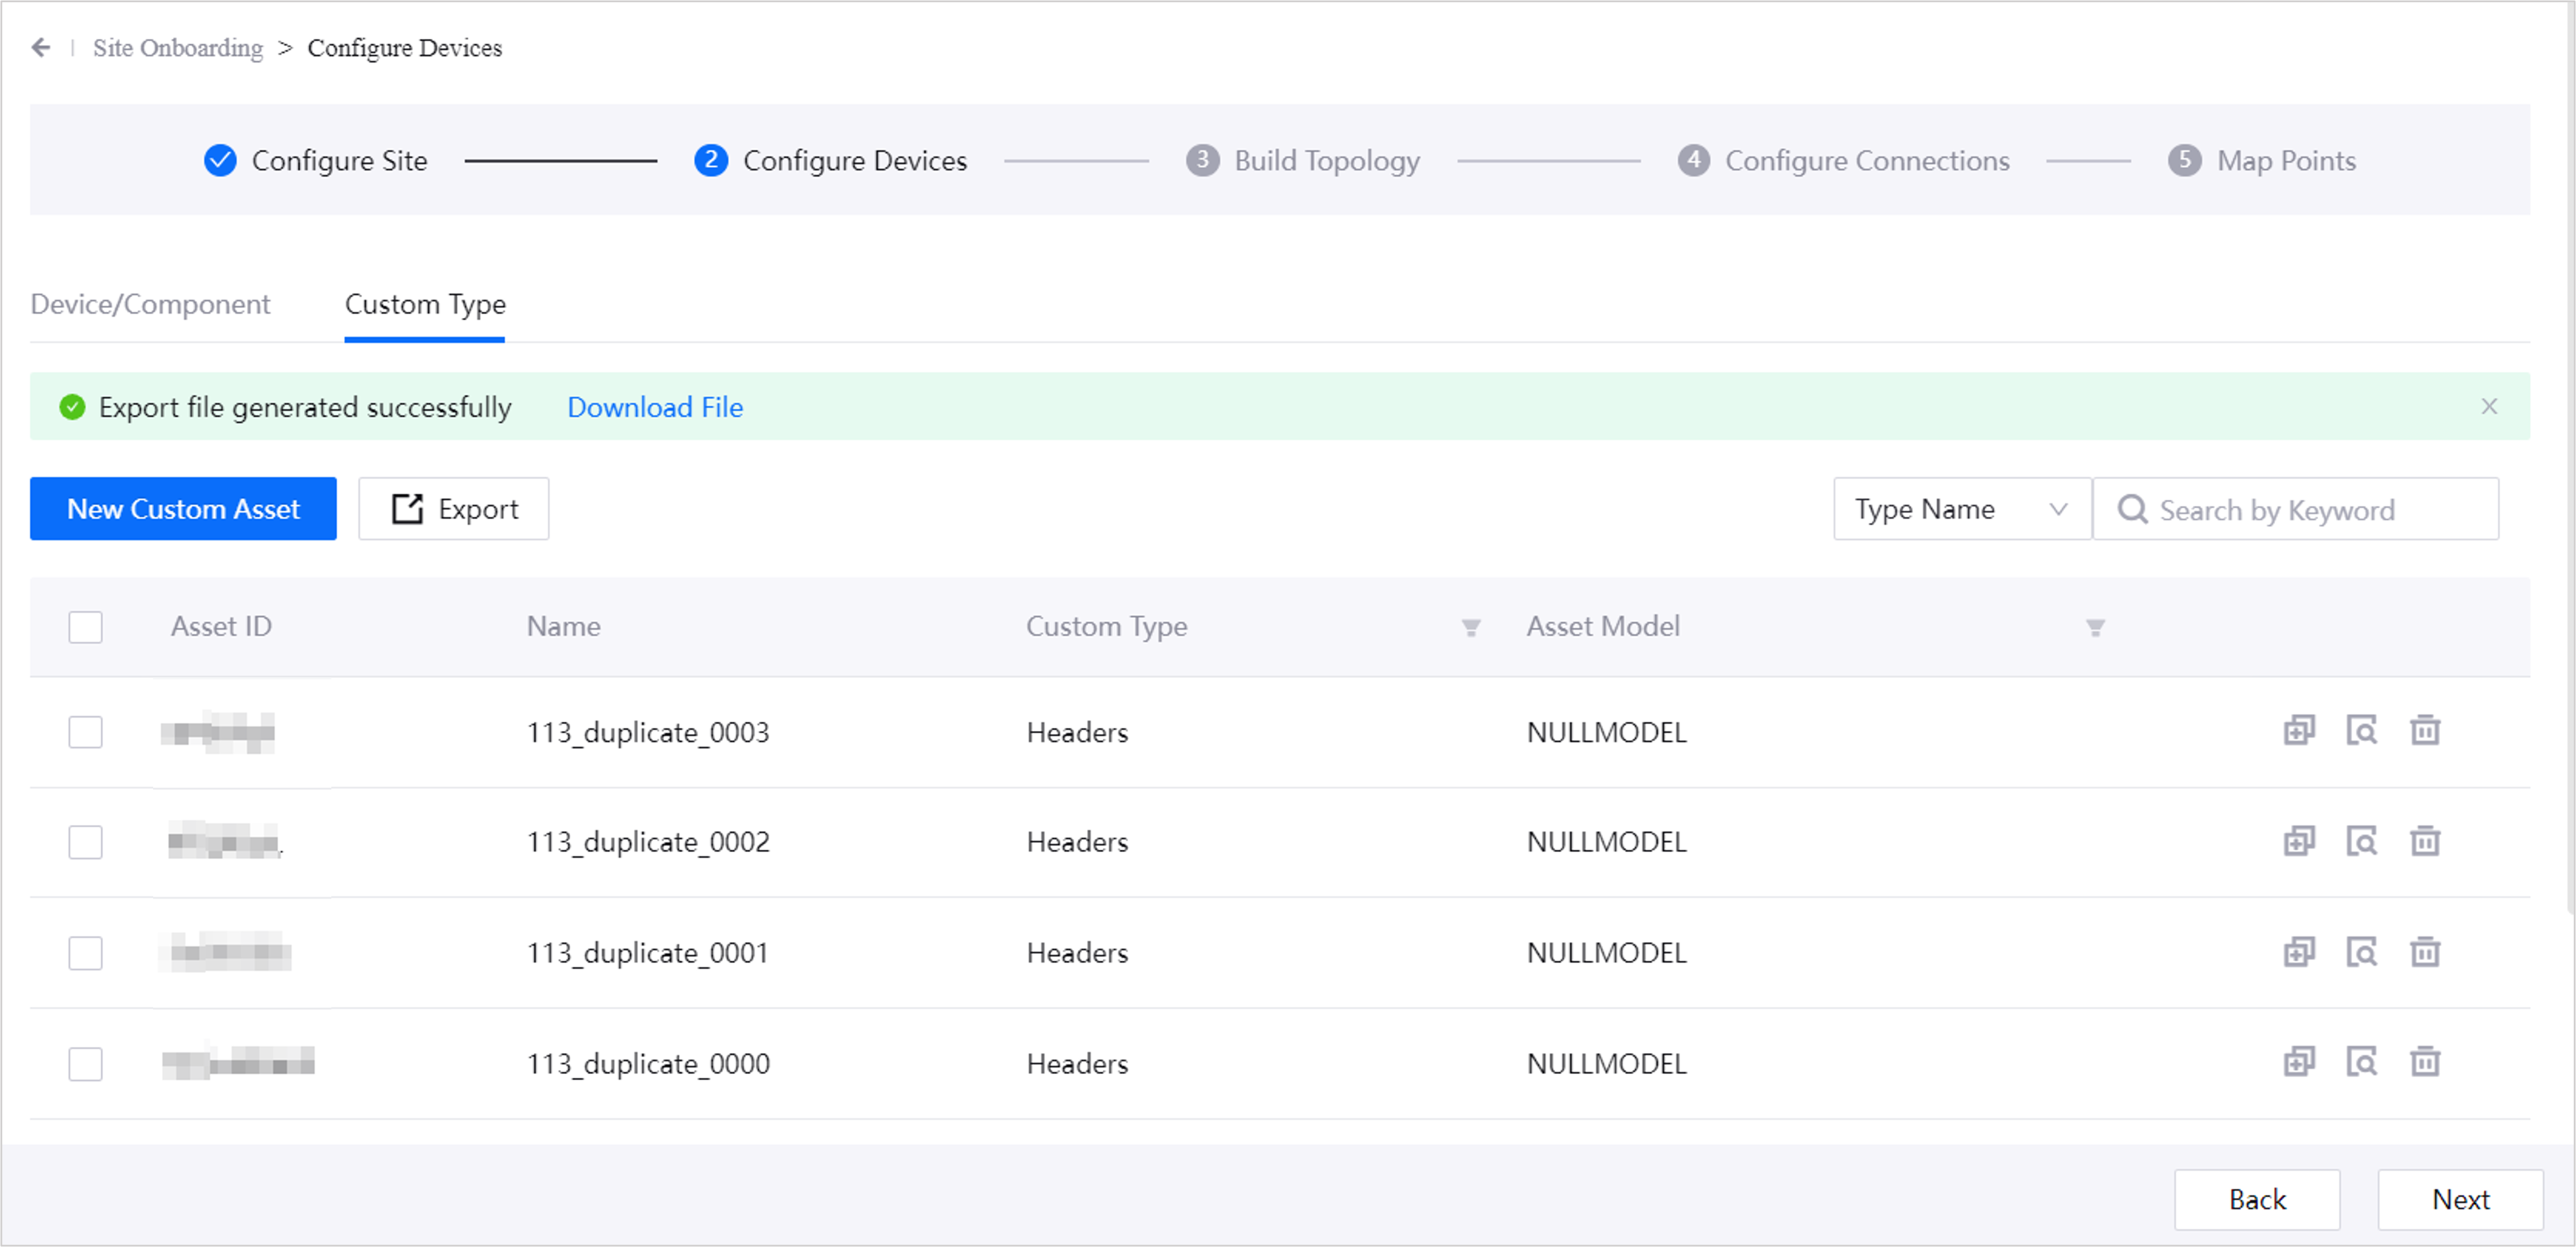
Exporting Custom Type Assets
Select Site Onboarding in the left navigation bar. After selecting the target site. On Configure Devices step page, select Custom Type tab.
Select Export to generate an export file. You can only export all custom type assets by one click.
After the file is generated successfully, you can select Download File to download the file to local.