Developing and Configuring Applications
The applications developed or purchased by an enterprise or organization based on EnOS are automatically synchronized to the Application Portal. In order to make the applications match the Application Portal, application developers need to configure the applications accordingly.
Register an Application
Application developers need to register the applications in the EnOS Management Console and configure their menus and permissions. Third-party developers also need to manage application purchasing requests from other OUs. The specific steps are given as follows:
Log in to the EnOS Management Console, select Application Registration from the left navigation bar, click Create and provide basic information about the application to complete the application registration.
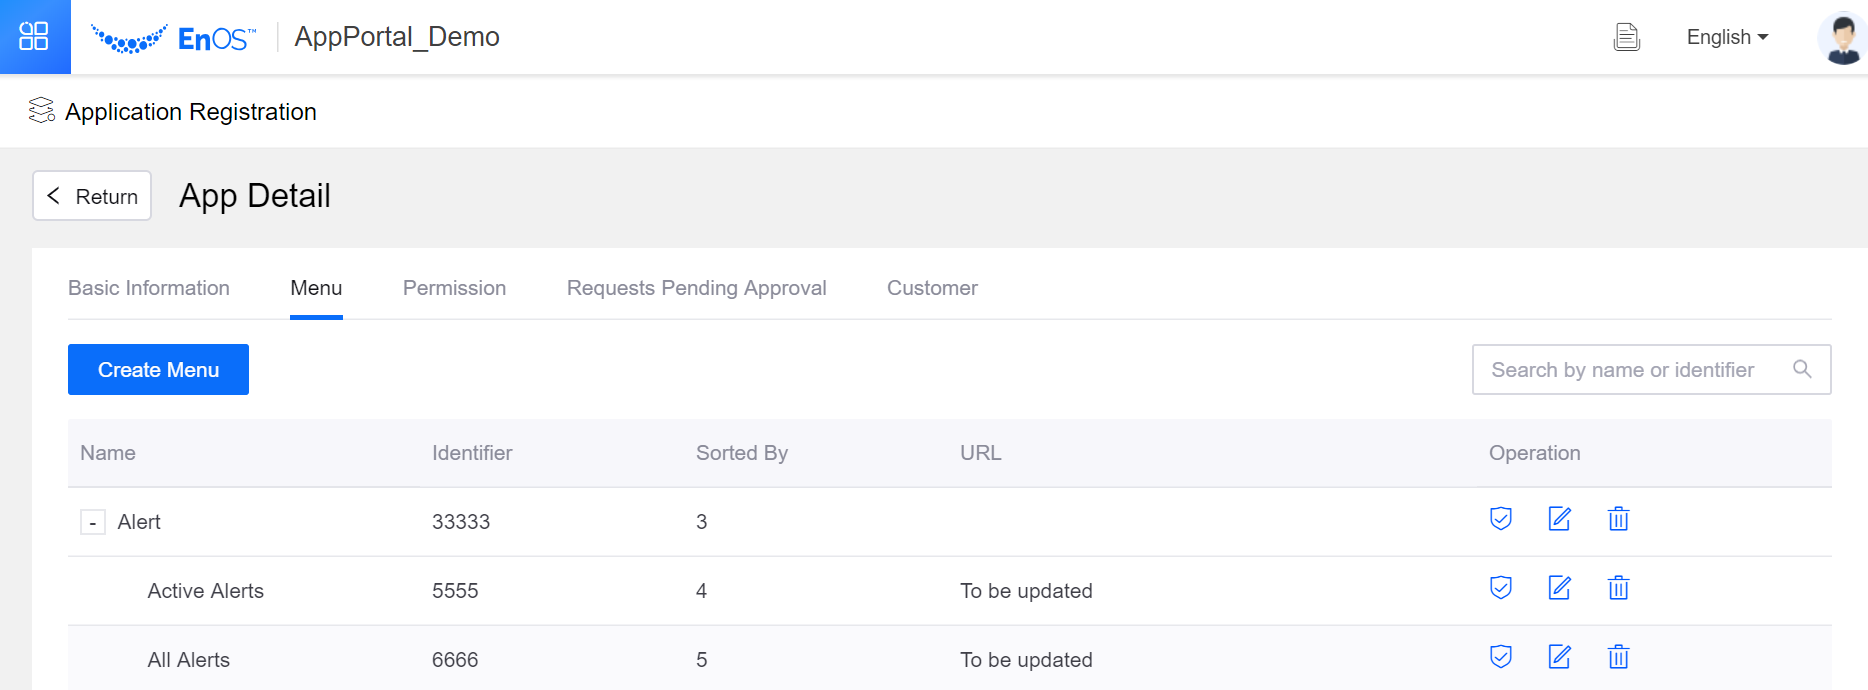
Click on the registered application, click Create Menu under the Menu tab on the App Detail page, provide the details of the menu to complete the registration of the level 1 and level 2 menus, then configure the menu URL and adjust the menu display order.
Under the Permission tab on the App Details page, click Create Access Point and provide details to complete the registration of the application permissions.
After receiving the application purchasing requests, third-party developers can view and approve the customer’s purchasing requests, and authorize the customers with appropriate menus and permissions under the Requests Pending Approval tab on the App Details page. Under the Customer tab, manage the permissions of existing customers to use applications.
For more information about application registration, see Registering and Managing Applications.
Configure Asset Permissions
Once the application is registered or purchased, the application developer needs to configure asset access permissions for the application. The specific steps are given as follows:
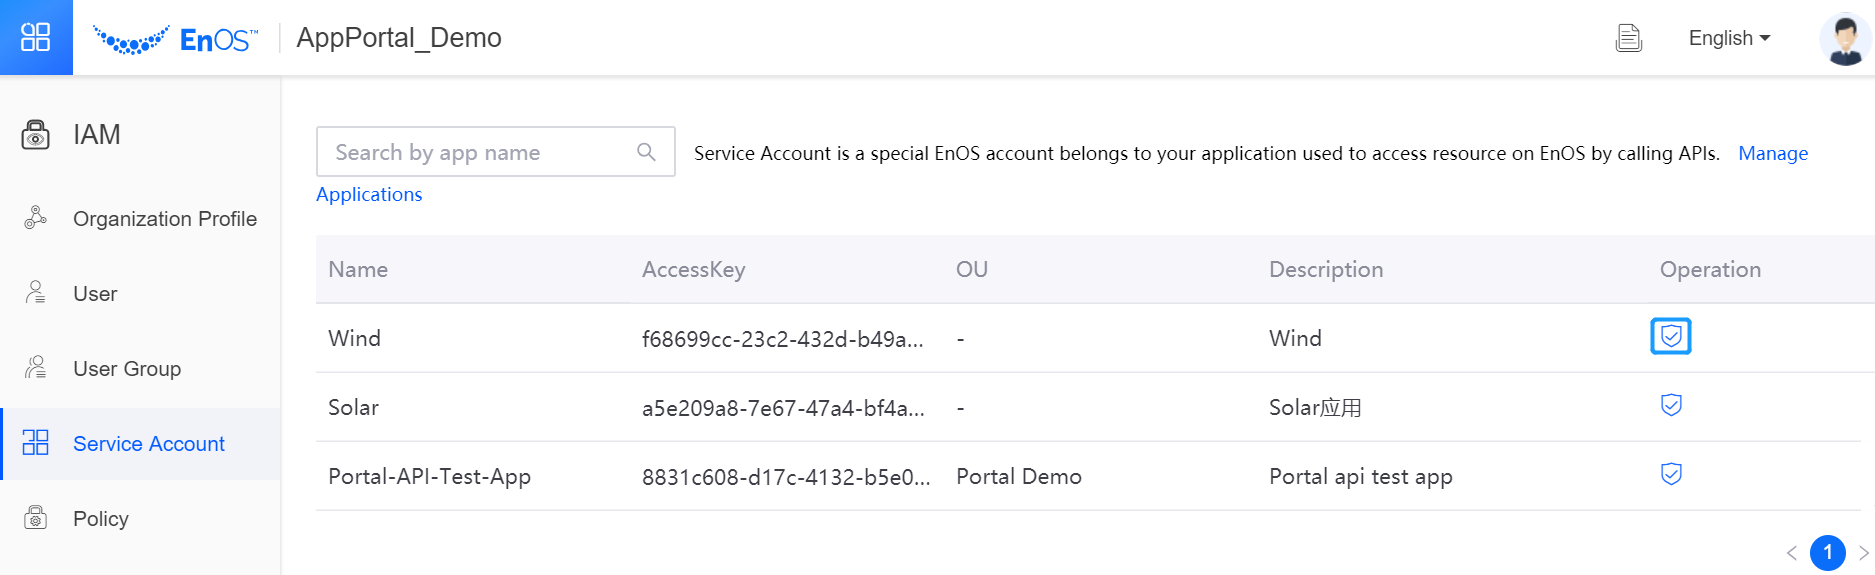
Log in to the EnOS Management Console and select IAM > Service Account from the left navigation bar.
In the list of applications, click the Authorize icon in the Operation column.
On the Authorization page, click Assign Policies to select a predefined or custom permission policy based on the actual needs of application and business. Generally, it is required to choose the predefined Asset Tree Administrator and Device Management permissions.
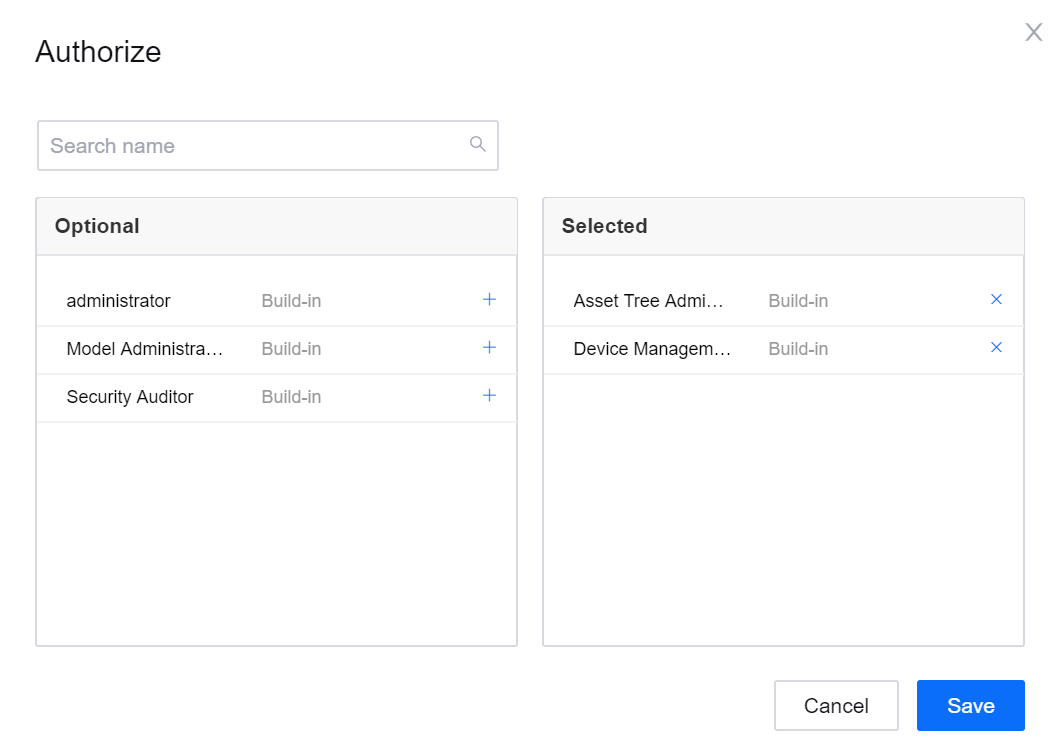
Click Save to complete the asset authorization configuration of the application.
Develop an Application
After the application registration and asset authorization are completed in the EnOS Management Console, application developers can take the following steps for application development and configuration:
Install the ENOS-APP-PORTAL front-end SDK for application development (download address and usage description: https://www.npmjs.com/package/enos-app-portal-sdk).
Use the ENOS-APP-PORTAL login page SDK to customize the login page of application portal (download address and usage description: https://www.npmjs.com/package/enos-app-portal-login).
Invoke the APP Portal service interface (that can generate and update messages), enable the function for pushing application messages to the Application Portal. Once logging in to the Application Portal, users can use the message center. For more information about the API that can generate and update messages, refer to the API documentation in EnOS Management Console > API Management > Public API > app-portal-service.
After the application development is completed, the application can be released online. Get the URL of the application menu and update the URL under the Menu tab on the App Details page.