Exporting and Importing Flows
You can export integration flows created in EnOS as .flow files for future importing purposes (different OUs, etc.), and you can import .flow files in the EnOS Management Console as well.
Before You Start
Ensure that you have read the limitations for creating flows. See Limitations.
Exporting a Flow
Log in to the EnOS Console Management and click Device Integration > Flow Designer from the left navigation menu.
In the list of flows in the Flow Designer page, find the one you wish to export and click Edit.
Click Export at the top of the page and click OK.
Choose a location in your local directory to save the file at and click Save.
The exported flow will be saved as an encrypted .flow file. You can send the file to others or use it for importing purposes.
Note
When exporting a flow, the latest saved version will be used.
The exported .flow file can only be imported and edited using the Flow Designer.
Importing a Flow
Log in to the EnOS Console Management and click Device Integration > Flow Designer from the left navigation menu.
Click Import, enter a name for the flow, upload the .flow file you wish to import and click OK.
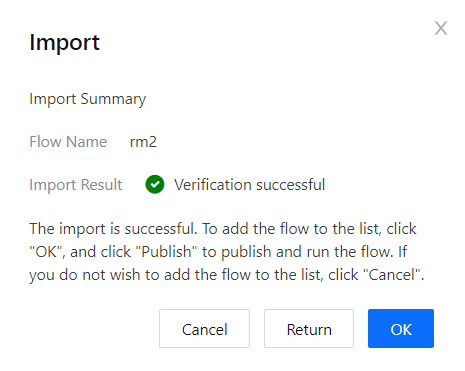
If the verification for the .flow file is successful, you will see an import summary with the name of the imported flow as well as a successful verification message. Click OK to import the file and the imported flow will be added to the list in the Flow Designer page. An imported flow has the same status as a newly created flow, therefore, you need to publish the flow to start running it.

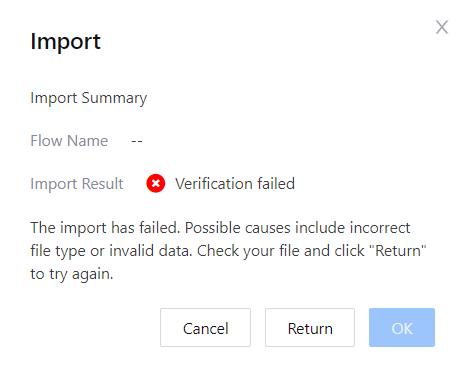
If the verification for the .flow file is unsuccessful, you will see an import summary with a message indicating that the verification has failed. Possible causes include incorrect file type or invalid data in the file. Check your import file and click Return to try again.
