Processing Work Orders Using the Work Orders Page
Work orders can be handled on the Work Orders page, including operations such as editing, assigning, scheduling, and transitioning.
Prerequisites
Before starting, make sure the current account has the required asset permissions, action permissions, and menu groups including Work Orders. If not these are assigned, contact the application administrator.
Processing Work Orders
Operations such as editing, transferring, and assigning can be performed on the work orders. The specific steps are as follows:
In the left navigation bar, select the Work Orders menu to enter the work order list.
Find the target work order and select Process to enter the work order details page.
Editing
On the work order details page, you can edit the following:
Subject: display The work order title.
Details: display information such as site, device, and description linked with the work order.
Tasks: display the tasks of the work order. Users can select New or Edit to add tasks from checklists or create tasks manually, select options from tasks, add comments to tasks, and check Completion Progress of tasks.
Files: display the attachments contained in the work order. Users can view and delete existing attachments or upload more attachments.
Linked Records: display the service requests or work orders linked with the current work order. Select Link to link other tickets in the pop-up window, or select the
 button to delete the existing link.
Downtime Records: display the downtime records linked with the current work order. Select Link to link other tickets in the pop-up window, or select the
 button to delete the existing link.
Worklog: display the work log of the current work order and the total time spent on the work order in EnOS Work Management integrated with EnOS Wind Monitoring & Control. Select Log Time to log work hours by user or number of users, and the total time spent will be calculated automatically. You can Edit or Delete the logged work.
Historical work orders: display the historical work orders of the device linked with the work order. Filtering can be performed on the device, work order type, and status.
Transitioning
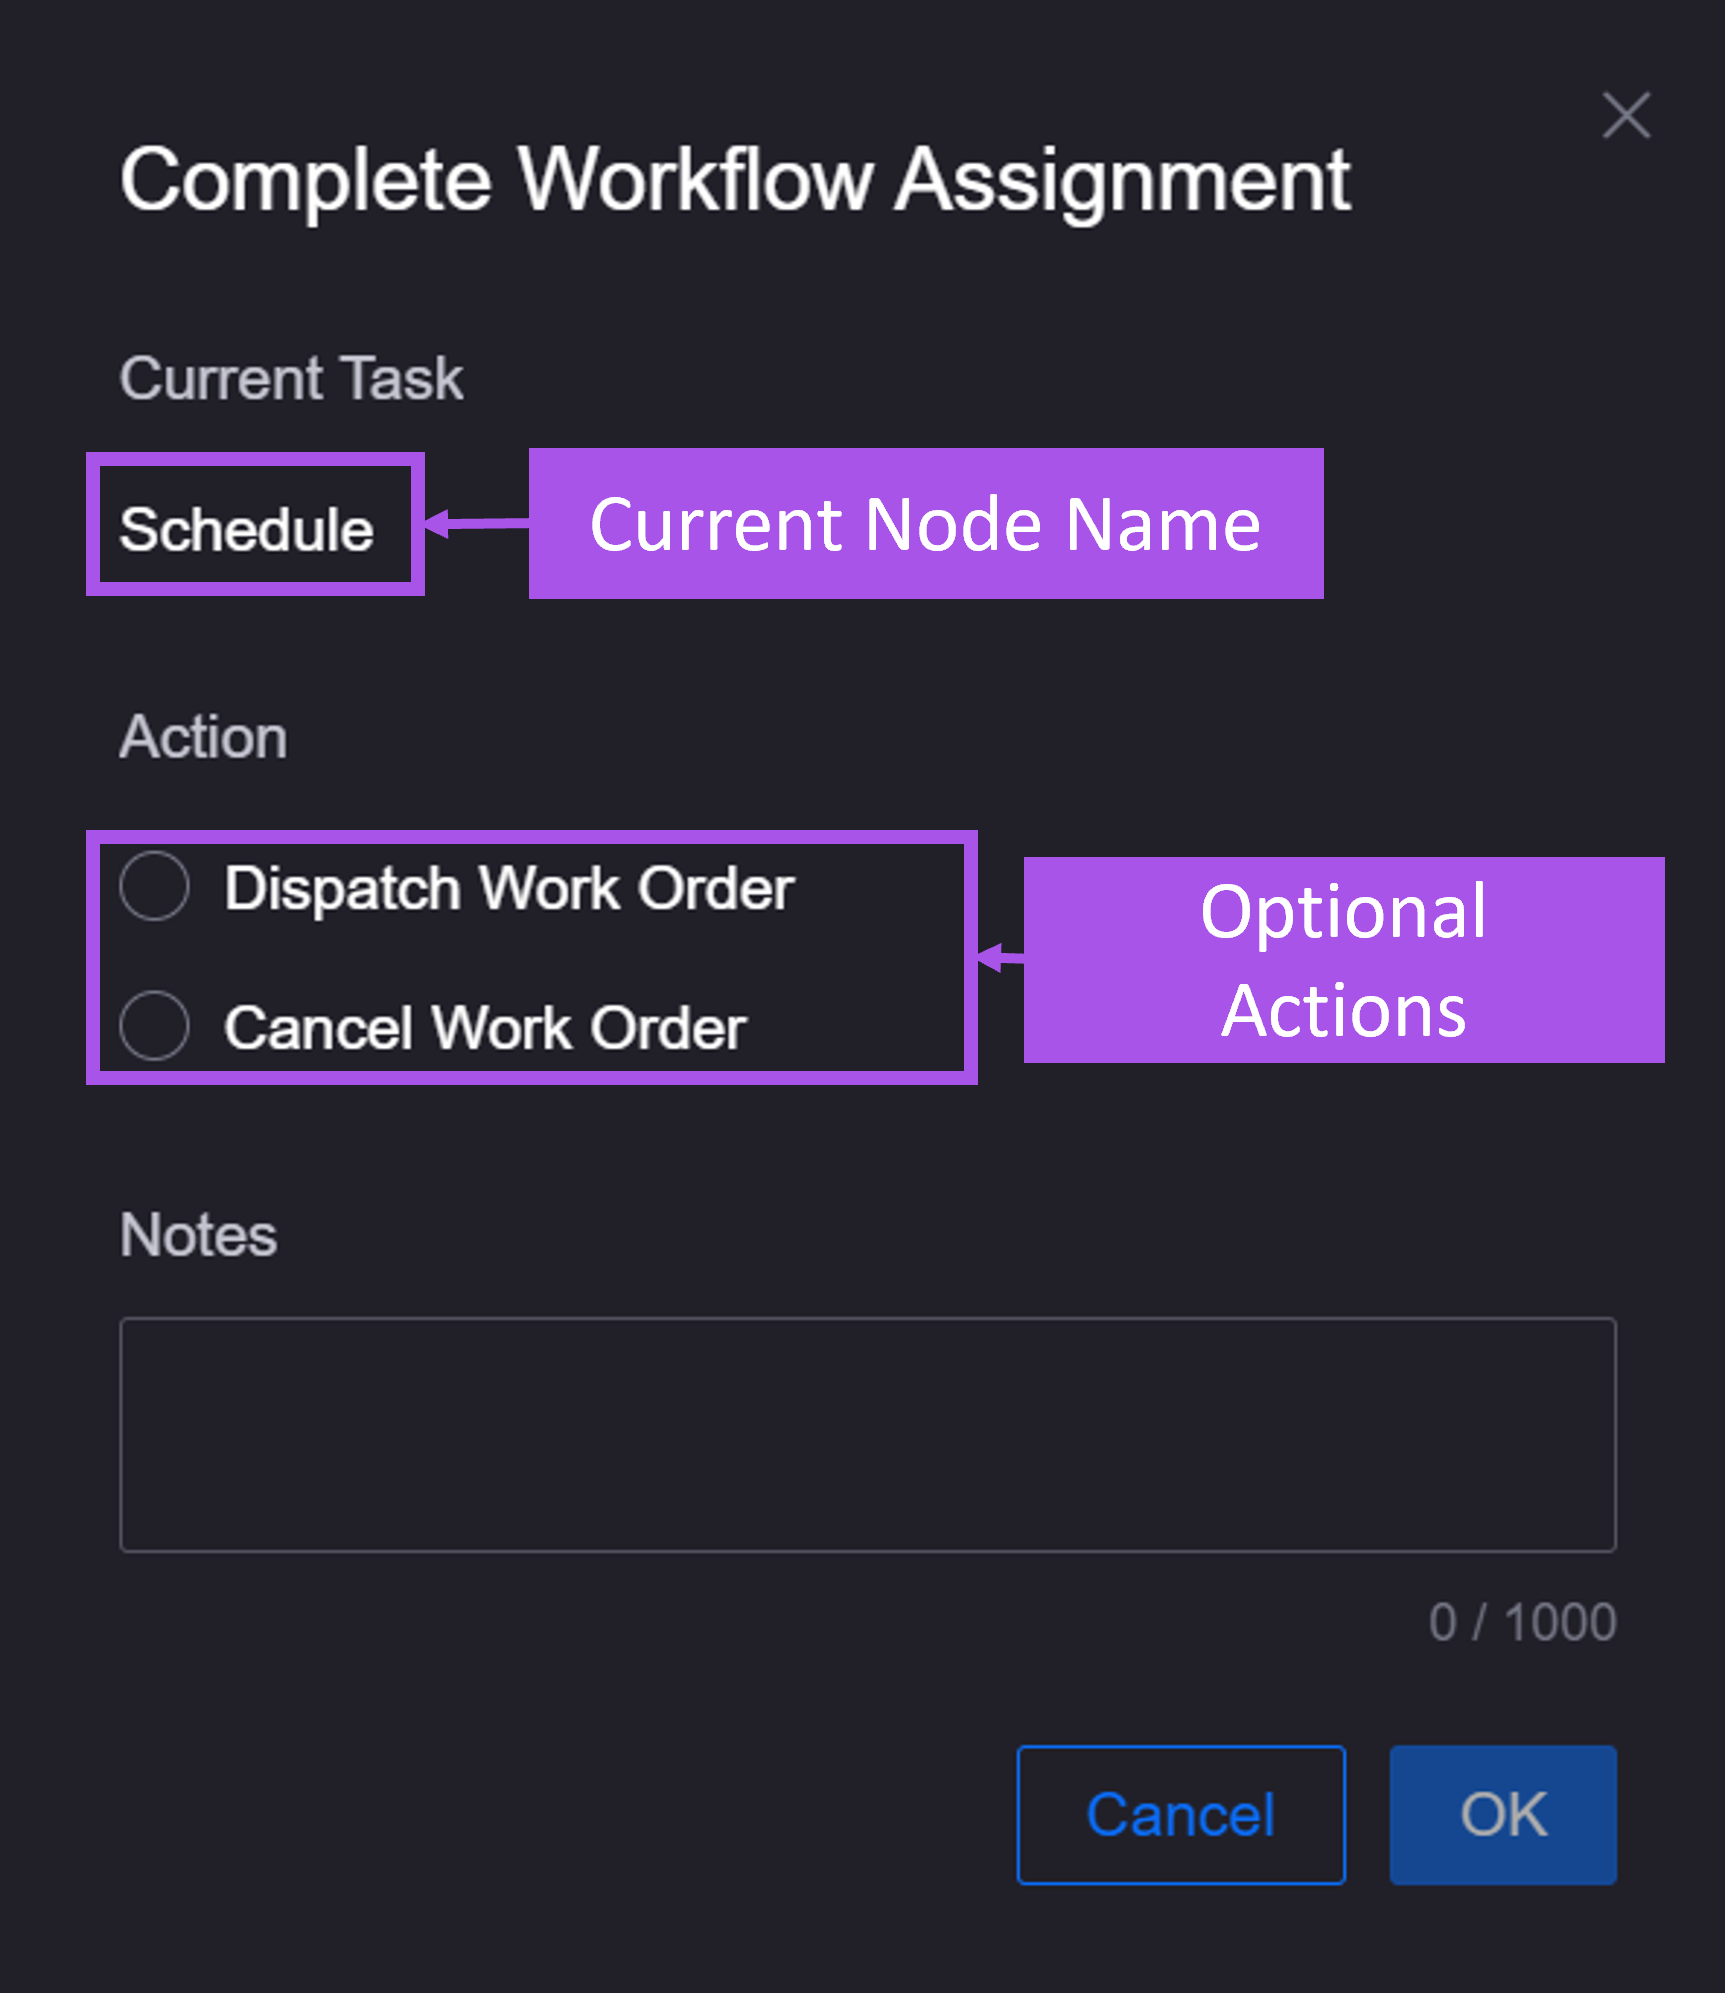
The transition allows you to end the current ticket node and push the ticket to the next node of the workflow. The specific steps are as follows:
Select Transition to open the pop-up window.
Select an action and enter a note.
Select OK.

Saving
Assigning
You can assign the current ticket node to another user or group. The specific steps are as follows:
Assign the task to a user or group, or select Me to assign the current ticket to yourself.
Select OK.
Note
This operation only affects the assignees of the current node. If a subsequent node is assigned to another user or group in the workflow, when transferred to the next node, the node’s assignee will be updated based on the workflow settings.
Aborting
Aborting a work order. After aborting, the work order status will change to Aborted and the work order workflow will be terminated. The specific steps are as follows:
Note
You can select Restart in the upper right corner of an aboded work order to restart the workflow and restore it to the original node.
Deleting
Deleting a work order. Once deleted, a work order cannot be restored. The specific steps are as follows:


