Adding Widgets
After creating a project and a page, add and edit charts on the page by following these steps:
Select Dashboards > Dashboards from the left navigation pane. In the Dashboards, hover over the card of the page. Select Edit to enter the Page Editor.
Hover over Add on the toolbar and select Widget to open the Create Widget page.
Choose the widget type you want to create:
- On the New Widget tab, select a chart type to create a new widget.
- On the Widget Template tab, select a template to create a widget based on the template. For more information, see Widget Template.
Select OK to add a widget.
Locate the widget, and hover over the ellipsis (…) to open a dropdown menu.
Select Edit to open the Chart Settings panel on the right.
In the Basic section, fill in the information as necessary. For more information, see Common Widget Settings.
In the Data section, select the data source and data fields to configure and use in the widget.
In the Filter section, configure the filters for the widget.
In the Style section, configure the font, sorting and other properties of the chart.
Select Save to save the chart configuration and create the widget.
Note
Data Fields and Chart Style vary for different chart types. For more information, see Widgets.
Editing a Widget
After creating a widget, you can adjust the widget position by dragging it or adjust the widget size by dragging its bottom right edge. Or you may want to make some changes to the widget to display different data.
Edit a widget by following these steps:
In the Page Editor, hover over the widget, hover over the ellipsis (…) and a dropdown menu will appear.
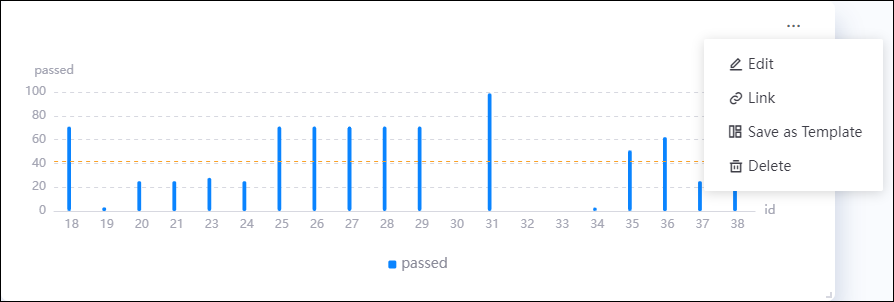
Note
For Link, refer to Configuring Widget Links for more information.
Select Edit to open the Chart Settings panel.
Duplicating a Widget
You can clone and copy the widgets inside the page with one click.
Copy the widget inside the page by following these steps:
- In the Page Editor, hover over the widget, hover over the ellipsis (…) and a dropdown menu will appear.
- Select Duplicate to copy the same widget on the current page.
Saving Widget as Template
You can save a commonly used widget as a template to avoid creating it from scratch the next time you need it.
Save a widget as a template by following these steps:
- In the Page Editor, hover over the widget, hover over the ellipsis (…) and a dropdown menu will appear.
- Select Save as Template and complete the following configurations in the pop-up window:
- Project Name: Select the project in the Widget Template you want the template to be in.
- Template Name: Type the name of the template.
- Tag (Optional): Specify a tag for the template from the list or by creating one.
- Select OK to save the template.
Note
If it’s a container, the name of the template will be affixed with (container) at the end.