Unit 3: Reprovisioning the Device
Before reprovisioning the device, you need to ensure that the device has a Not allocated status, and that a model with the same model identifier (model ID) used by the device that you are allocating exists in the new environment/OU that you are allocating the device to.
Step 1: Resetting the Allocation Status
Select Device Provisioning Service > Registration Group Management from the left navigation pane.
Locate the Raspberry Pi Registration Group registration group that you created in Unit 1, and click View Details
 .
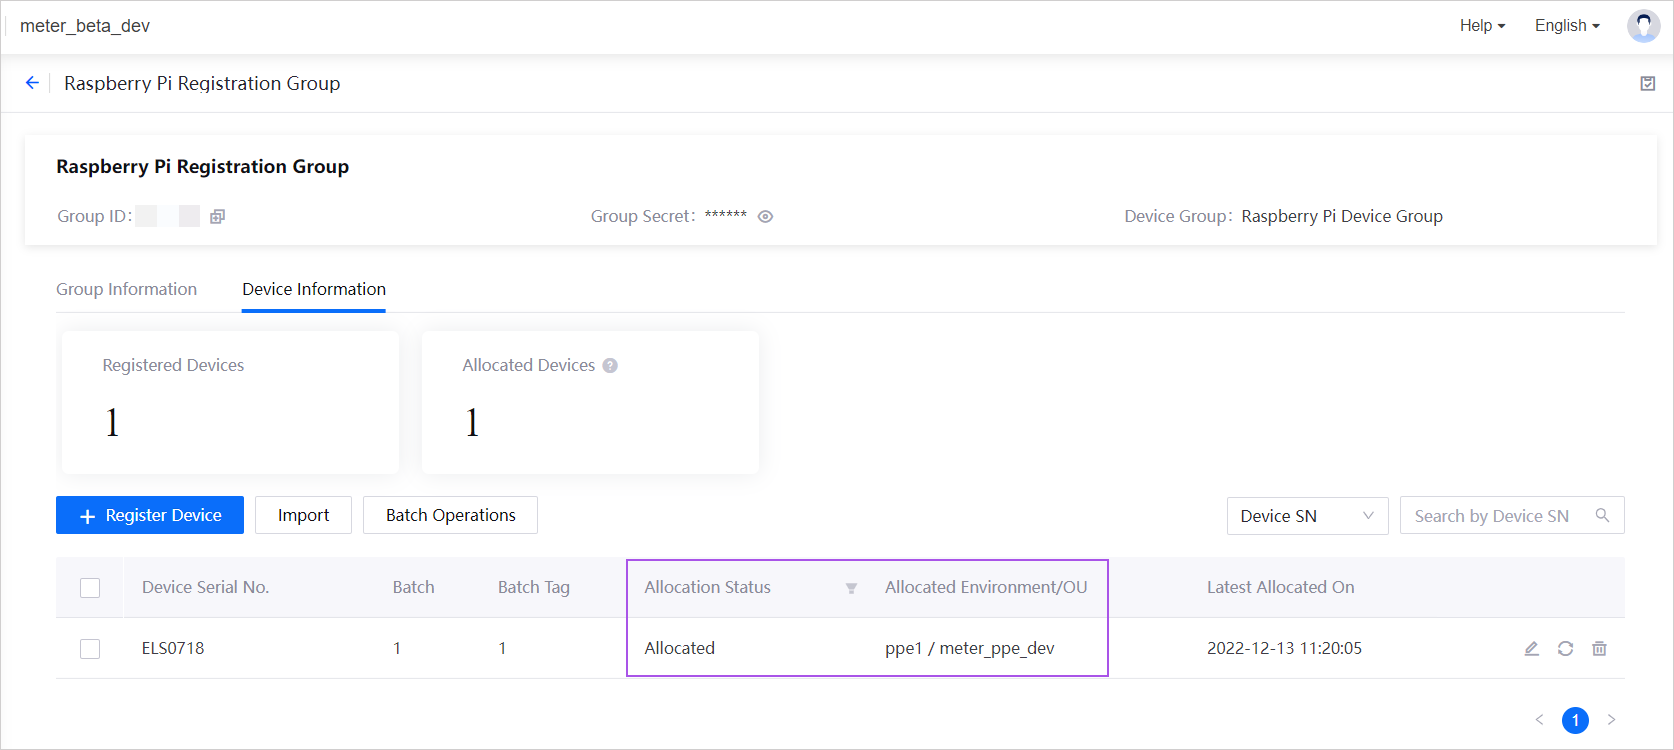
.Click Device Information > Batch Operations.
Select the device and click Reset Allocation Status. Click Confirm in the pop-up window.
The Allocation Status will be changed to Not allocated and there will be no details under Allocated Environment/OU.
Step 2: Create Model in New Environment/OU
Log in to the EnOS Management Console of the environment/OU (which is ppe1/meter_ppe_dev for this tutorial) that you wish to reprovision the device to.
Refer to Step 1 in Quick Start: Plug-and-Play Onboarding for the procedure to create the device model in the new environment/OU.
Step 3: Reprovisioning the Device
Follow the steps in Unit 2: Allocating the Device to reprovision the device to the new environment/OU. Remember to change the environment/OU when allocating to the new environment/OU.
Results
The device’s Allocation Status will change from Not allocated to Allocated, and the Allocated Environment/OU will reflect the environment/OU that was chosen above.
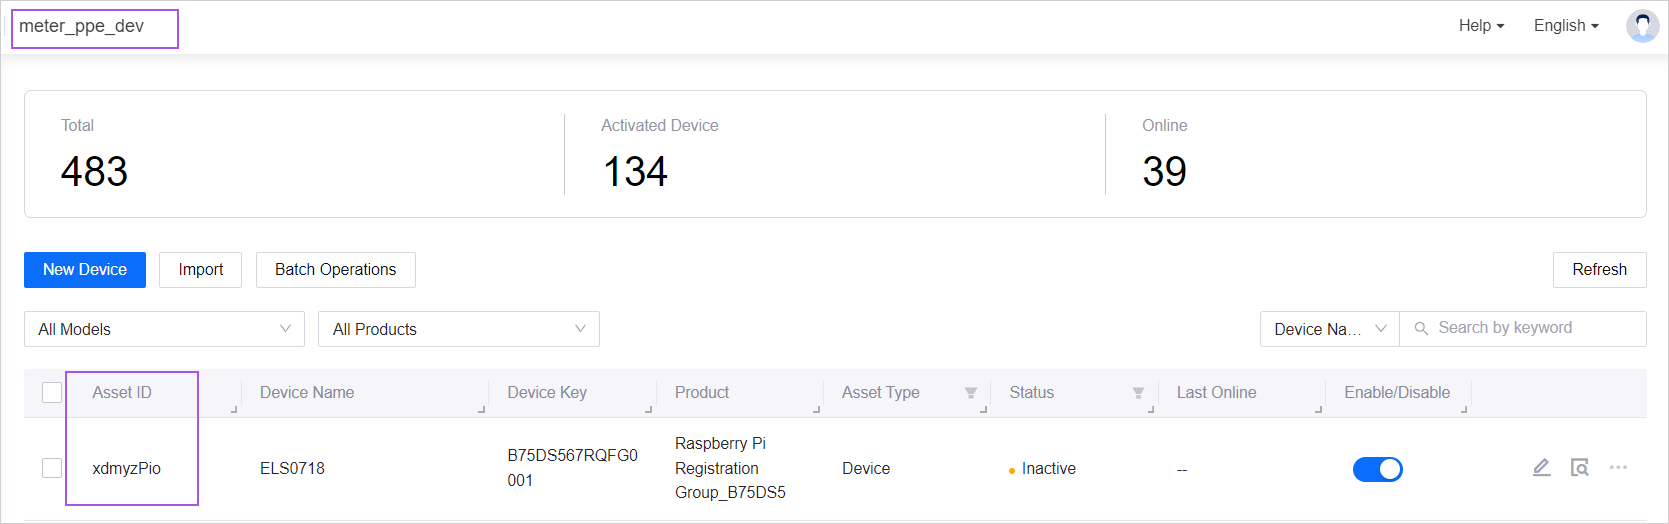
The device will also appear in the list of devices under the specified environment/OU in Device Management > Device Assets with a new asset ID, product key, and device secret.