Unit 4: Controlling the Device State
After the battery device is connected to EnOS Cloud, you can send commands to control the state of the device. In this tutorial, use the start_charging service defined in the battery model to control the charging state of the battery device. Refer to the steps below.
Declare the following main functions for simulating the device data.
public static void main(String[] args) throws Exception {
    initWithCallback();
    handleServiceInvocation();
}
Use the
handleServiceInvocationfunction to process the service invocation.public static void handleServiceInvocation() { IMessageHandler<ServiceInvocationCommand, ServiceInvocationReply> handler = new IMessageHandler<ServiceInvocationCommand, ServiceInvocationReply>() { public ServiceInvocationReply onMessage(ServiceInvocationCommand request, List<String> argList) throws Exception { System.out.println("rcvn async service invocation command" + request + " topic " + argList); return (ServiceInvocationReply)ServiceInvocationReply.builder().addOutputData("point1", 11).build(); } }; client.setArrivedMsgHandler(ServiceInvocationCommand.class, handler); }
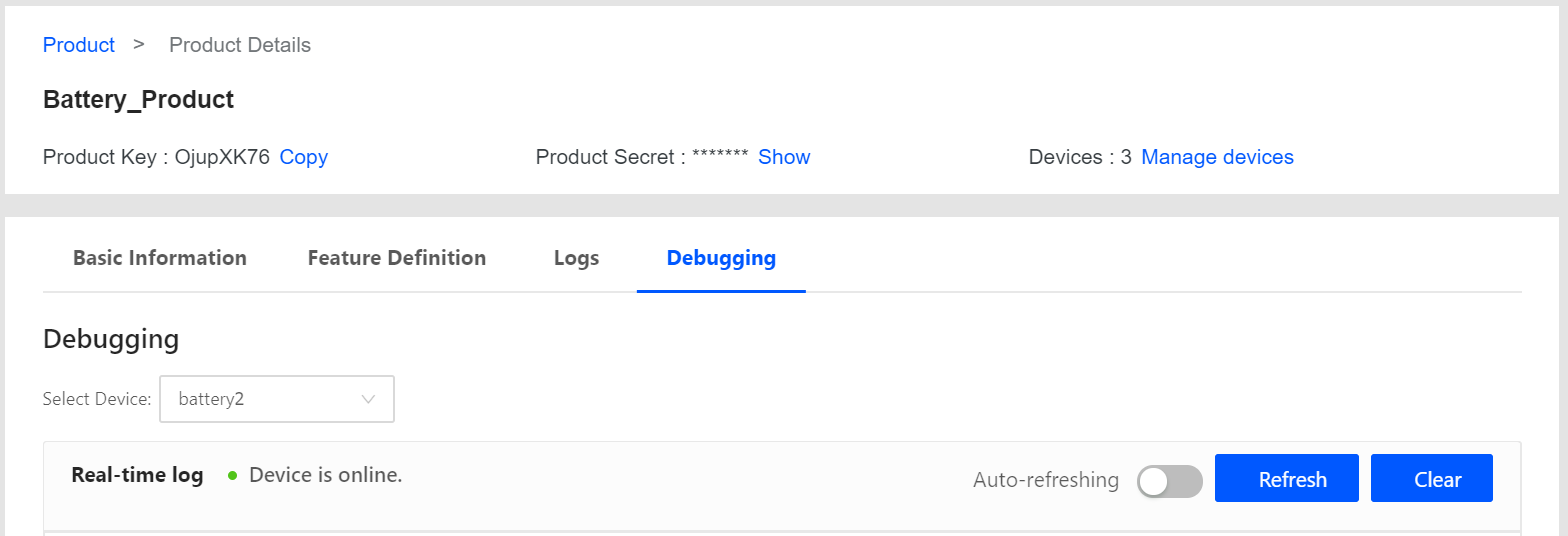
Navigate to the Debugging tab in the Product Details page.

Select start_charging from the Debugging field, input a value for the
resultparameter, and click Run. The instruction will be sent to the device.
The running program will receive the service invocation message. An example of the message is as per the below.
rcvn async service invocation commandAnswerableMessageBody{id='2267850613537742848', method='thing.service.start_charging', version='1.0', params={result=1}} topic [OjupXK76, keyofbattery1, start_charging]