Getting Started with Jupyter Notebook
A typical flow to use Jupyter Notebook for data analytics is as per the below.
Step 1: Compile Code
Click Batch Processing > Data Sandbox from the left navigation panel of EnOS Management Console.
Find a sandbox with Running status and click Jupyter from the URL column to open the Jupyter notebook.
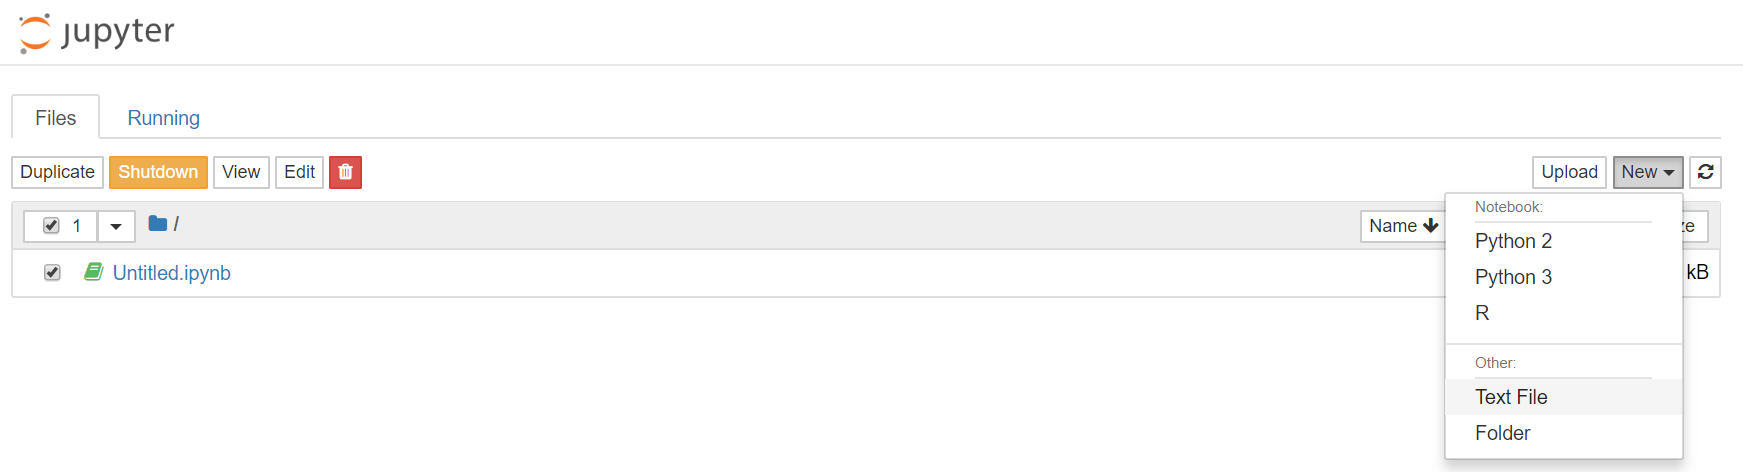
On the Jupyter Notebook page, click the New drop-down list in the upper-right corner, select a notebook to be created (Python2, Pythone3, or R).
(Optional) In the New drop-down list, you can also choose to create a text file or folder.
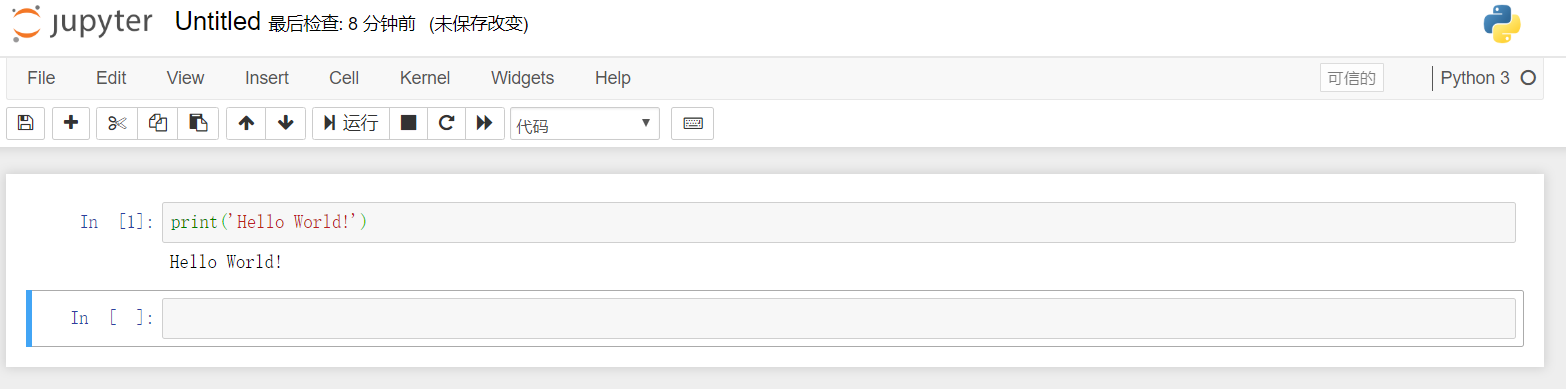
If you choose to create a note, in the created notebook, enter script or notes to start your work.
Step 2: Manage Kernel
Jupyter Notebook provides Kernel management functions, as shown in the following screen capture:
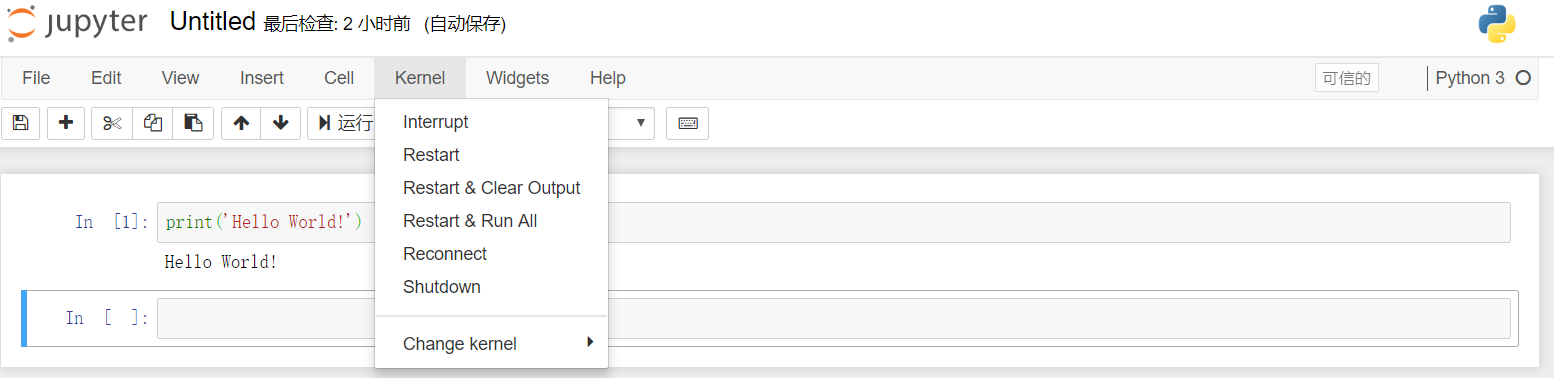
The description of each management function is as per the below.
Operation |
Function Description |
|---|---|
Interrupt |
Stop the current service. |
Restart |
Restart the service, and all variables will be lost. |
Restart & Clear Output |
Restart the current Kernel and clear all output, and all variables and output will be lost. |
Restart & Run All |
Restart the current Kernel and rerun the notebook, and all variables and output will be lost. |
Reconnect |
Reconnect Jupyter Server |
Shutdown |
Shutdown the Jupyter service, and all variables will be lost. |
Change Kernel |
Switch among the Python2, Pyton3, and R Kernel. |
Step 3: Manage Notebook
You can use the operations in Step 2 to manage the Jupyter Notebook. With the Interrupt or Shutdown operations, you can stop the current Notebook. With the Restart or Reconnect operations, you can restart the Kernel or reconnect the server.
Closing the Notebook page will not stop the connection between the Notebook and the back end server. You can also manage Notebook on the main page of Jupyter Notebook by selecting one or more active Notebook and clicking the Shutdown button to stop the connection. See the following screen capture:

Select one or more active Notebook and click the Delete button to delete the Notebook.
Note
Deleting Jupyter Notebook will permanently delete the note and code. Please operate with caution.
Step 4: Save Code
Your code in Jupyter Notebook will be saved by default in EnOS internal storage, unless the data sandbox is deleted.
If you do not need to use the data sandbox, you can either stop or delete it. Stopping a sandbox releases the computing resource only, but not the storage resource. Your notes and code will be retained in the storage. Deleting a sandbox releases both the computing resource and storage resource, and your notes and code will also be deleted.
Before deleting a sandbox, you can use the following methods to save your notes and code.
Export your code by downloading the Notebook and save it in your local storage. When needed, you can open the notebook to import the code.
Upload your code to a GitLab repository with the shell interpreter and Git commands in a notebook.