Managing Security Settings
The OU administrator can view the audit logs of all users, configure the password rules for internal users, and configure the login security settings for all users.
Viewing the Audit Log
The audit log contains operation records such as the login, logout, and system configuration of all users within the OU. The OU administrator can view the operations of a specific user account with the following steps.
Log in to the Application Portal and go to Admin Console > Audit Log. The audit log will display the operations of all users for the past days according to the system configuration.
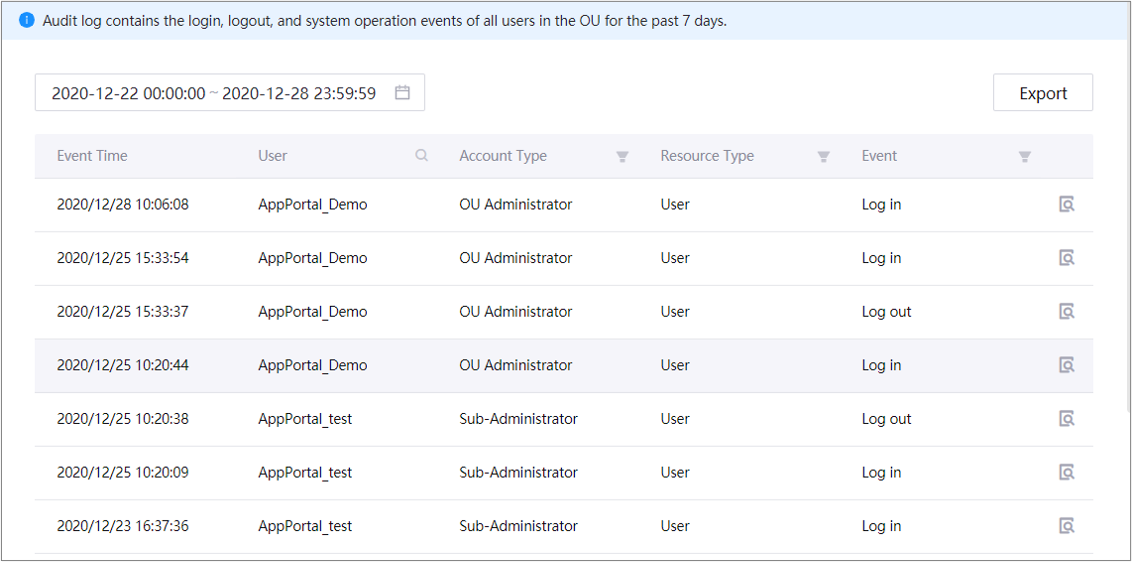
Select a time range to query the audit log from the Date/Time field at the top left. The system will query and display the log automatically.
The results can be filtered by the account type or resource type.
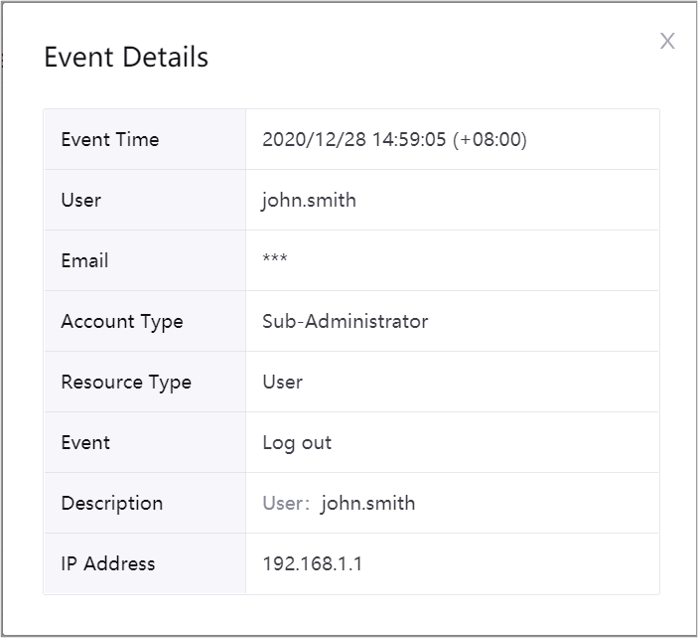
Click the Details icon of a record to view the details of the event.
Click Export to export and save the audit log. If you need to export the audit log of a longer period, contact the system administrator.
Configuring Password Rules
The OU administrator can configure the password rules for internal users by following these steps:
Log in to the Application Portal and go to Admin Console > Security Settings.
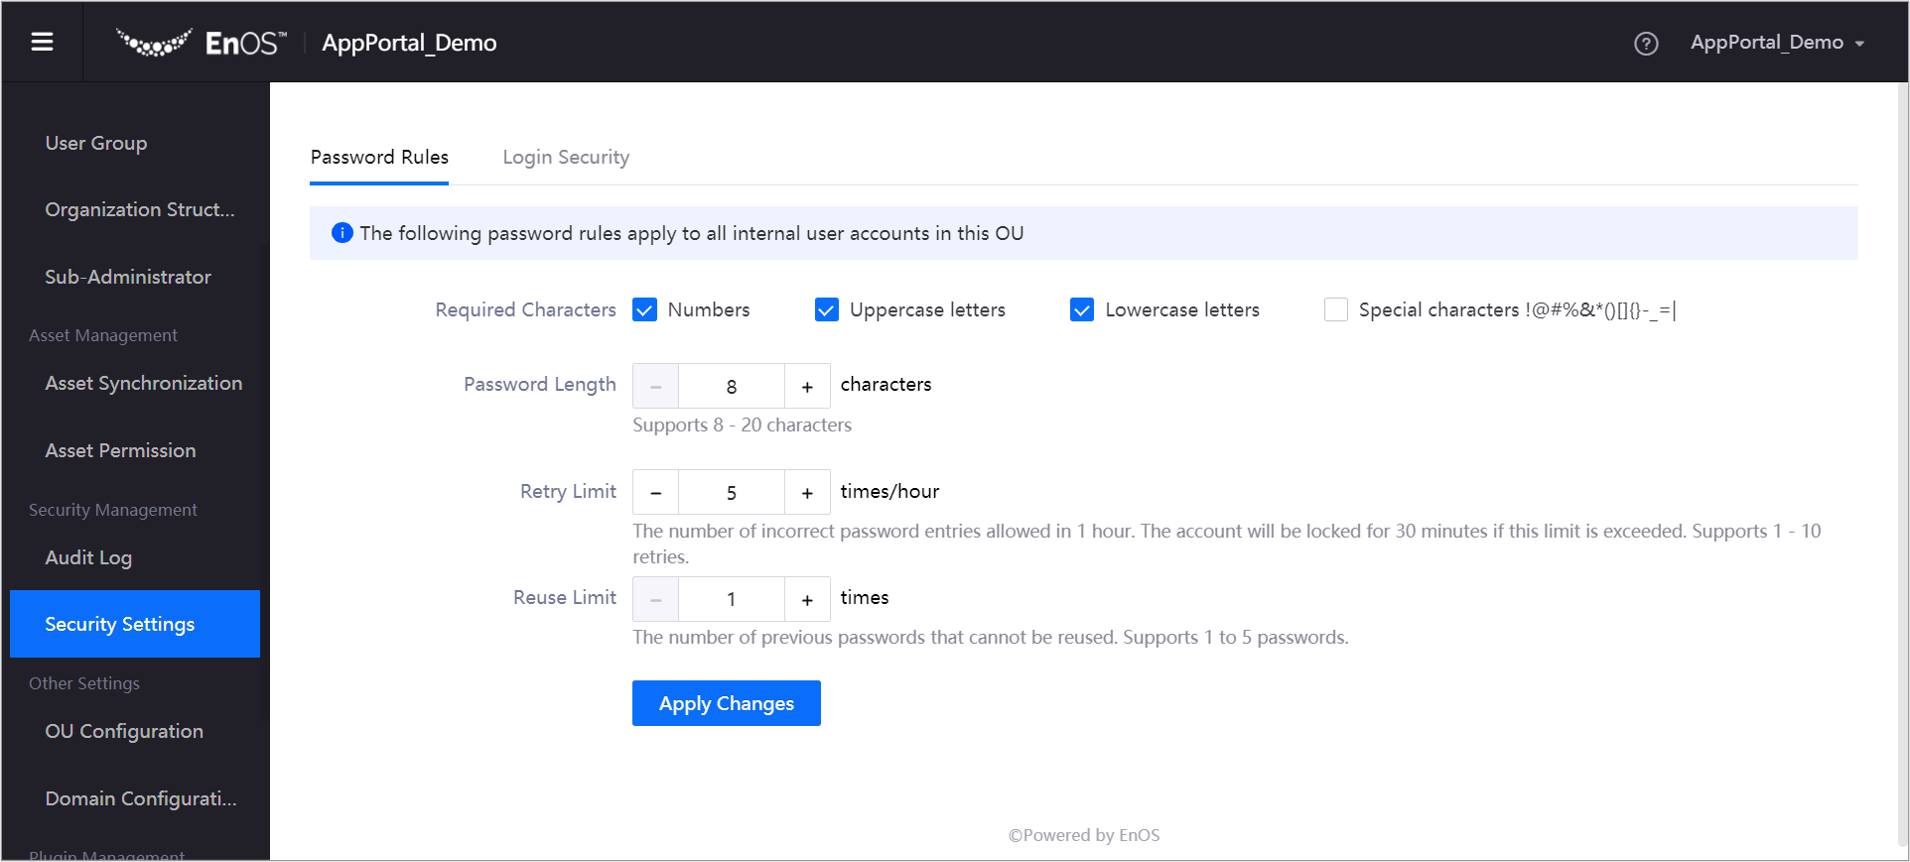
On the Password Rules tab, perform any of the following actions:
- Select the characters required for a password.
- Specify the password length.
- Specify the number of incorrect password entries that are allowed in 1 hour.
- Specify the number of previous passwords that cannot be reused.
Click Apply Changes.
Note
The password rules apply only to internal users in the environment. Users whose password is already set must comply with the latest password rules whenever they reset their password.
Configuring Login Security
The OU administrator can configure the login security settings for all users by following these steps:
Log in to the Application Portal and go to Admin Console > Security Settings.
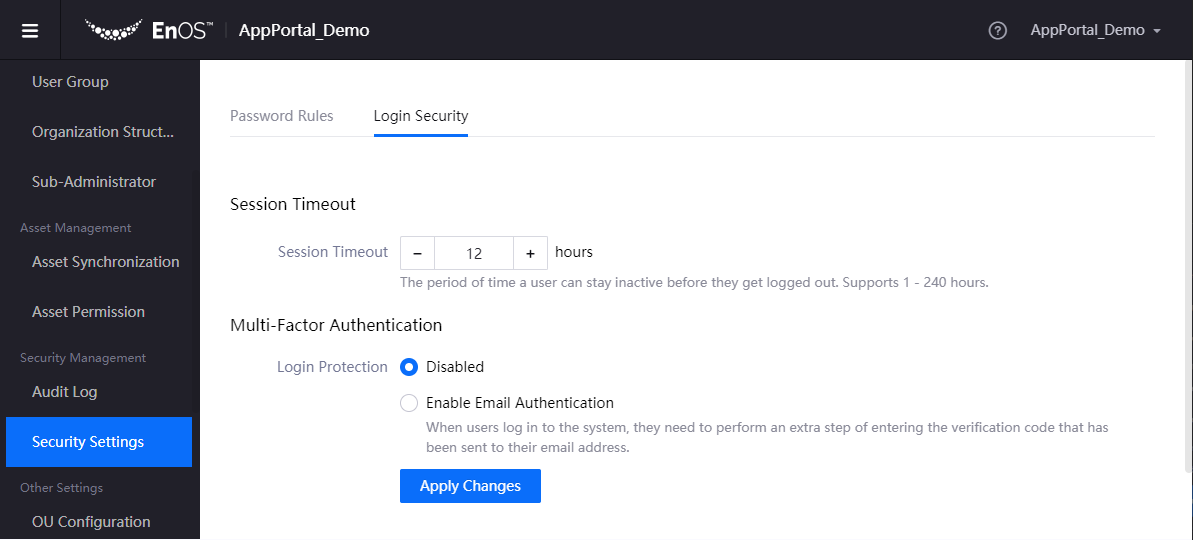
On the Login Security tab, perform any of the following actions:
- In the Session Timeout box, specify the period of time a user can stay inactive before they get logged out.
- Select Enable Email Authentication to enable multi-factor authentication through email.
Note
If you enable multi-factor authentication, when users log in to Application Portal, they need to perform an extra step of entering the verification code that was sent to their email address.
Click Apply Changes.