Manage Model Code
Manage Model Code with Git
The MI Lab supports the integration of JupyterLab and Git. You can manage the model codes through Git. Specifically, you can clone the files saved in Git to JupyterLab for running purpose, and also can synchronize the files modified in JupyterLab to Git.
Prerequisites
The model codes have been saved to the Git project, and your Git account has corresponding access permissions.
Clone Git Project to JupyterLab
You can complete the Git source configuration in JupyterLab, and clone the Git project to JupyterLab by following these steps:
Open the notebook instances list in MI Lab.
In the notebook instance table, click the target notebook instance name to open JupyterLab.
Click the Clone Git icon in the toolbar above the File Browser on the left side of the page to open the Git source configuration window.
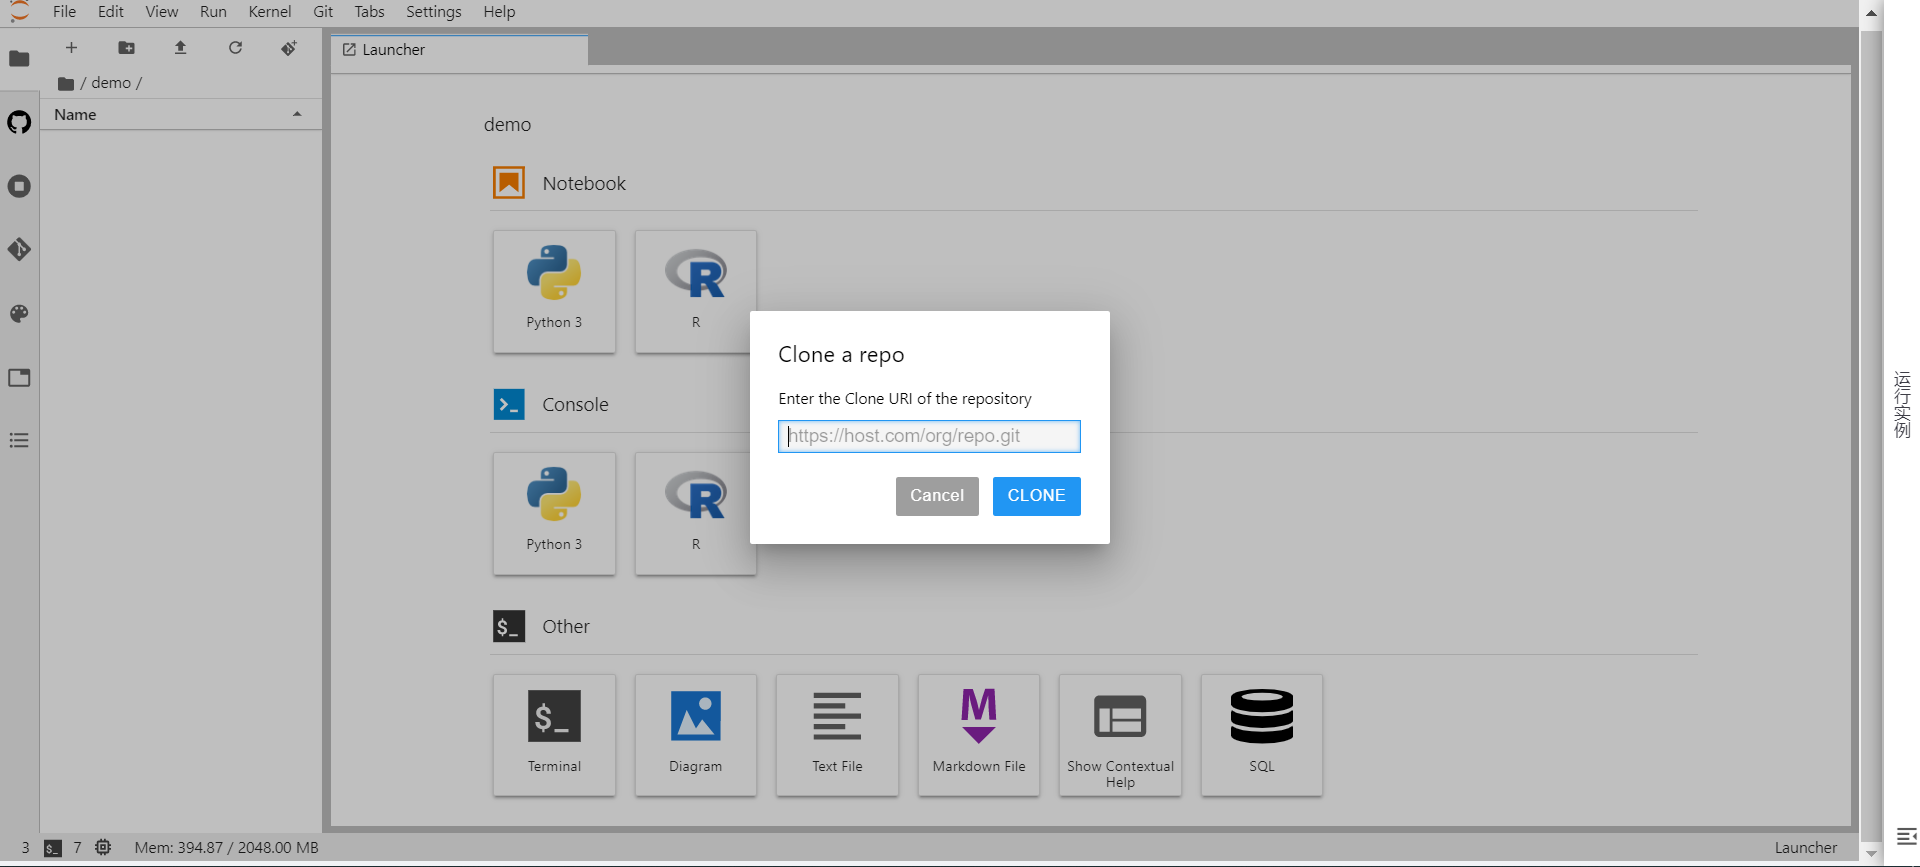
In the Git Source Configuration window, enter the Git repository URL for cloning the model training source files, and click CLONE.
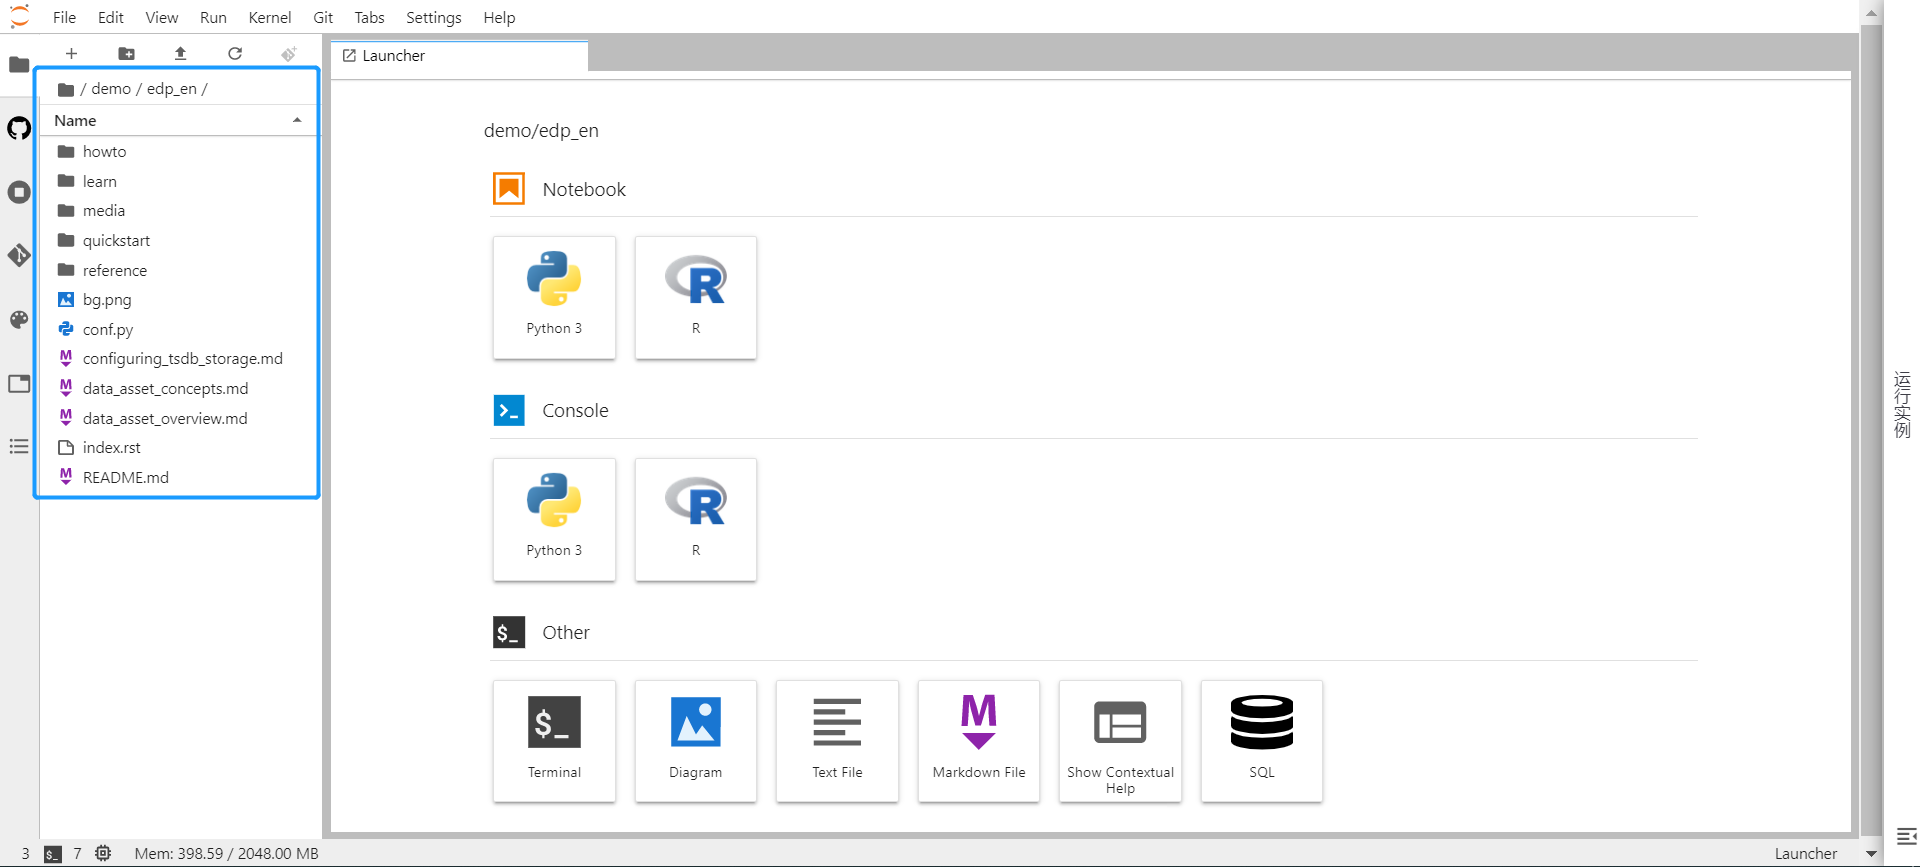
Enter your Git account and password, click OK, and the directories and files in the Git project will be cloned into the File Browser.
Submit Updated Codes to the Git Project
After updating the model training codes in JupyterLab, you can push the codes to the Git repository by following these steps:
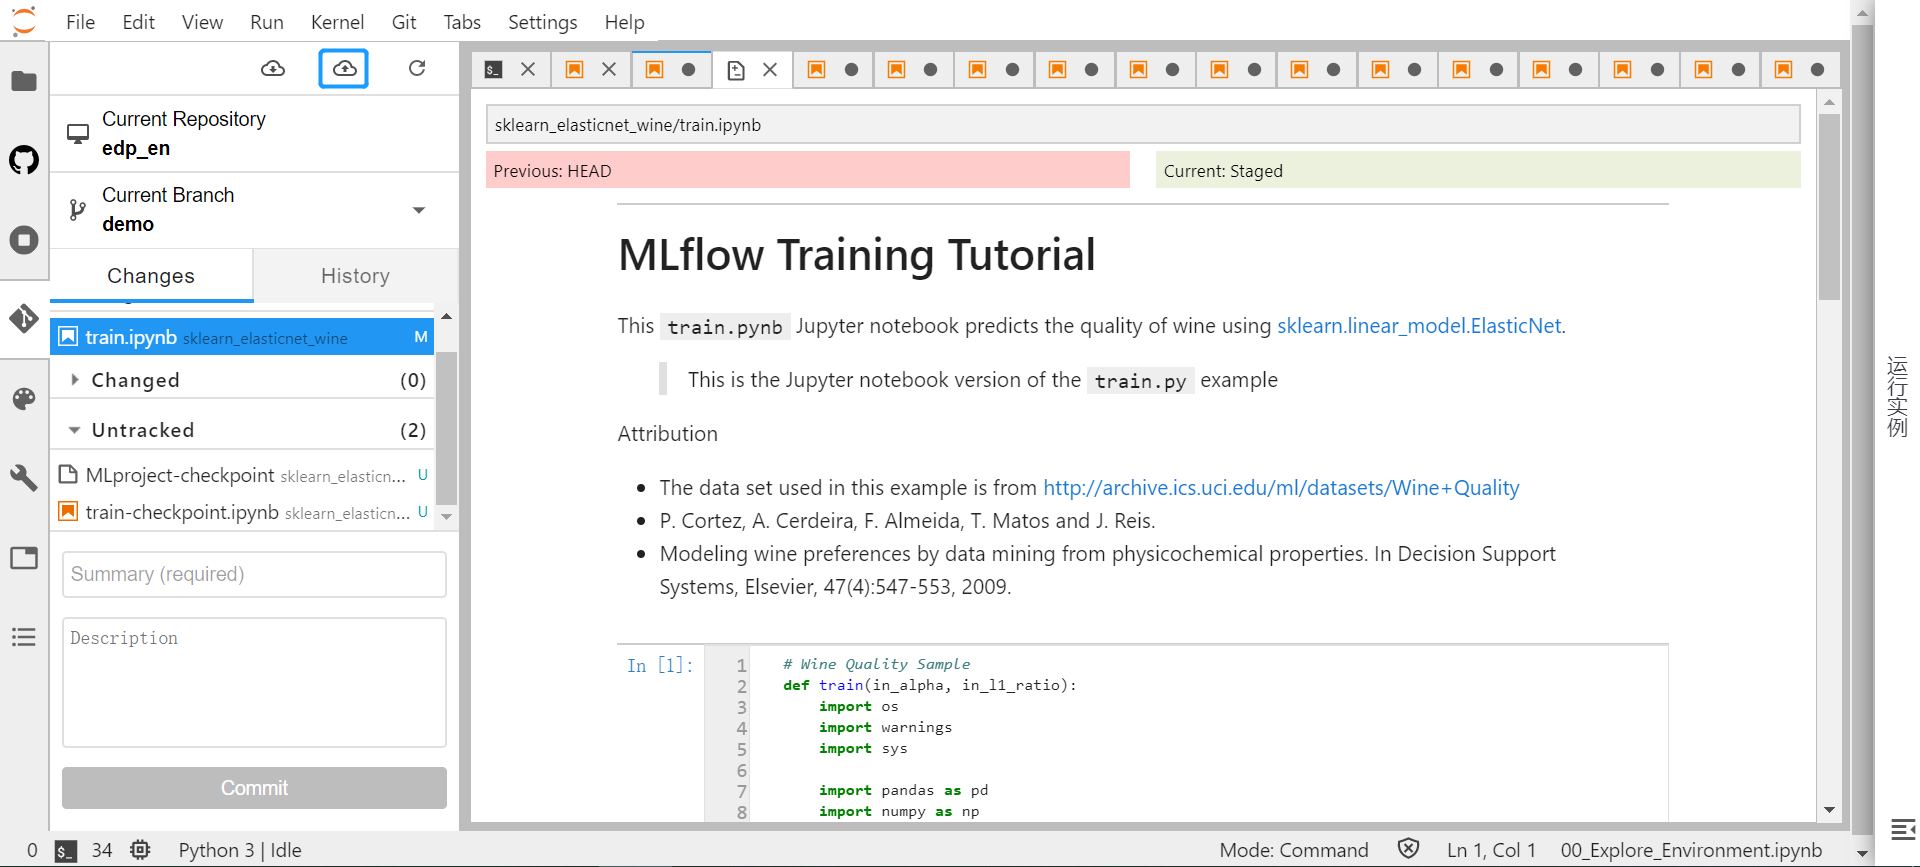
Click the Git icon in the toolbar on the left side of the page to open Git-related operation items.
View the current repository name, branch name, and updated files.
Click the Push Committed Changes icon above the operation item to submit the updated file to the Git repository.
Upload Model Code Files to the Internal Storage
You can upload model code files to the internal storage to use PythonEx, NotebookEX, or ShellEx operators. Note that there is no version management in the internal storage.
Open the notebook instances list in MI Lab.
In the notebook instance table, click the target notebook instance name to open JupyterLab.
Open a terminal and run the command
pip install eap-notebookto install eap-notebook package.
Run one of the following commands to upload the code files:
eap-notebook push -p <folder where the code files reside>: replace the files with the same name in the target folder and add new fileseap-notebook push -r <folder where the code files reside>: clear all files in the target folder and upload files
Run one of the following commands to view the code files:
eap-notebook ls -p <folder>: list all files in the first level folder onlyeap-notebook ls -rp <folder>: list all files in the folder and its subfolders