Unit 2: Setting Up the Raspberry Pi
After configuring the pre-registering the Raspberry Pi information in EnOS, you can start to set up the Raspberry Pi.
Prerequisites
Ensure that you have the following accessories.
A display with HDMI input. In this tutorial, a computer monitor is used.
A computer.
A keyboard and mouse.
An SD card and a USB SD card reader.
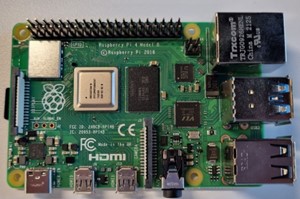
Ensure that you have the following Raspberry Pi hardware. Other than the Raspberry Pi Computer itself, the rest of the hardware can be found in the Grove Base Kit for Raspberry Pi.
Raspberry Pi Computer with Raspberry Pi Operation System |
|
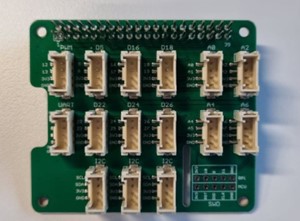
Raspberry Pi Grove Base Hat |
|
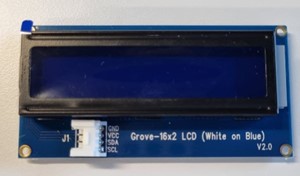
16x2 LCD Display |
|
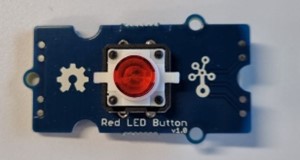
Red LED Button |
|
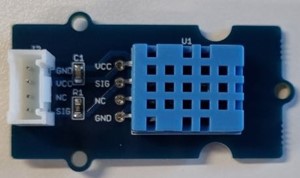
Temperature & Humidity Sensor |
|
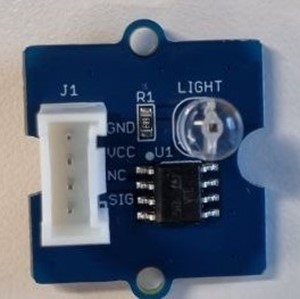
Light Intensity Sensor |
|
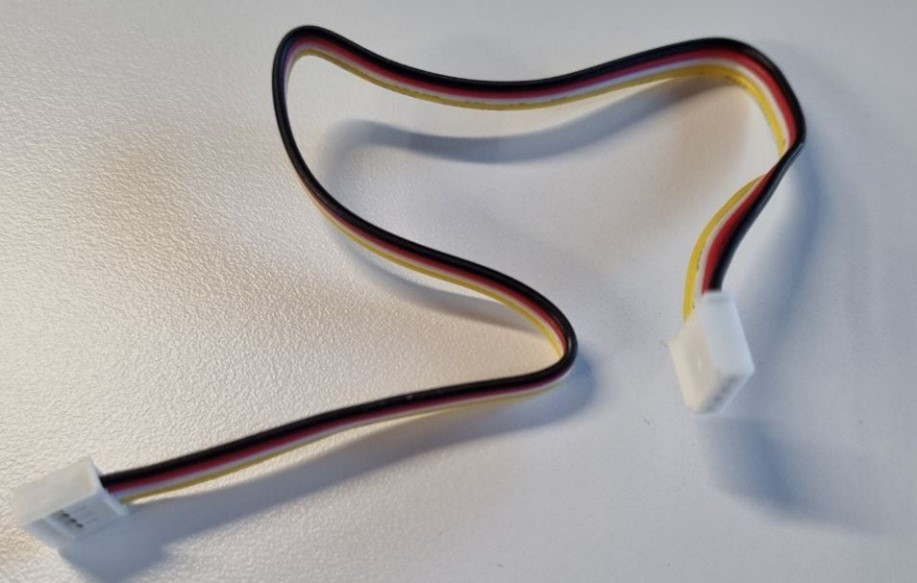
Wire (x4) |
|
Step 1: Assemble the Hardware (Individual Components)
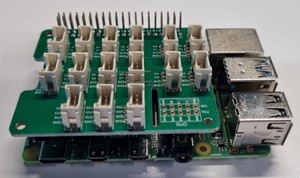
Insert the Grove Base Hat onto the Raspberry Pi.
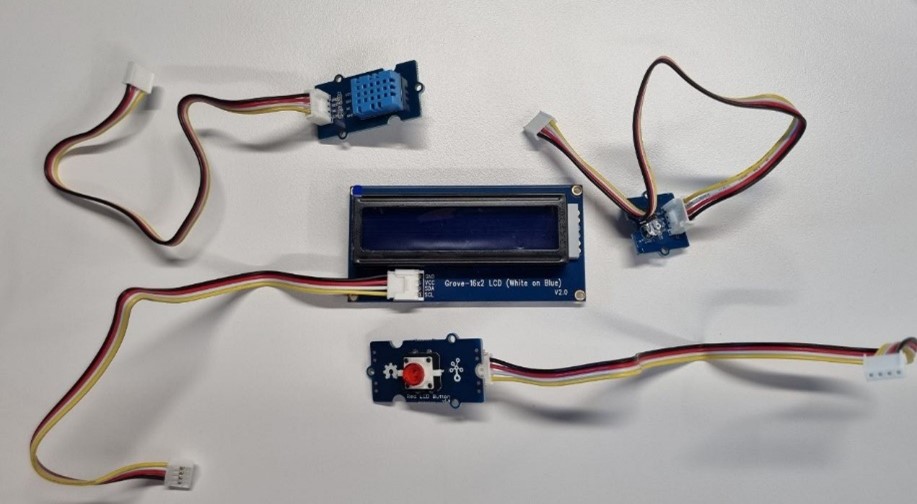
Connect the wires to their respective display, button, and sensors.
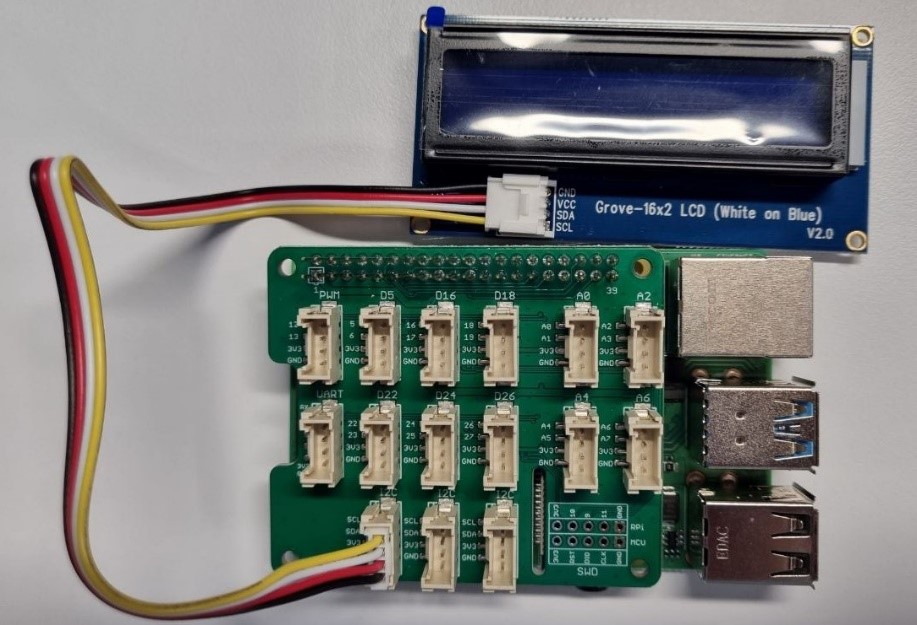
Connect the LCD Display to any of the I2C ports of the Grove Base Hat.
Connect the LED Button to port D5 of the Grove Base Hat.
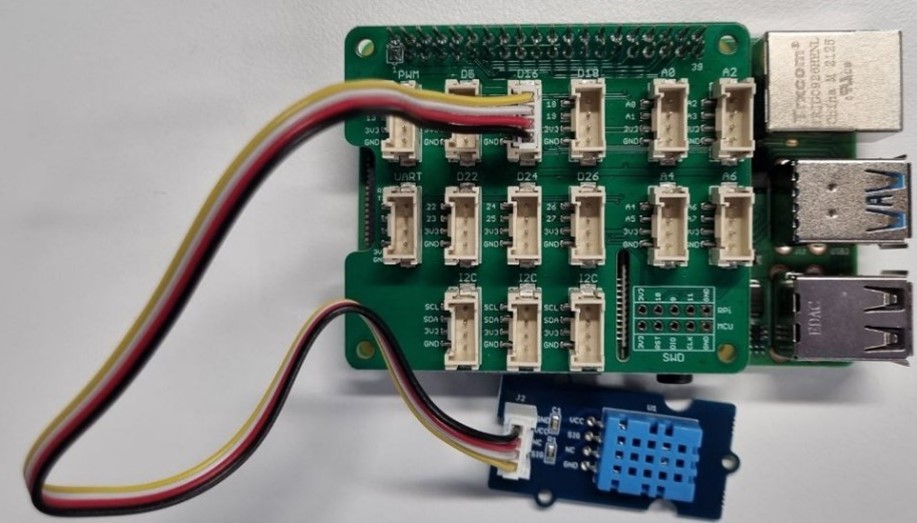
Connect the Temperature and Humidity Sensor to port D16 of the Grove Base Hat.
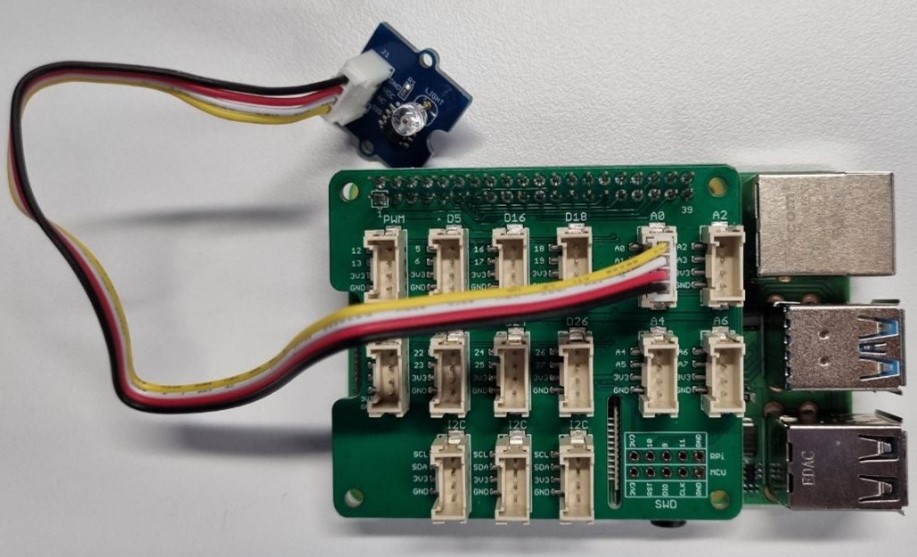
Connect the Light Intensity Sensor to port A0 of the Grove Base Hat.
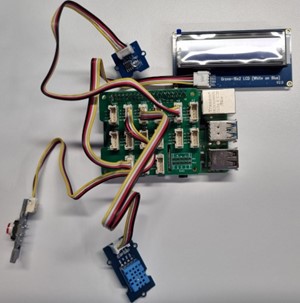
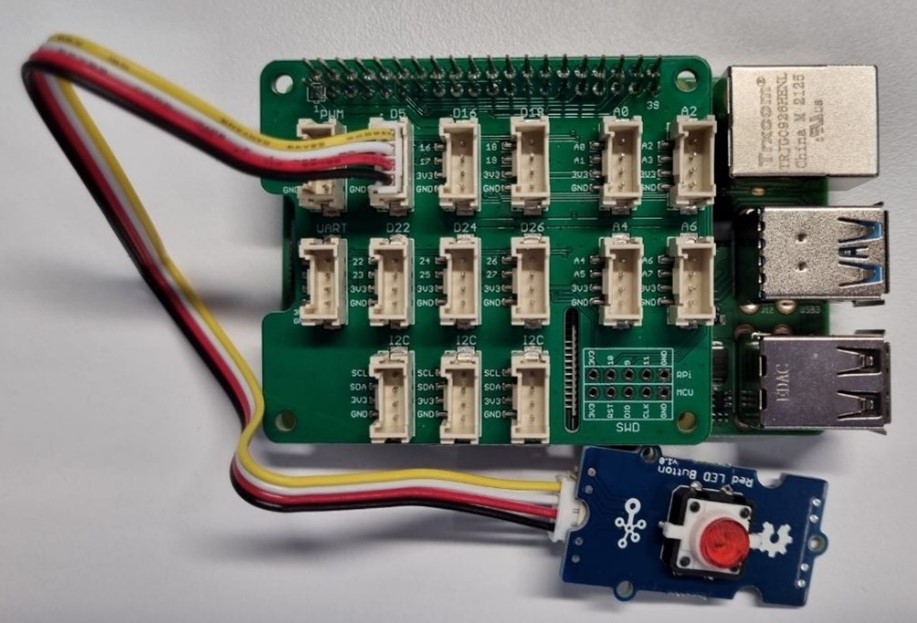
Step 2: Assemble the Hardware (Completed Assembly)
The completed Raspberry Pi would look like the below after connecting the 4 sensors to the Grove Base Hat.