Creating a Hive Table
This section shows how to create a Hive table using Zeppelin Notebook.
About This Task
The data integrated from external data sources needs to be stored as Hive tables to be consumed by other EnOS data processing functions. You will need to create a Hive table with Zeppelin Notebook.
Procedure
In the EnOS Management Console, click Batch Processing > Data Sandbox from the left navigation menu and open the Zeppelin Notebook.
Import or create a note.
If you already have a note created with table creation script included, click Import note.
If you want to create a note, click Create new note.
If you chose to create a note in step 2, enter a name for the note and select hive as the default interpreter. For example, if you entered
yourname/hive/tablenameas the note name, a hive table with the nametablenameis created under theyourname/hivedirectory.In the note, enter the commands to create the hive table. For example:
%hive

use db_name;

CREATE TABLE IF NOT EXISTS employee(
   serial_id string,
   birthday string,
   first_name string,
   last_name string,
   gender string,
   onboard_date string)
   comment 'table for employee info'
   PARTITIONED BY (yyyymmdd string)
   STORED AS ORC;
In the above example, replace
db_namewith the database name in the upper right corner of the Zeppelin Notebook page. For more information about the commands, see Apache Hive documentation on table creation.Click the Run this paragraph icon
 . You will see your table created successfully as shown in the following screen capture:
Results
A hive table is created, and you can run a query to test the result.
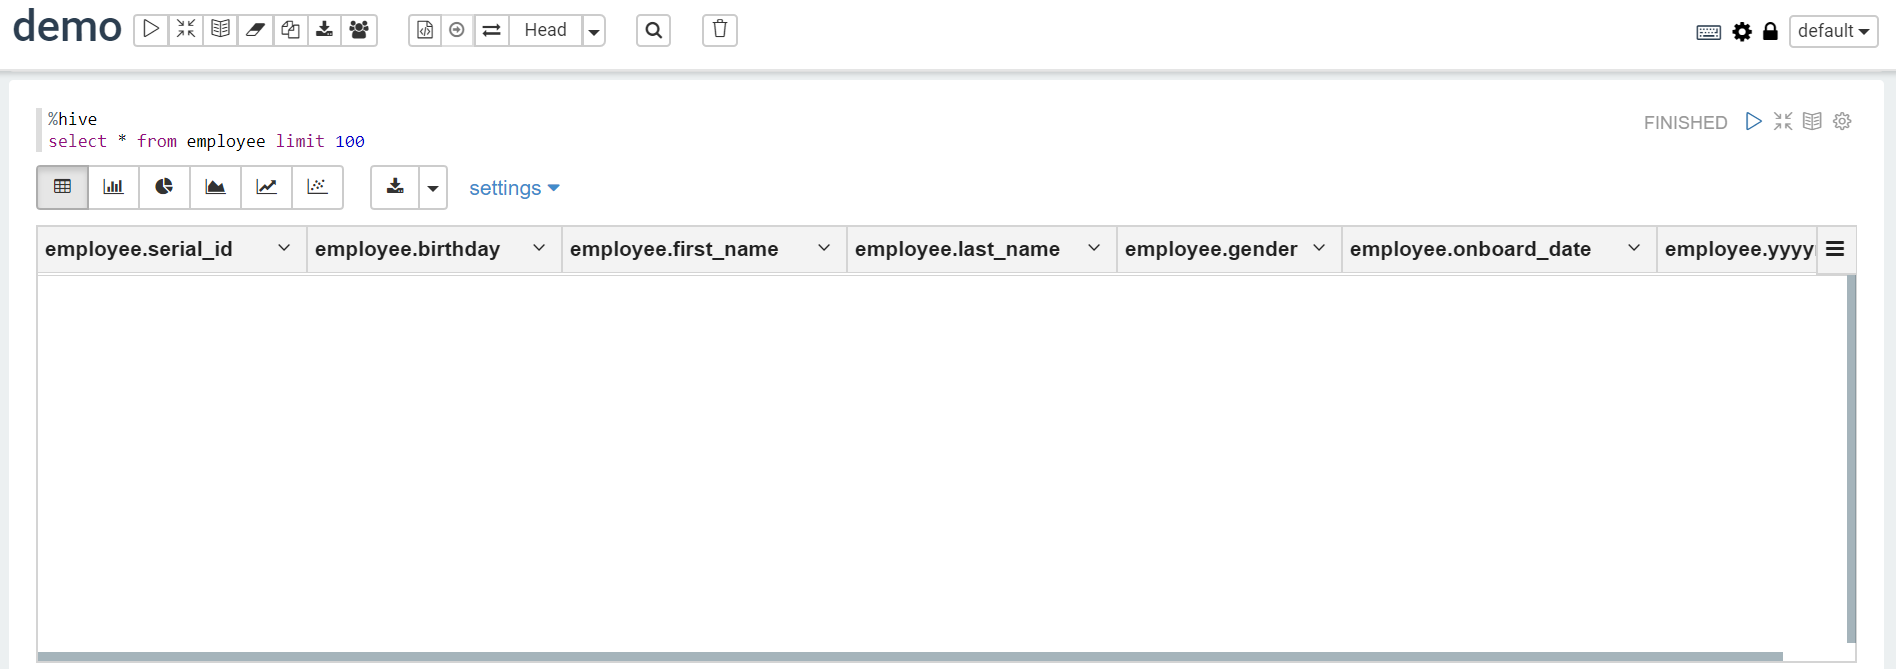
%hive
select * from exployee limit 100
Run the query and you will get a result like this:
Next Step
If you are creating the Hive table to store data from external data source, you will then need to specify the table as a target and map columns from the data source to the target through Data Synchronization. For more information, see Data Synchronization.