Managing Application Templates
EnOS or 3rd party application developers can register general and reusable components or services in the App Hub as application templates. After the application templates are reviewed and approved, users in the organization can deploy the templates as application instances that can be directly used by the business.
Adding a Template
Follow the steps below to add a template to App Hub.
Log in to the EnOS Management Console and select Enterprise Container Platform in the left navigation menu.
Select your organization from the Organization menu.
Select the created project from the Project menu.
Select App Hub > Template from the left navigation.
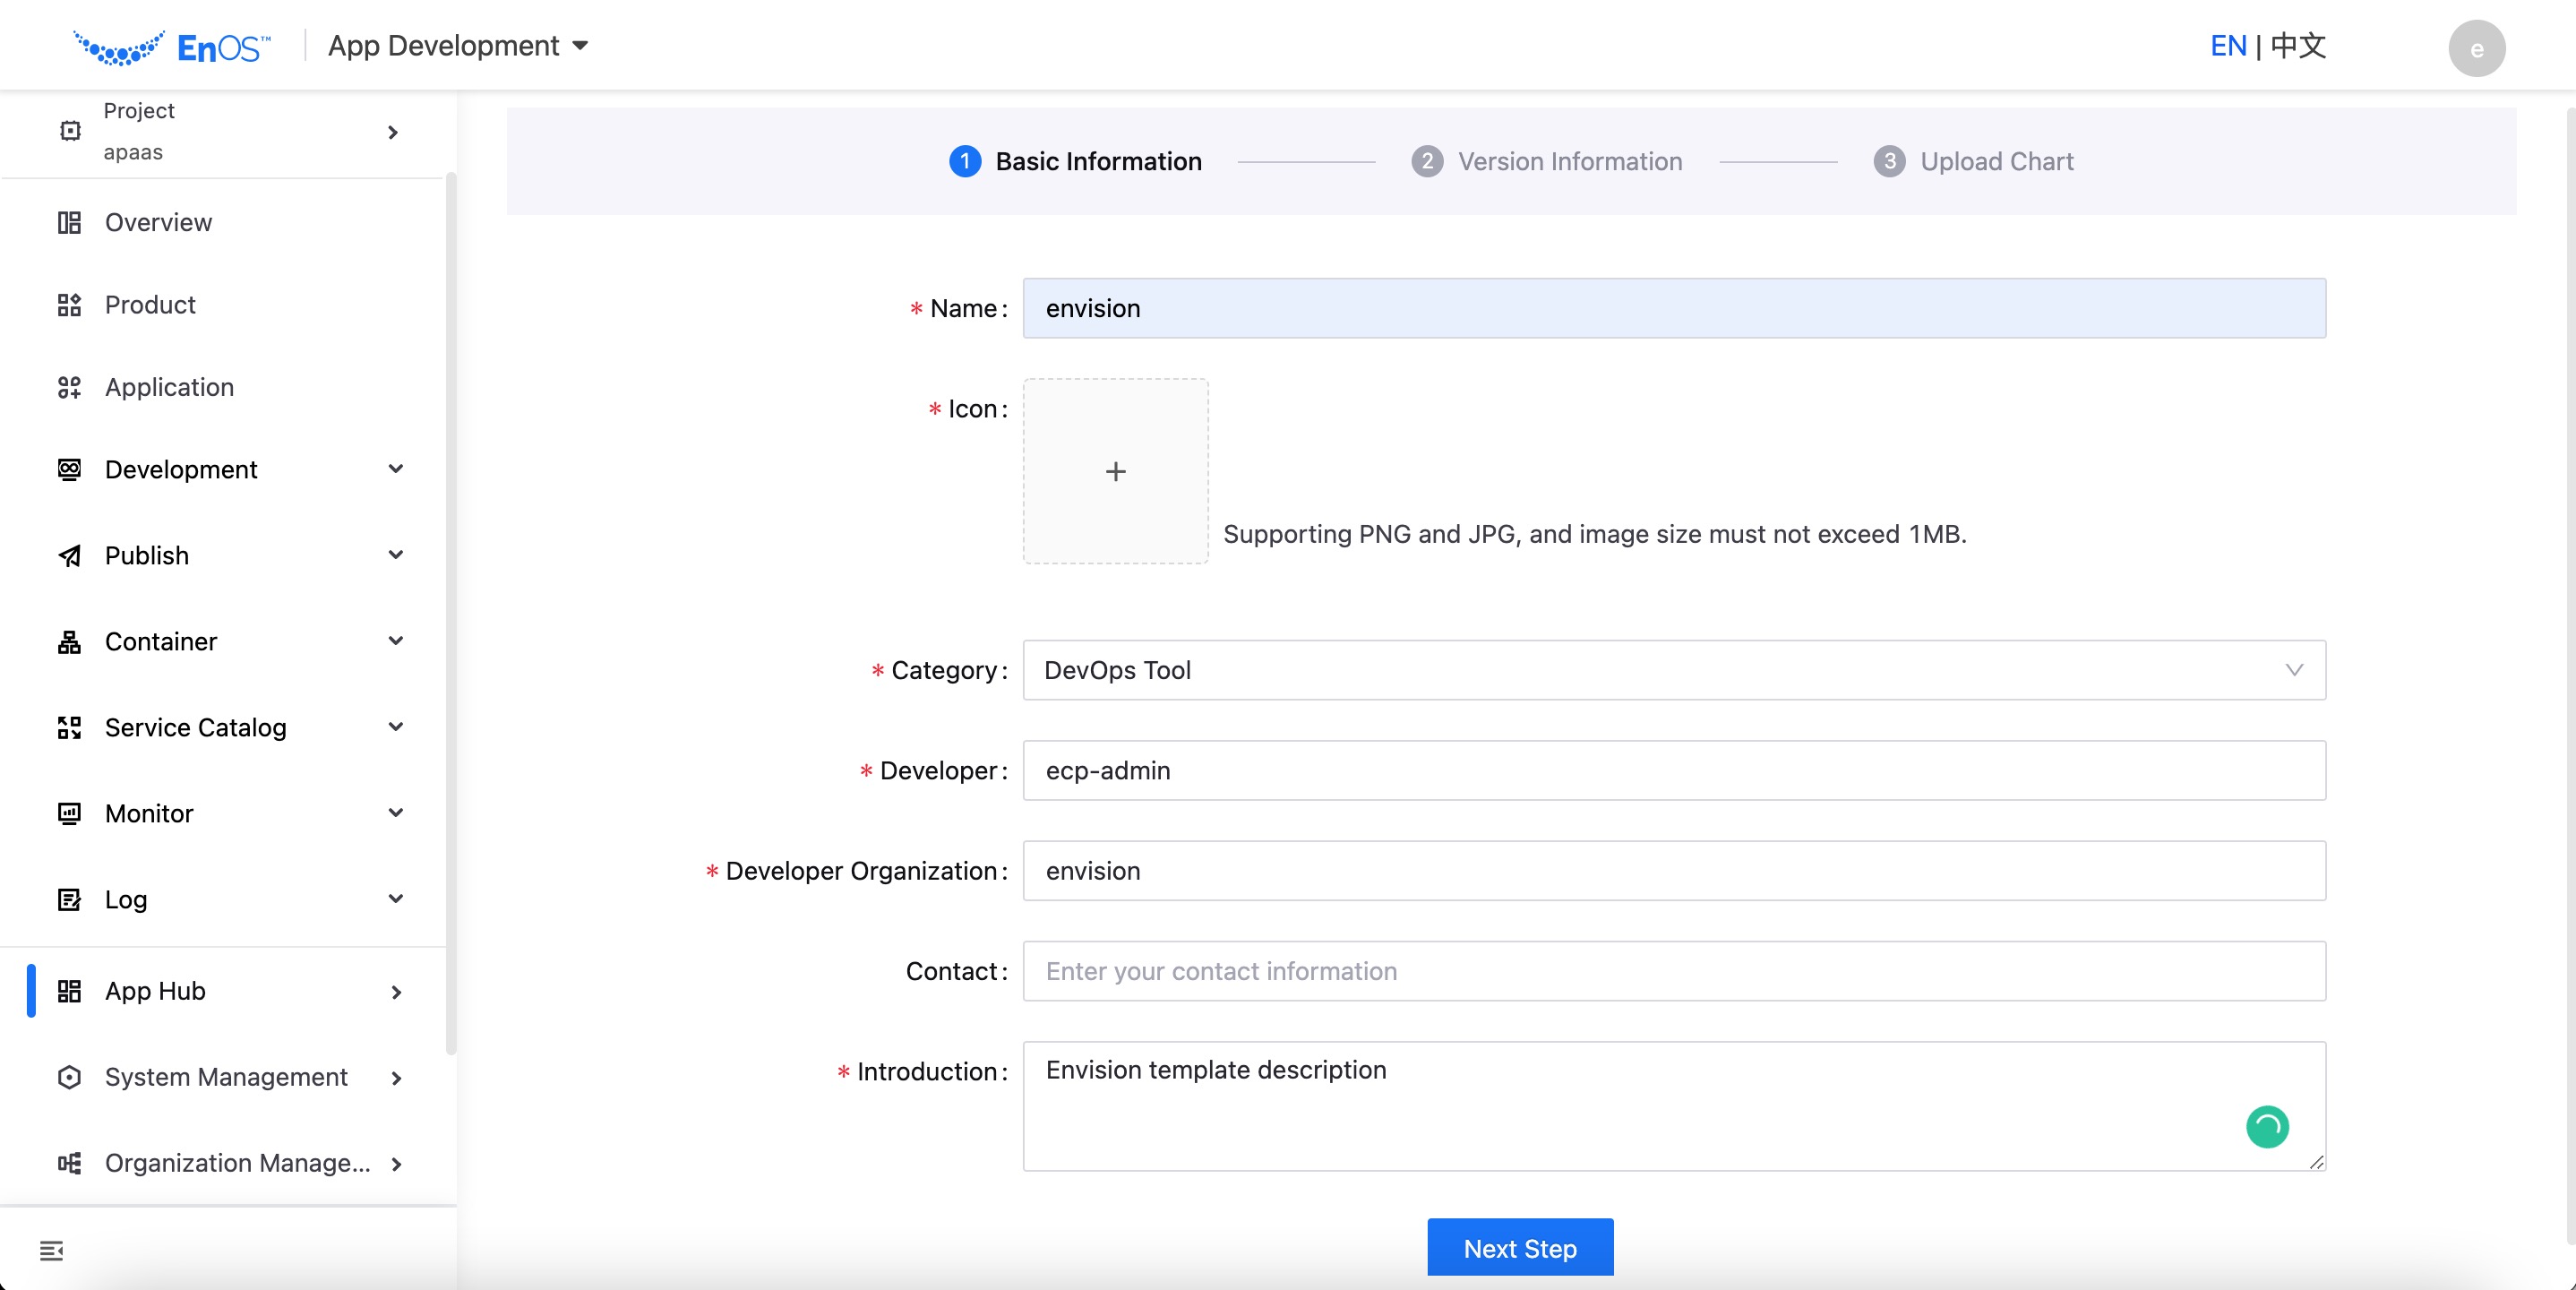
Click New Template and provide the following basic information.
Name: Enter the name of the application template.
Icon: Upload an icon for the application template.
Category: Select a category for the application template.
Developer:Required. Default username for current user.
Developer Organization:Required. Default current user Organization name.
Contact: Not required.
Introduction: Enter a short description for the application template.
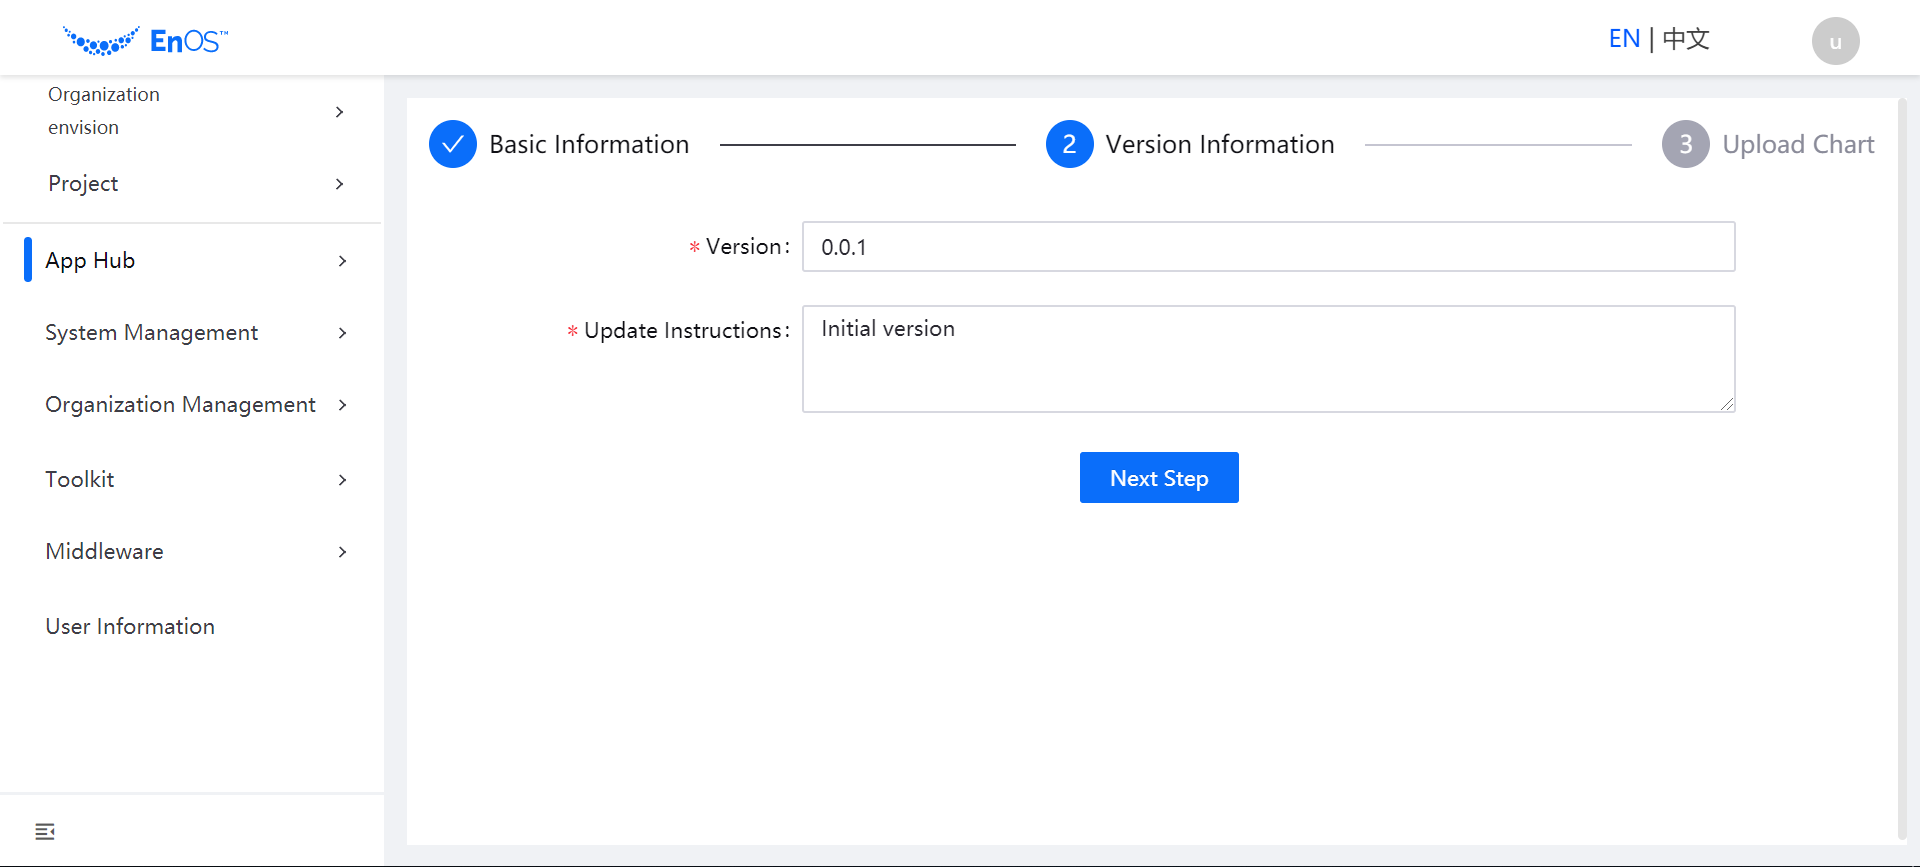
Click Next Step and enter the version number and update instructions of the application template on the Version Information page.
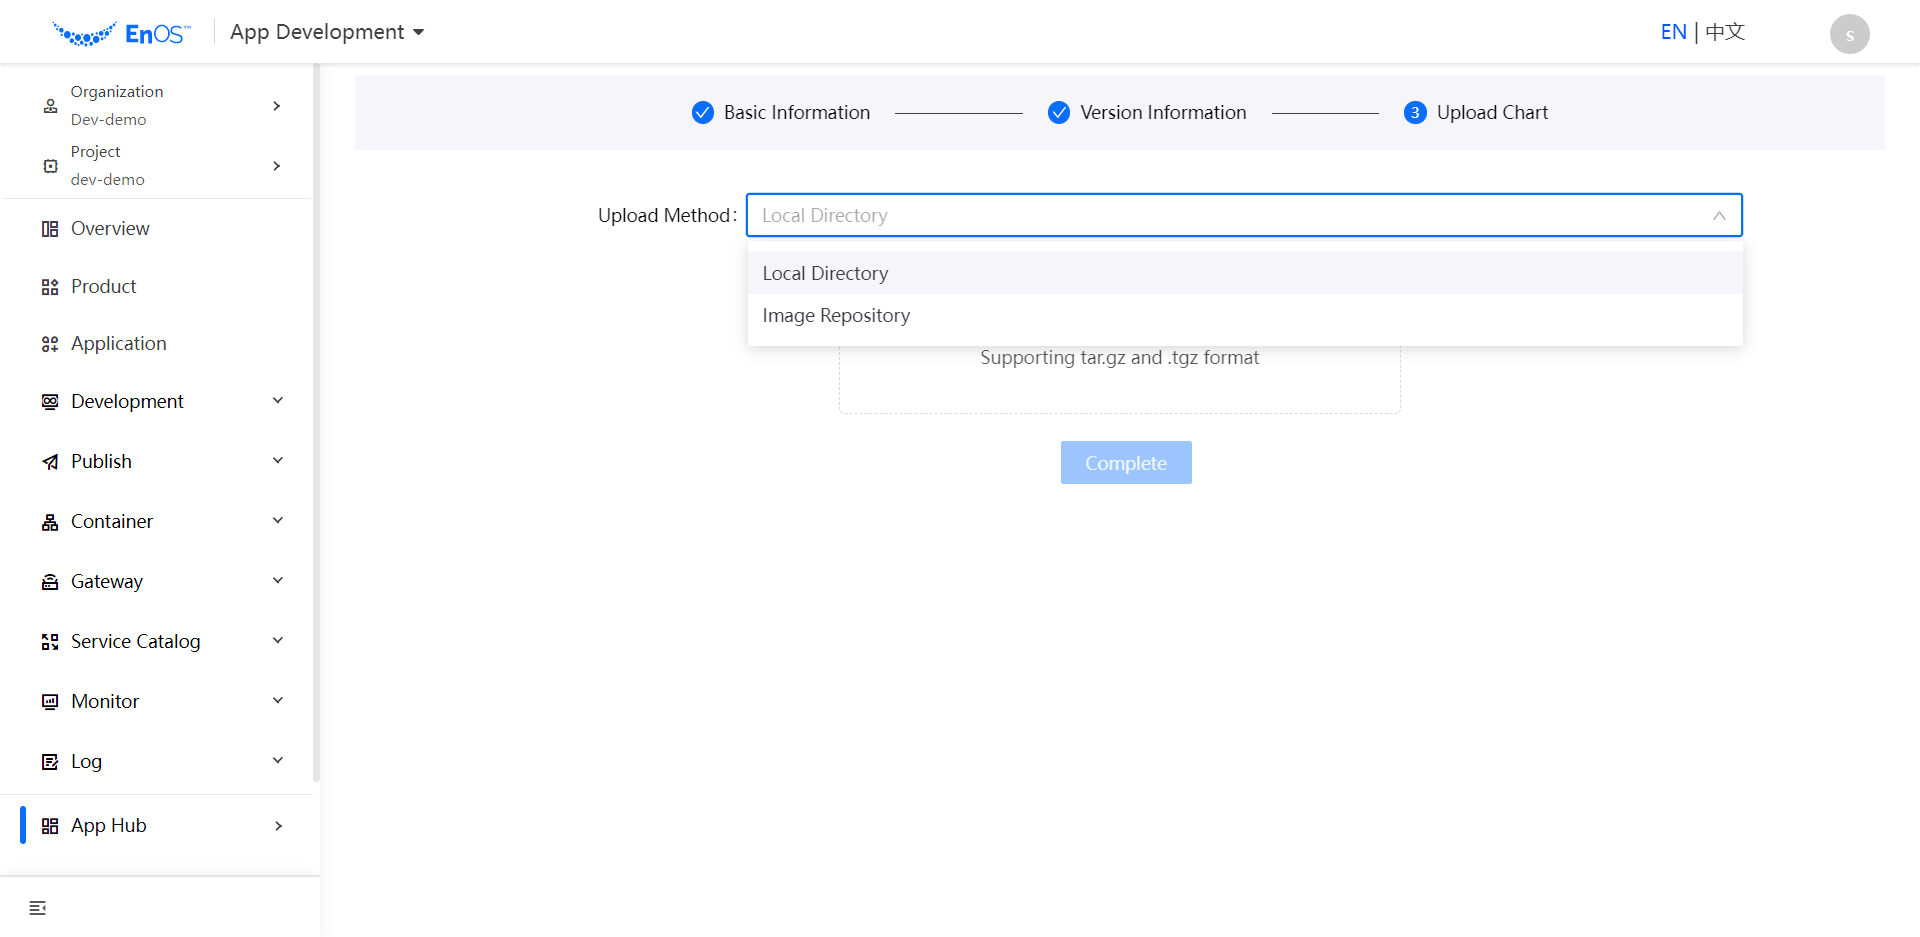
Click Next Step and in the Upload Chart page, select Local Directory or Image Repository to upload and click Complete to finish adding the application template.
After the application template is added, its initial state will be Developing by default.
Release Template Version
In the list of application templates, find the target template, and click the View Details icon to open the template details page.
The existing versions of the template are listed in the Version section. Click the Submit icon, after selecting the cluster to be released in the pop-up window, click OK to Release the template version.
The state will change to Released when the system administrator approves the application template.
Release the template version to the new cluster
In the list of application templates, find the target template, and click the View Details icon to open the template details page.
The existing versions of the template are listed in the Version section. Click the Release Template to Cluster icon, after selecting the cluster to be released in the pop-up window, click OK to release the template version to the new cluster.
Remove Template Version
In the list of application templates, find the target template, and click the View Details icon to open the template details page.
The existing versions of the template are listed in the Version section. Click the Remove icon, confirm removal in the pop-up window, and click the Remove icon to remove the template version.
Updating a Template to a New Version
In the list of application templates, find the target template, and click the View Details icon to open the template details page.
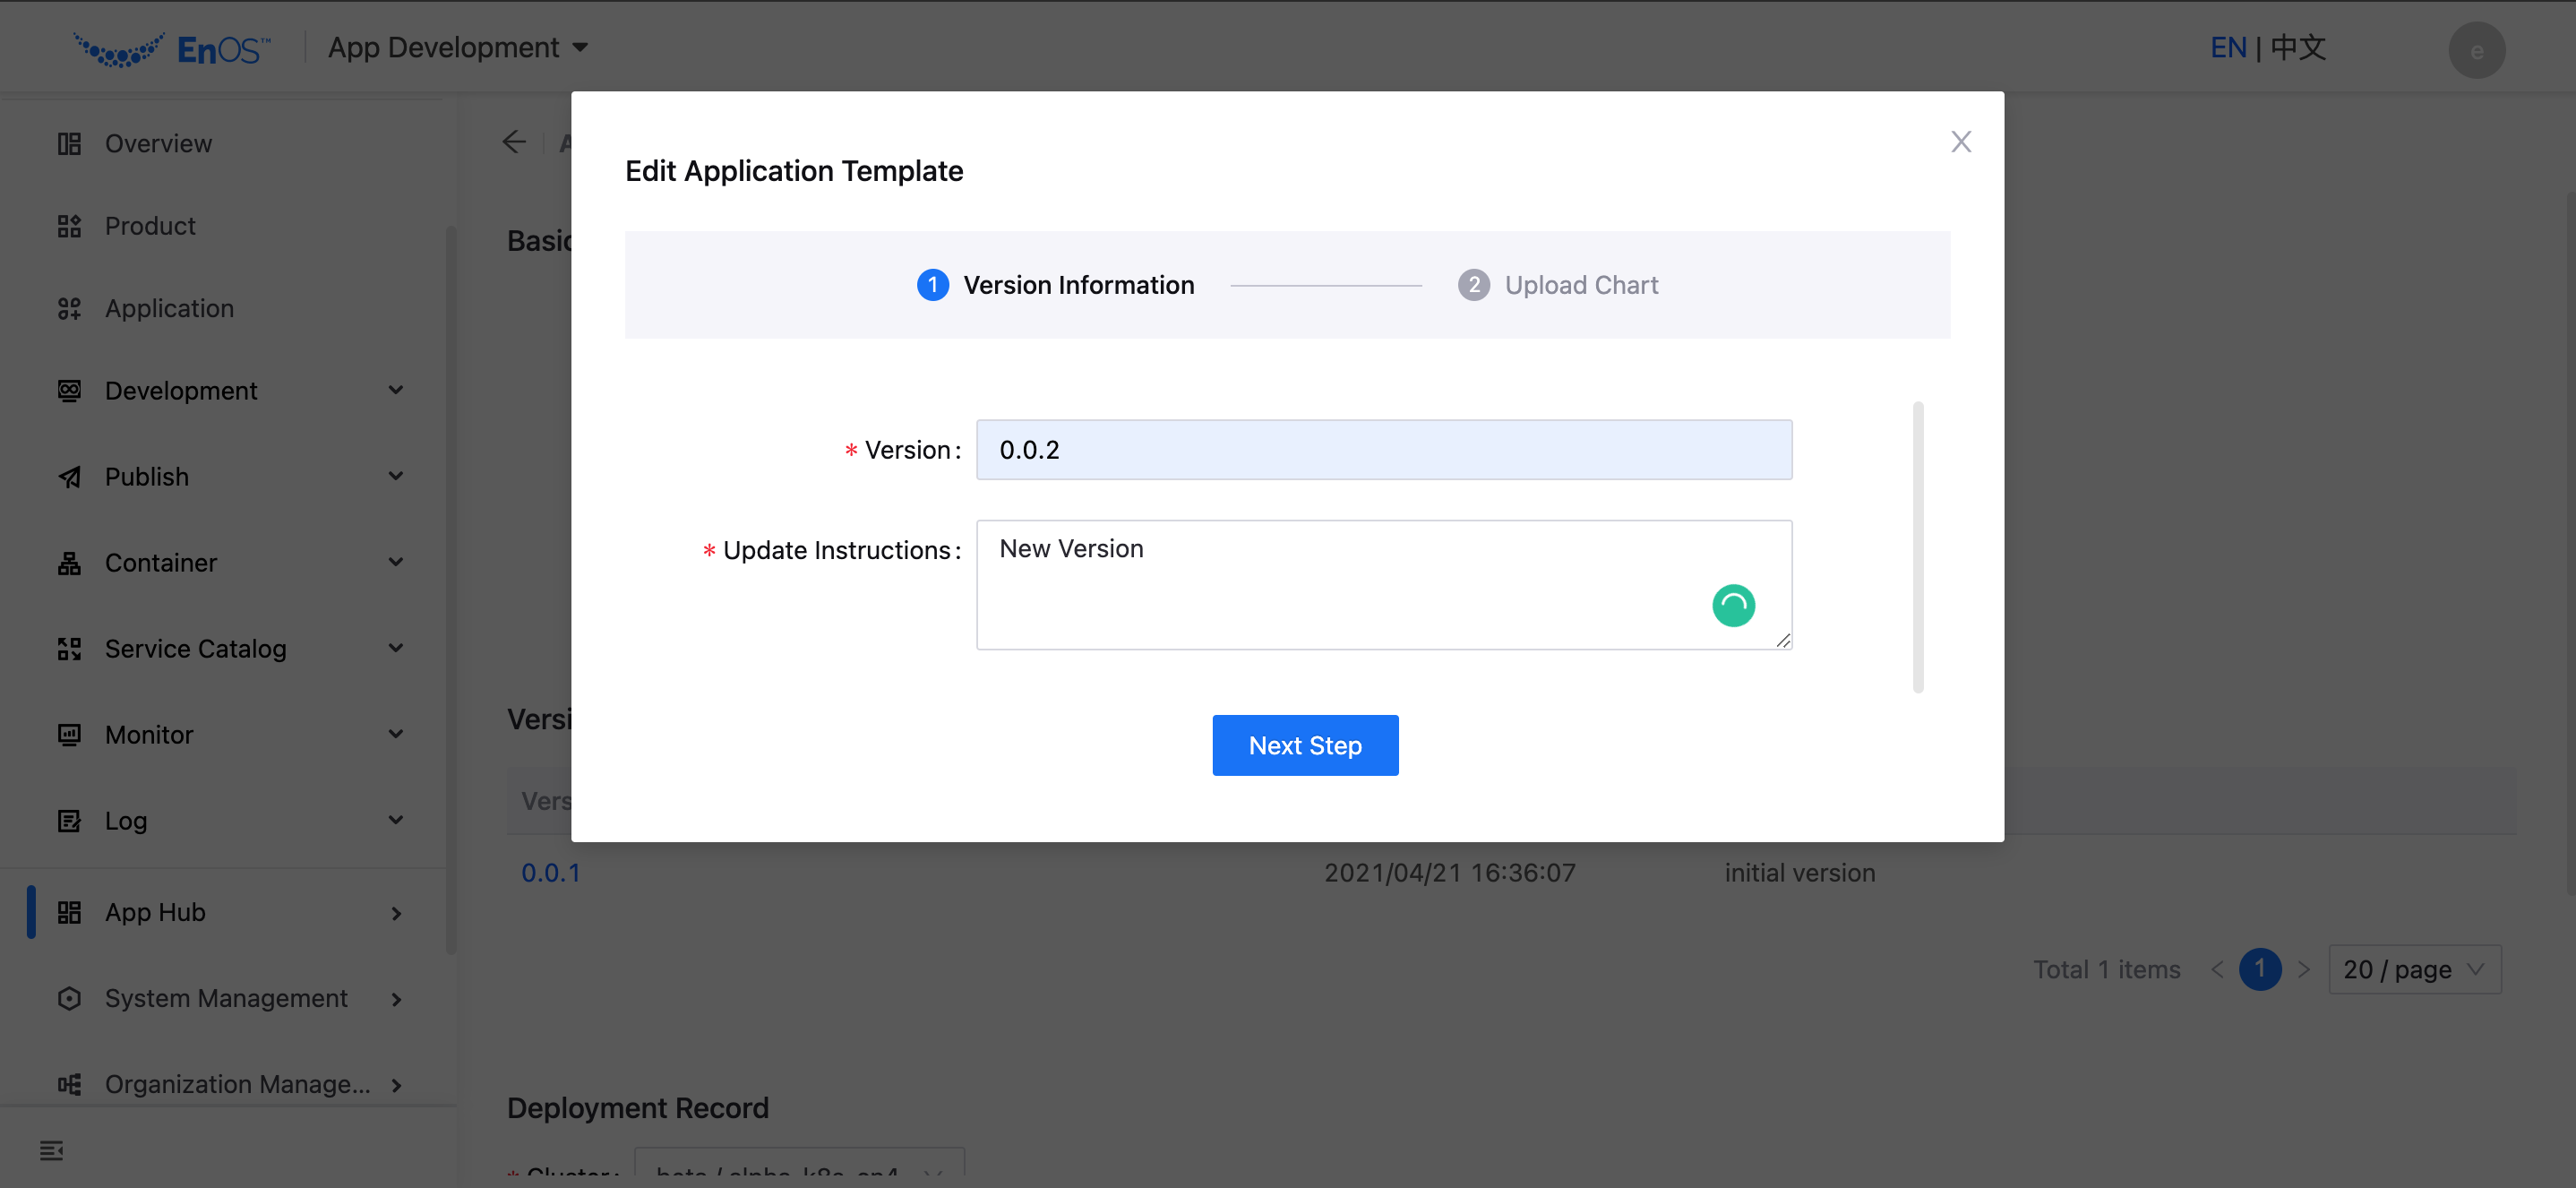
The existing versions of the template are listed in the Version section. Click the Update icon to add a new template version.
Enter the version number and update instructions of the new version and upload the Helm Chart package to complete updating the template.
Next Steps
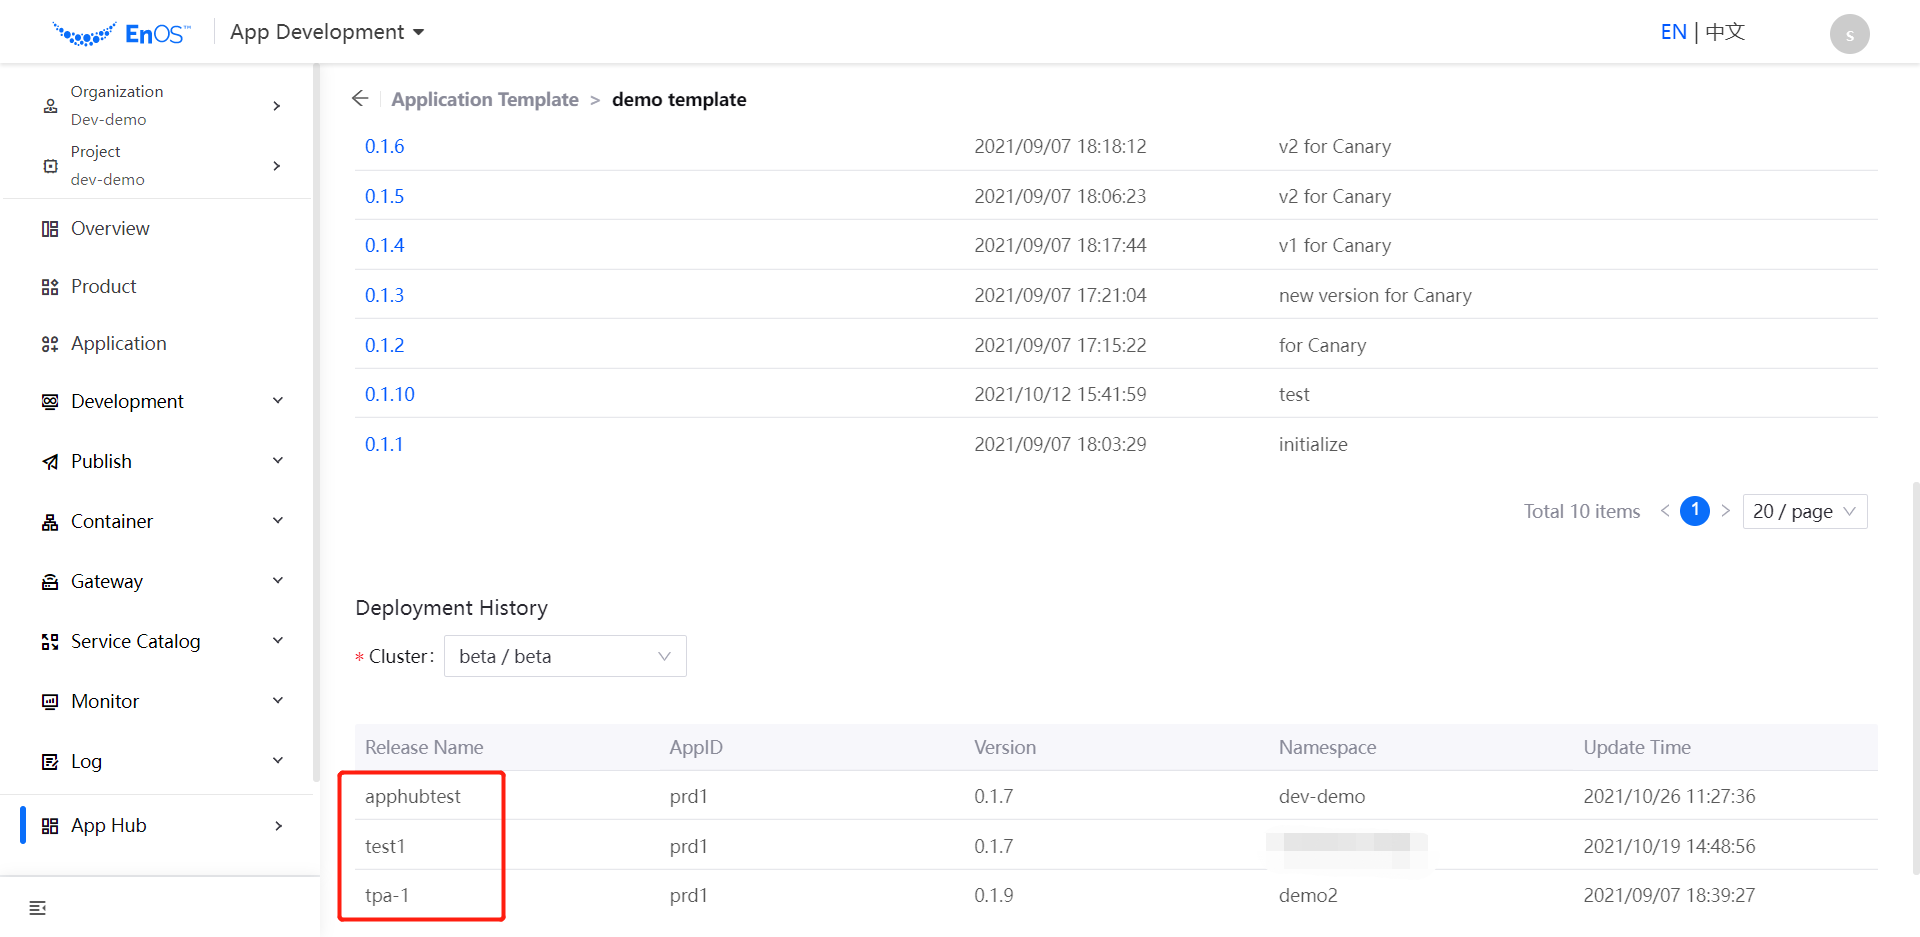
After the application template is online, users in the organization can deploy the template as application instances. The application developer can view the deployed instances on the template details page (including the detailed information and deployment records of the application instances).
When an application template is not needed any more, the system administrator can take the template offline, and the state of the template will be changed back to Developing.