Installing EnOS™ HMI
This section shows how to download and install the EnOS HMI.
Prerequisite
Before using the EnOS HMI, ensure that your organization has purchased the EnOS HMI application (HMI_Graph). If your organization has not done so, follow the steps below to purchase the EnOS HMI application on the EnOS Management Console.
Log in to the EnOS Management Console using the administrator account of your organization and click Application Registration > Purchased > Purchase Application.
Search using the
AccessKeyof the EnOS HMI application (contact the EnOS project manager for theAccessKeyof the application in the current EnOS deployment environment).In the search result window, click Buy.
After the purchase request is reviewed and approved, the purchased EnOS HMI application (HMI_Graph) will be displayed under the Purchased tab.
Downloading the Client
Log in to the EnOS Management Console and click SDK Center.
In the EnOS HMI section, click the Download link to download the EnOS HMI client installation package (
hmi_graph.zip) at GitHub.You can also click the link to GitHub to clone the EnOS HMI installation source file.
Installing and Running the EnOS Graph Tool
Extract the
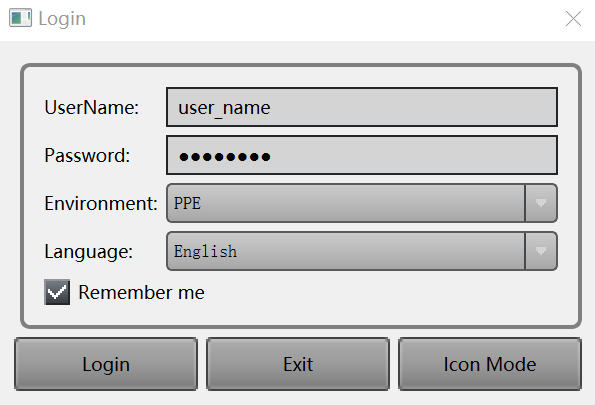
hmi_graph.zipfile and run thegraph_view.exein the root directory to start the EnOS HMI program.In the Login window, enter your EnOS account and password, select the environment and client language, and click Login.
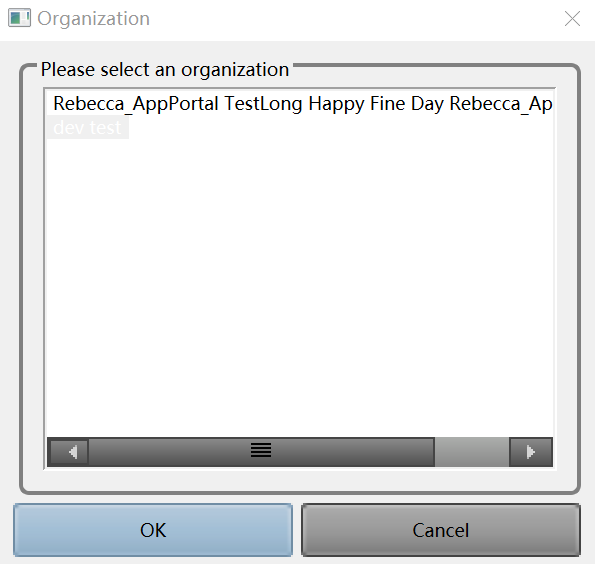
If your EnOS account can access multiple organizations, select the OU to access, and click OK to log in.