Getting Started: Create, Deploy, and Publish API
This section helps you quickly create, deploy, and publish APIs to customers through API Management.
Before You Start
Ensure that you have an EnOS account and the permissions to create APIs in the EnOS Application Portal > Developer Console. For more information, see API Authentication.
Step 1: Create an API Group
You need to create an API group before creating an API. The API group name and the group path are globally unique.
Log in to the EnOS Application Portal > Developer Console, select API Management > My APIs, click New Group, and enter the details for the following fields.
Service Instance: EnOS Partner Shared Instance
Note
EnOS OU users can select EnOS Platform Exclusive Instance or EnOS Partner Shared Instance, while third-party OU users can only select EnOS Partner Shared Instance.
Name: Wind-turbine-service
Path: /wind-turbine
Description: Wind turbine service
Click Save.
Step 2: Create the API
Click the API group “Wind-turbine-service”, and then click Add API in the API List section.
In the Basic Information page, enter the details for the following fields and click Next.
API Name: GetTurbineByCaseId
API Type: APIs developed by EnOS partners. In the previous step, the Service Instance was selected EnOS Partner Shared Instance, where the API Type defaults to APIs developed by EnOS partners..
Authentication Mode: No Authentication
API Description: GetTurbineByCaseId
In the Backend Service page, enter the details for the following fields.
Backend Service Address: https://eersc.usgs.gov
HTTP Method: GET
Backend Request Path: /api/uswtdb/v1/turbines
Parameter Processing Mode: Pass-through
Connect Timeout: 3000
Read Timeout: 60000
Write Timeout: 60000
Click Add Backend Parameter, add a parameter “caseid” as per the following, and click Next.

In the Front-end Request page, enter the details for the following fields, and click Next.
Version: v1
Request Path: /turbines
In the Reponse page, complete the configuration of Success Sample and Failure Sample, and click Next.
Success Sample
{
 "case_id":3000783,
 "faa_ors":null,
 "faa_asn":null,
 "usgs_pr_id":15020,
 "t_state":"CA",
 "t_county":"Riverside County",
 "t_fips":"6065",
 "p_name":"unknown San Gorgonio Pass 4",
 "p_year":1985,
 "p_tnum":37,
 "p_cap":null,
 "t_manu":null,
 "t_model":null,
 "t_cap":null,
 "t_hh":null,
 "t_rd":null,
 "t_rsa":null,
 "t_ttlh":null,
 "t_conf_atr":1,
 "t_conf_loc":3,
 "t_img_date":"11/3/2018",
 "t_img_srce":"Digital Globe",
 "xlong":-116.62079,
 "ylat":33.94149
}
Failure Sample
{
  "details": "unexpected \"1\" expecting \"not\" or operator (eq, gt, ...)",
  "message": "\"failed to parse filter (1)\" (line 1, column 1)"
}
In the Advanced Configuration page, click “+”, select the traffic control plugin Rate Limiting, click Save, and set the Request Limit as “2/minute”.
Click OK.
Step 3: Test the API
After creating the API, click the Release icon of the created API in the API List, enter a description for releasing the API at Release Details, and click OK.
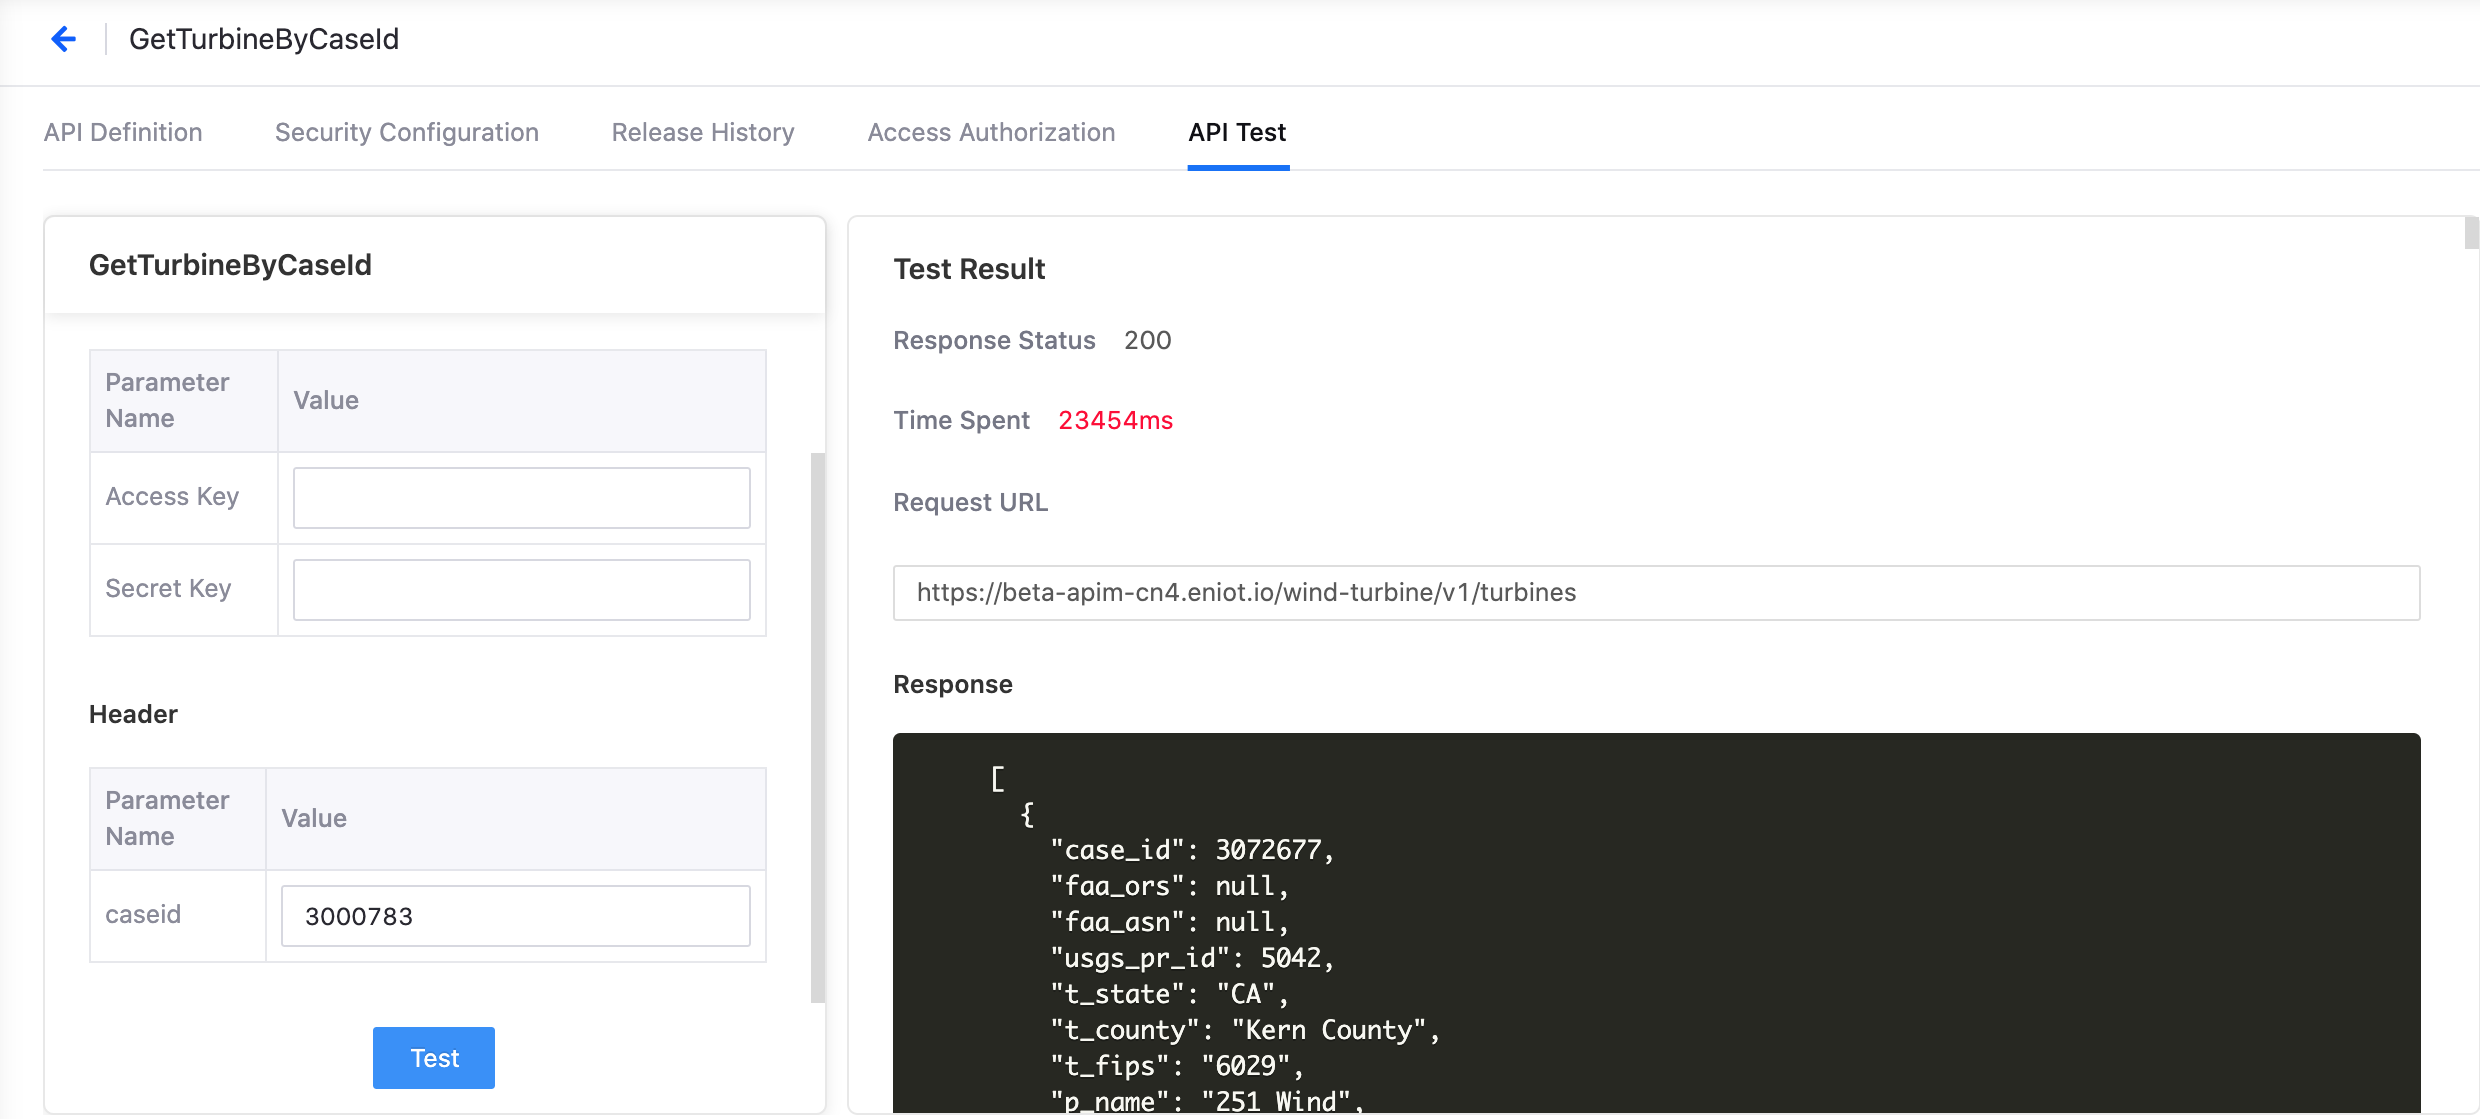
Click the Test icon of “GetTurbineByCaseId”.
Enter “3000783” as the value for caseid, and click Test.
After clicking Test, you can view the Request URL and Response on the right.
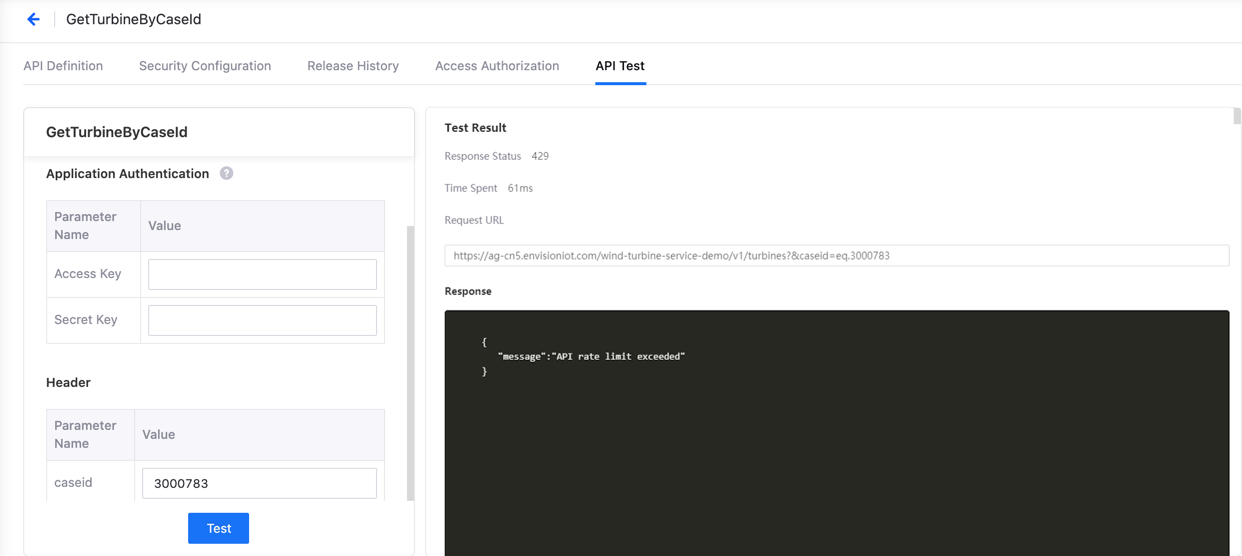
Test a few more times. After the third click, you will find that the API rate limiting has been triggered.
Return to the API List, change the API status to Unpublished by clicking Make Offline in the Operation column, click View, and edit the Rate Limit to “2000/minute”.
Step 4: Publish the API
The default Visibility status for newly created third-party APIs is “Private”. The API needs to be published on EnOS and made public in order to be called by a third- party.
In the API List, set the Status of “GetTurbineByCaseId” to Released by clicking its Release icon, and set the Visibility to Public.
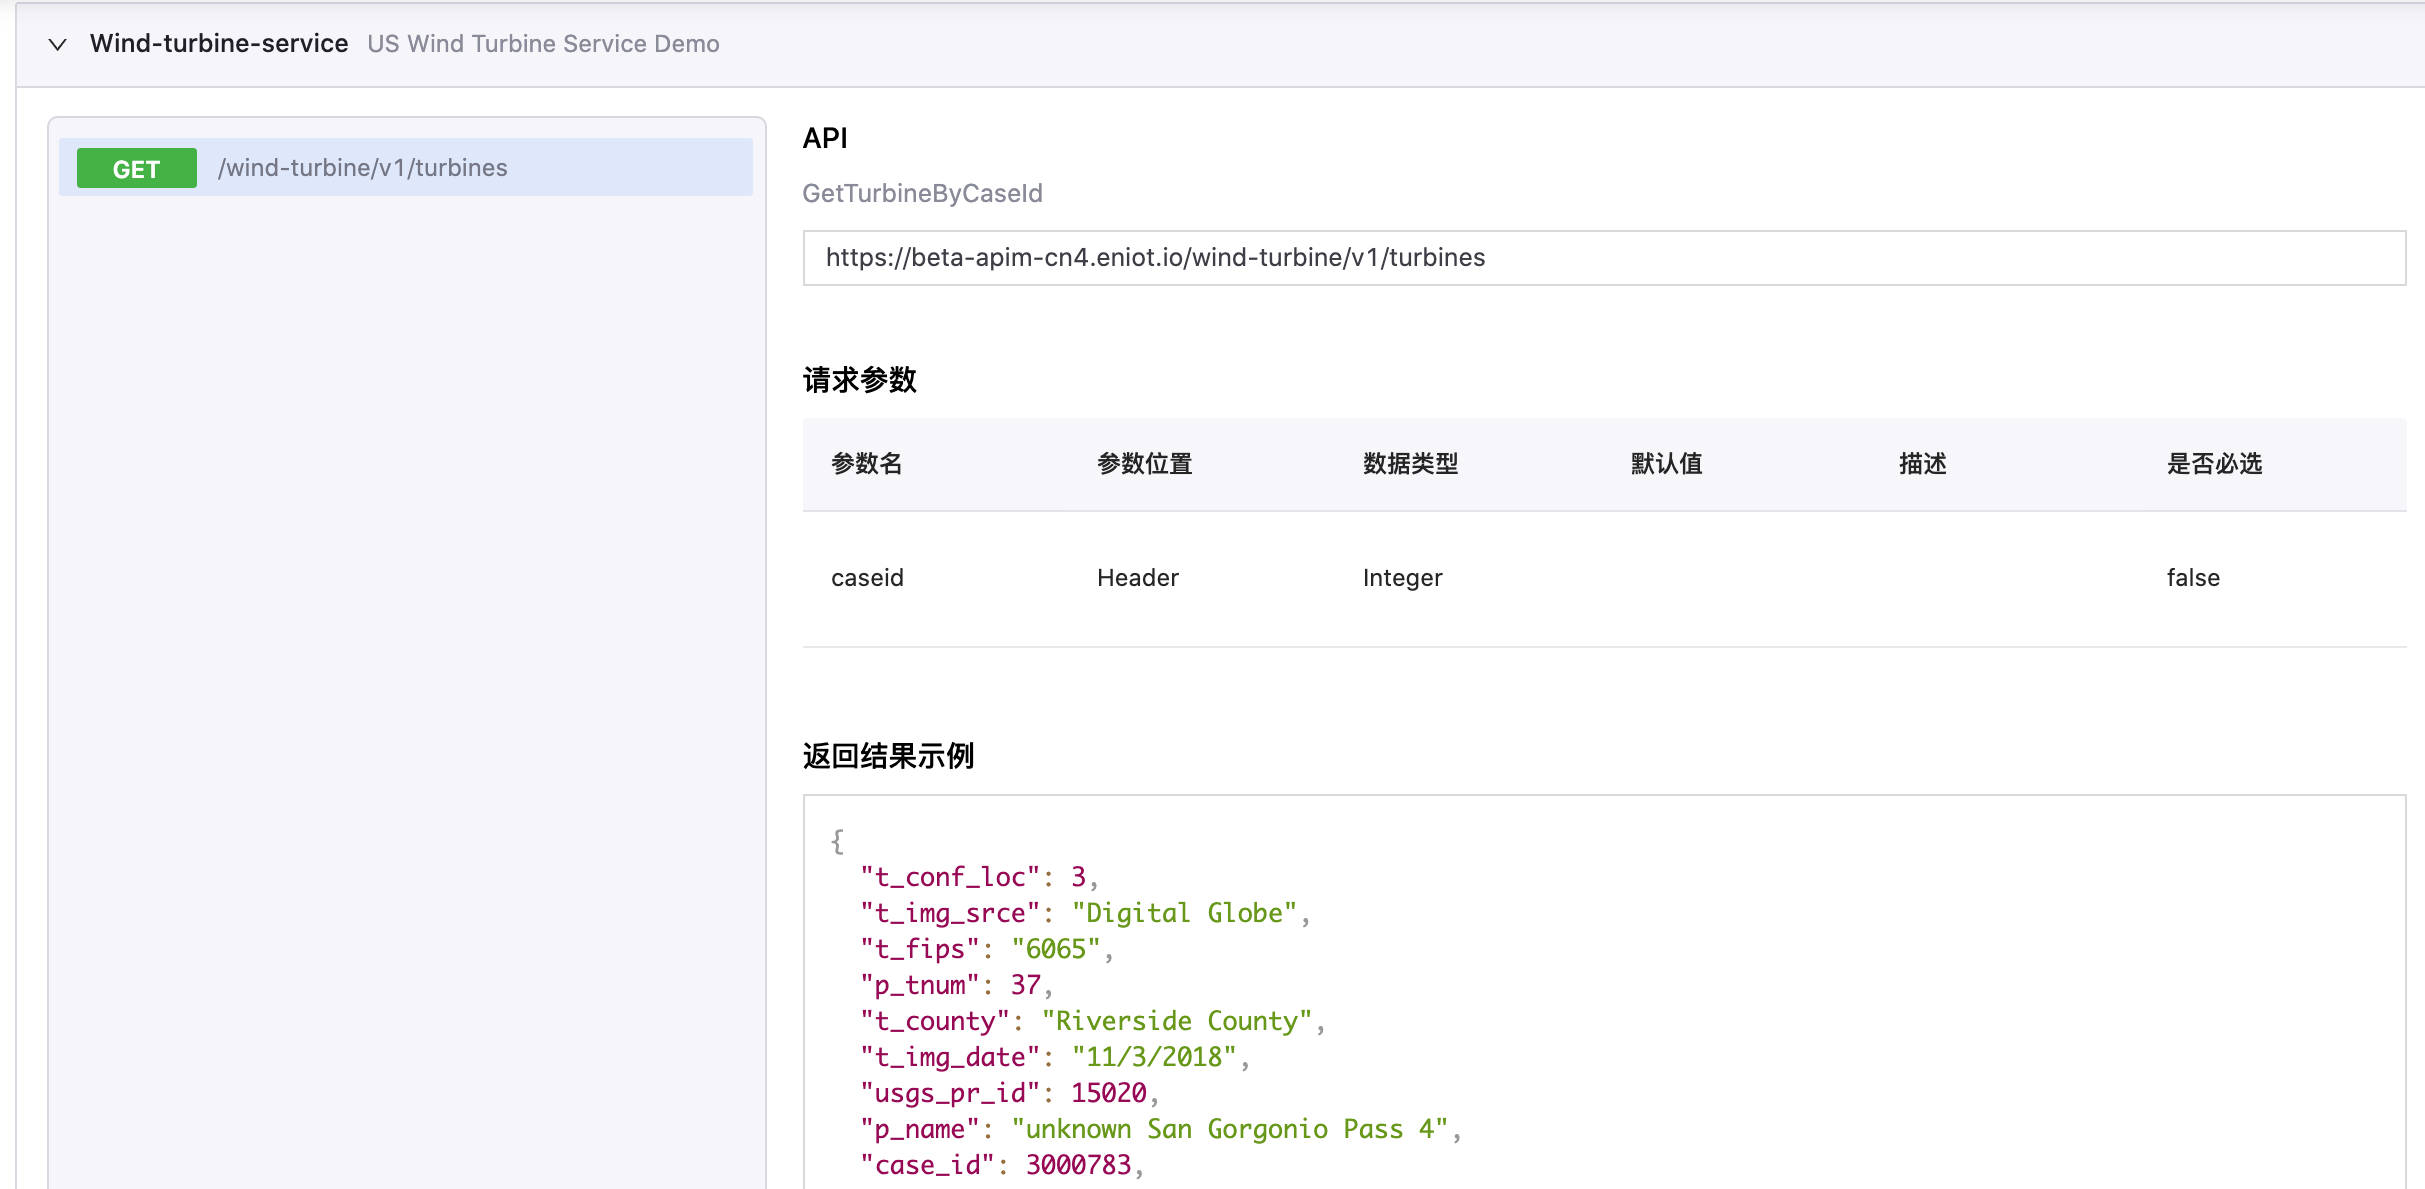
From the left navigation menu of the EnOS Application Portal > Developer Console, go to Public APIs and you can see the API group Wind-turbine-service. Click to expand the group to view the details of the “GetTurbineByCaseId” API.
Step 5: Invoke the API
When the API is published, third-party users can invoke the API.
public class test {
  public static void main (String[] args) {
    String appKey = "yourAccessKey";
    String appSecret = "yourSecretKey";
    String result =
            Poseidon.config(PConfig.init().appKey(accessKey).appSecret(secretKey).debug())
                .url(
                  "https://ag-cn5.enos-iot.com/wind-turbine-service/v1/turbines?&case_id=eq.3000783")
                .method("GET")
                .sync();

    }
}
For details on how to invoke APIs, refer to Get Started with EnOS API.