Getting Started: Create, Deploy, and Publish API
This section helps you quickly create, deploy, and publish APIs to customers through API Management.
About this Task
Create, release, and publish an API named “GetTurbineByCaseId” in API Management.
Invoke this interface as a third-party.

Before You Start
Ensure that you have an EnOS account and the permissions to create APIs in the EnOS Management Console. For more information, see Policies, Roles, and Permissions.
Step 1: Create an API Group
You need to create an API group before creating an API. The API group name and the group path are globally unique.
Log in to the EnOS Management Console, select API Management > My APIs, click New Group, and enter the details for the following fields.
Service Instance: EnOS Partner Shared Instance
Note
EnOS OU users can select EnOS Platform Exclusive Instance or EnOS Partner Shared Instance, while third-party OU users can only select EnOS Partner Shared Instance.
Name: Wind-turbine-service
Path: /wind-turbine
Description: Wind turbine service
Click Save.
Step 2: Create the API
Click the API group “Wind-turbine-service”, and then click Add API in the API List section.
In the Basic Information page, enter the details for the following fields and click Next.
API Name: GetTurbineByCaseId
API Type: APIs developed by EnOS partners. In the previous step, the Service Instance was selected EnOS Partner Shared Instance, where the API Type defaults to APIs developed by EnOS partners..
Authentication Mode: No Authentication
API Description: GetTurbineByCaseId
In the Backend Service page, enter the details for the following fields.
Backend Service Address: https://eersc.usgs.gov
HTTP Method: GET
Backend Request Path: /api/uswtdb/v1/turbines
Parameter Processing Mode: Pass-through
Connect Timeout: 3000
Read Timeout: 60000
Write Timeout: 60000
Click Add Backend Parameter, add a parameter “caseid” as per the following, and click Next.

In the Front-end Request page, enter the details for the following fields, and click Next.
Version: v1
Request Path: /turbines
In the Reponse page, complete the configuration of Success Sample and Failure Sample, and click Next.
Success Sample
{
 "case_id":3000783,
 "faa_ors":null,
 "faa_asn":null,
 "usgs_pr_id":15020,
 "t_state":"CA",
 "t_county":"Riverside County",
 "t_fips":"6065",
 "p_name":"unknown San Gorgonio Pass 4",
 "p_year":1985,
 "p_tnum":37,
 "p_cap":null,
 "t_manu":null,
 "t_model":null,
 "t_cap":null,
 "t_hh":null,
 "t_rd":null,
 "t_rsa":null,
 "t_ttlh":null,
 "t_conf_atr":1,
 "t_conf_loc":3,
 "t_img_date":"11/3/2018",
 "t_img_srce":"Digital Globe",
 "xlong":-116.62079,
 "ylat":33.94149
}
Failure Sample
{
  "details": "unexpected \"1\" expecting \"not\" or operator (eq, gt, ...)",
  "message": "\"failed to parse filter (1)\" (line 1, column 1)"
}
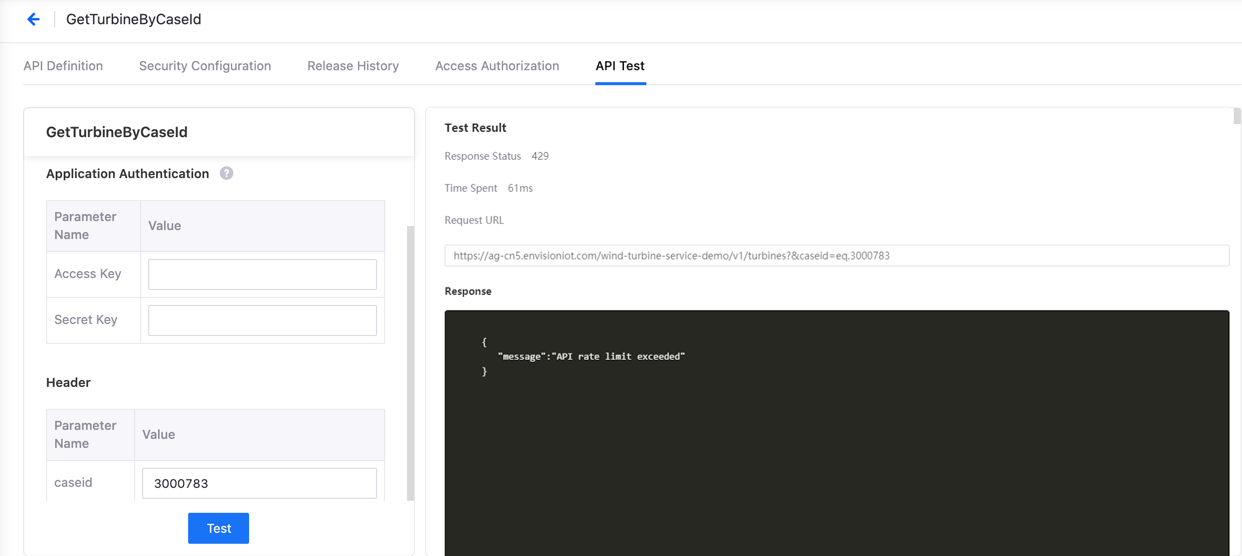
In the Advanced Configuration page, click “+”, select the traffic control plugin Rate Limiting, click Save, and set the Request Limit as “2/minute”.
Click OK.
Step 3: Test the API
After creating the API, click the Release icon of the created API in the API List, enter a description for releasing the API at Release Details, and click OK.
Click the Test icon of “GetTurbineByCaseId”.
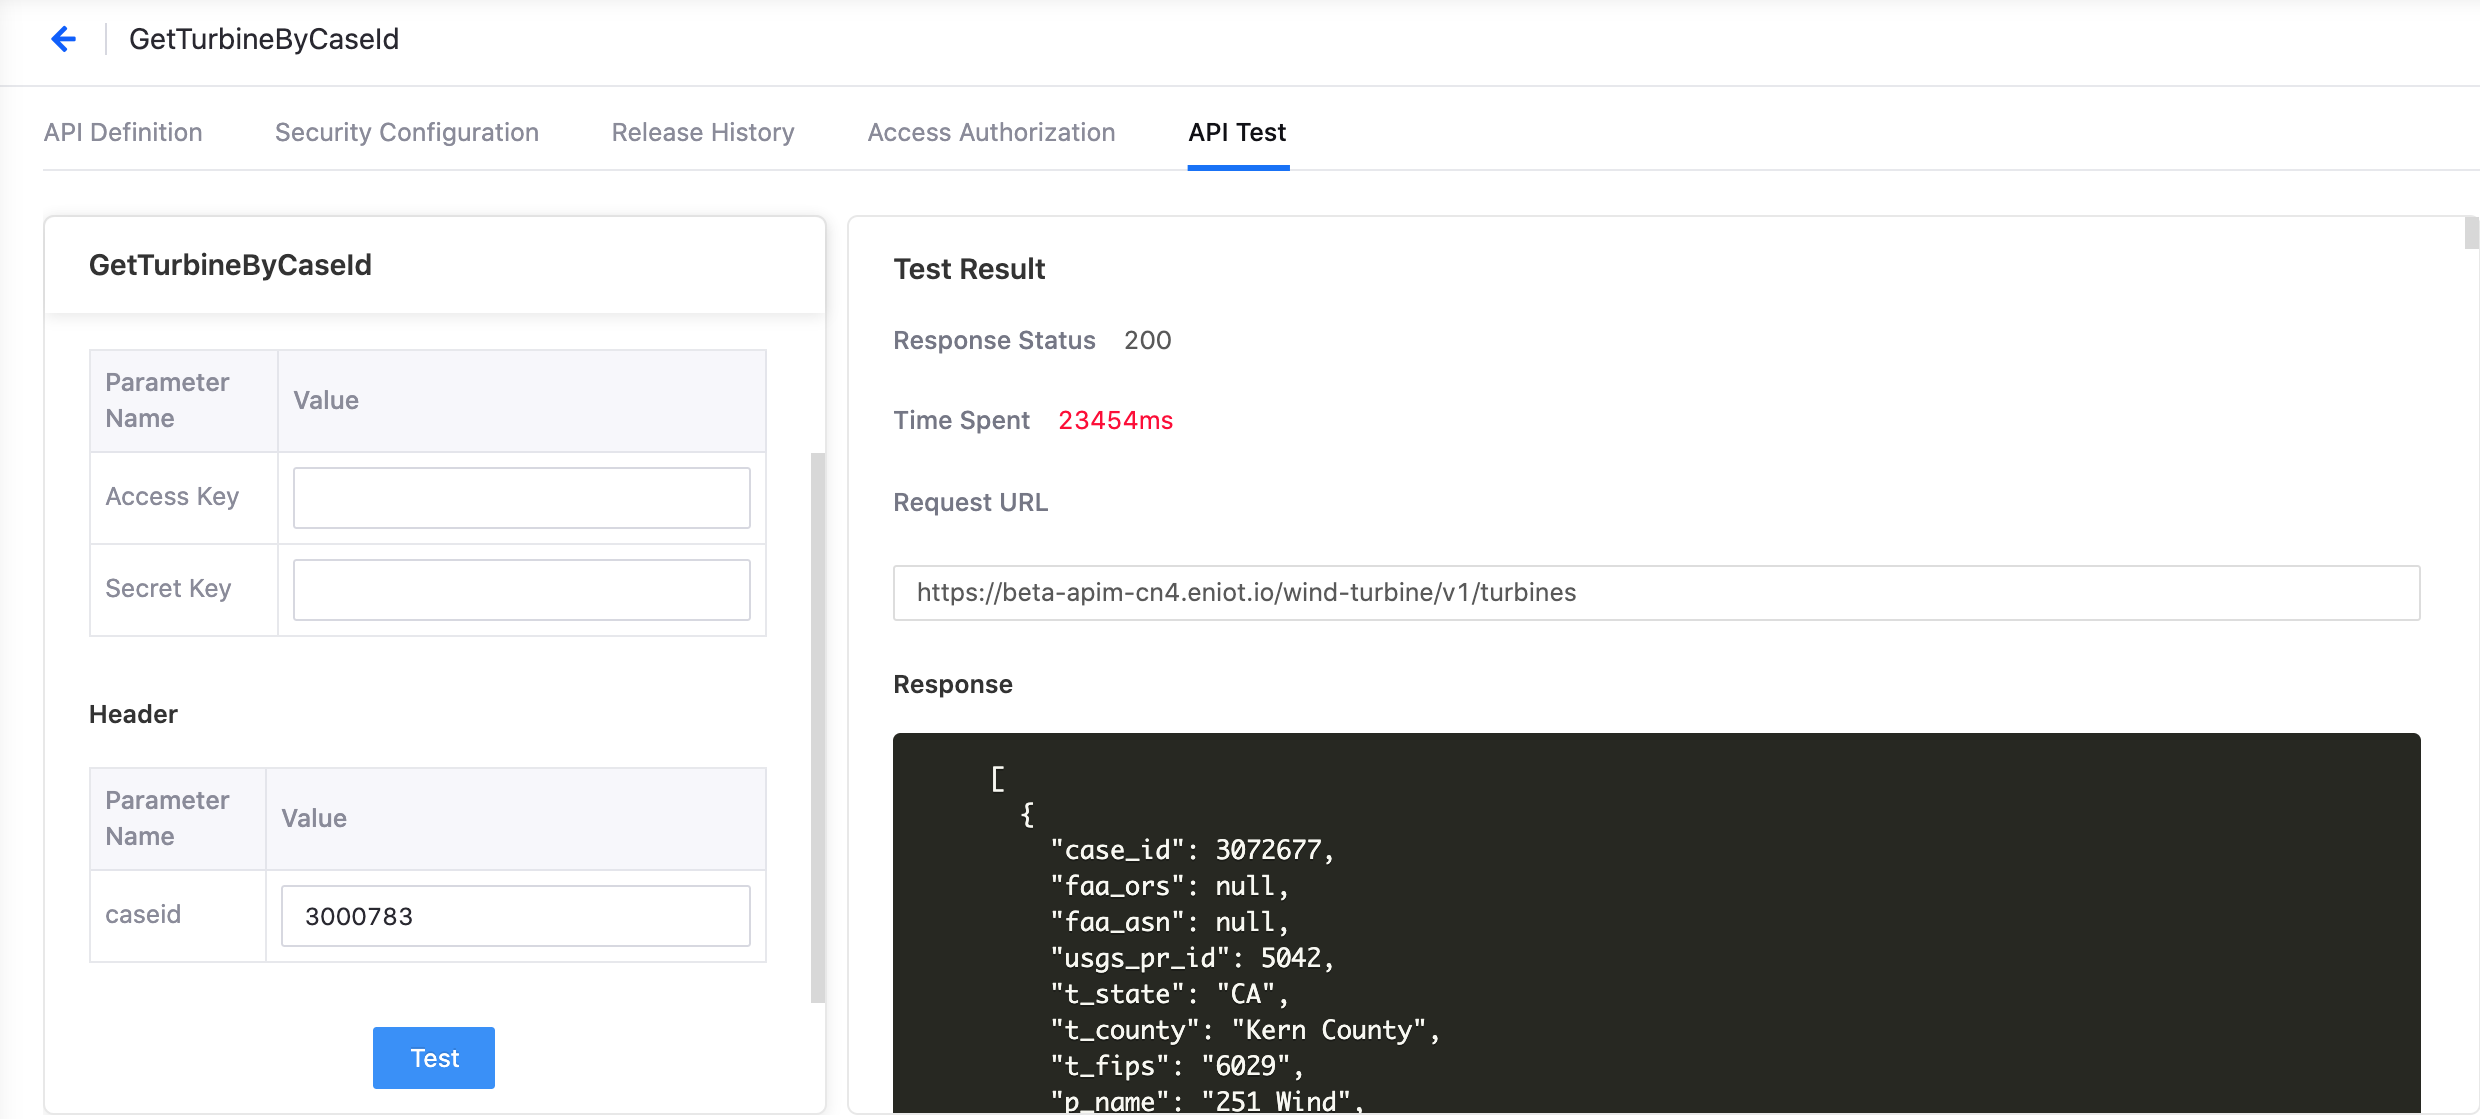
Enter “3000783” as the value for caseid, and click Test.
After clicking Test, you can view the Request URL and Response on the right.
Test a few more times. After the third click, you will find that the API rate limiting has been triggered.
Return to the API List, change the API status to Unpublished by clicking Make Offline in the Operation column, click View, and edit the Rate Limit to “2000/minute”.
Step 4: Publish the API
The default Visibility status for newly created third-party APIs is “Private”. The API needs to be published on EnOS and made public in order to be called by a third- party.
In the API List, set the Status of “GetTurbineByCaseId” to Released by clicking its Release icon, and set the Visibility to Public.
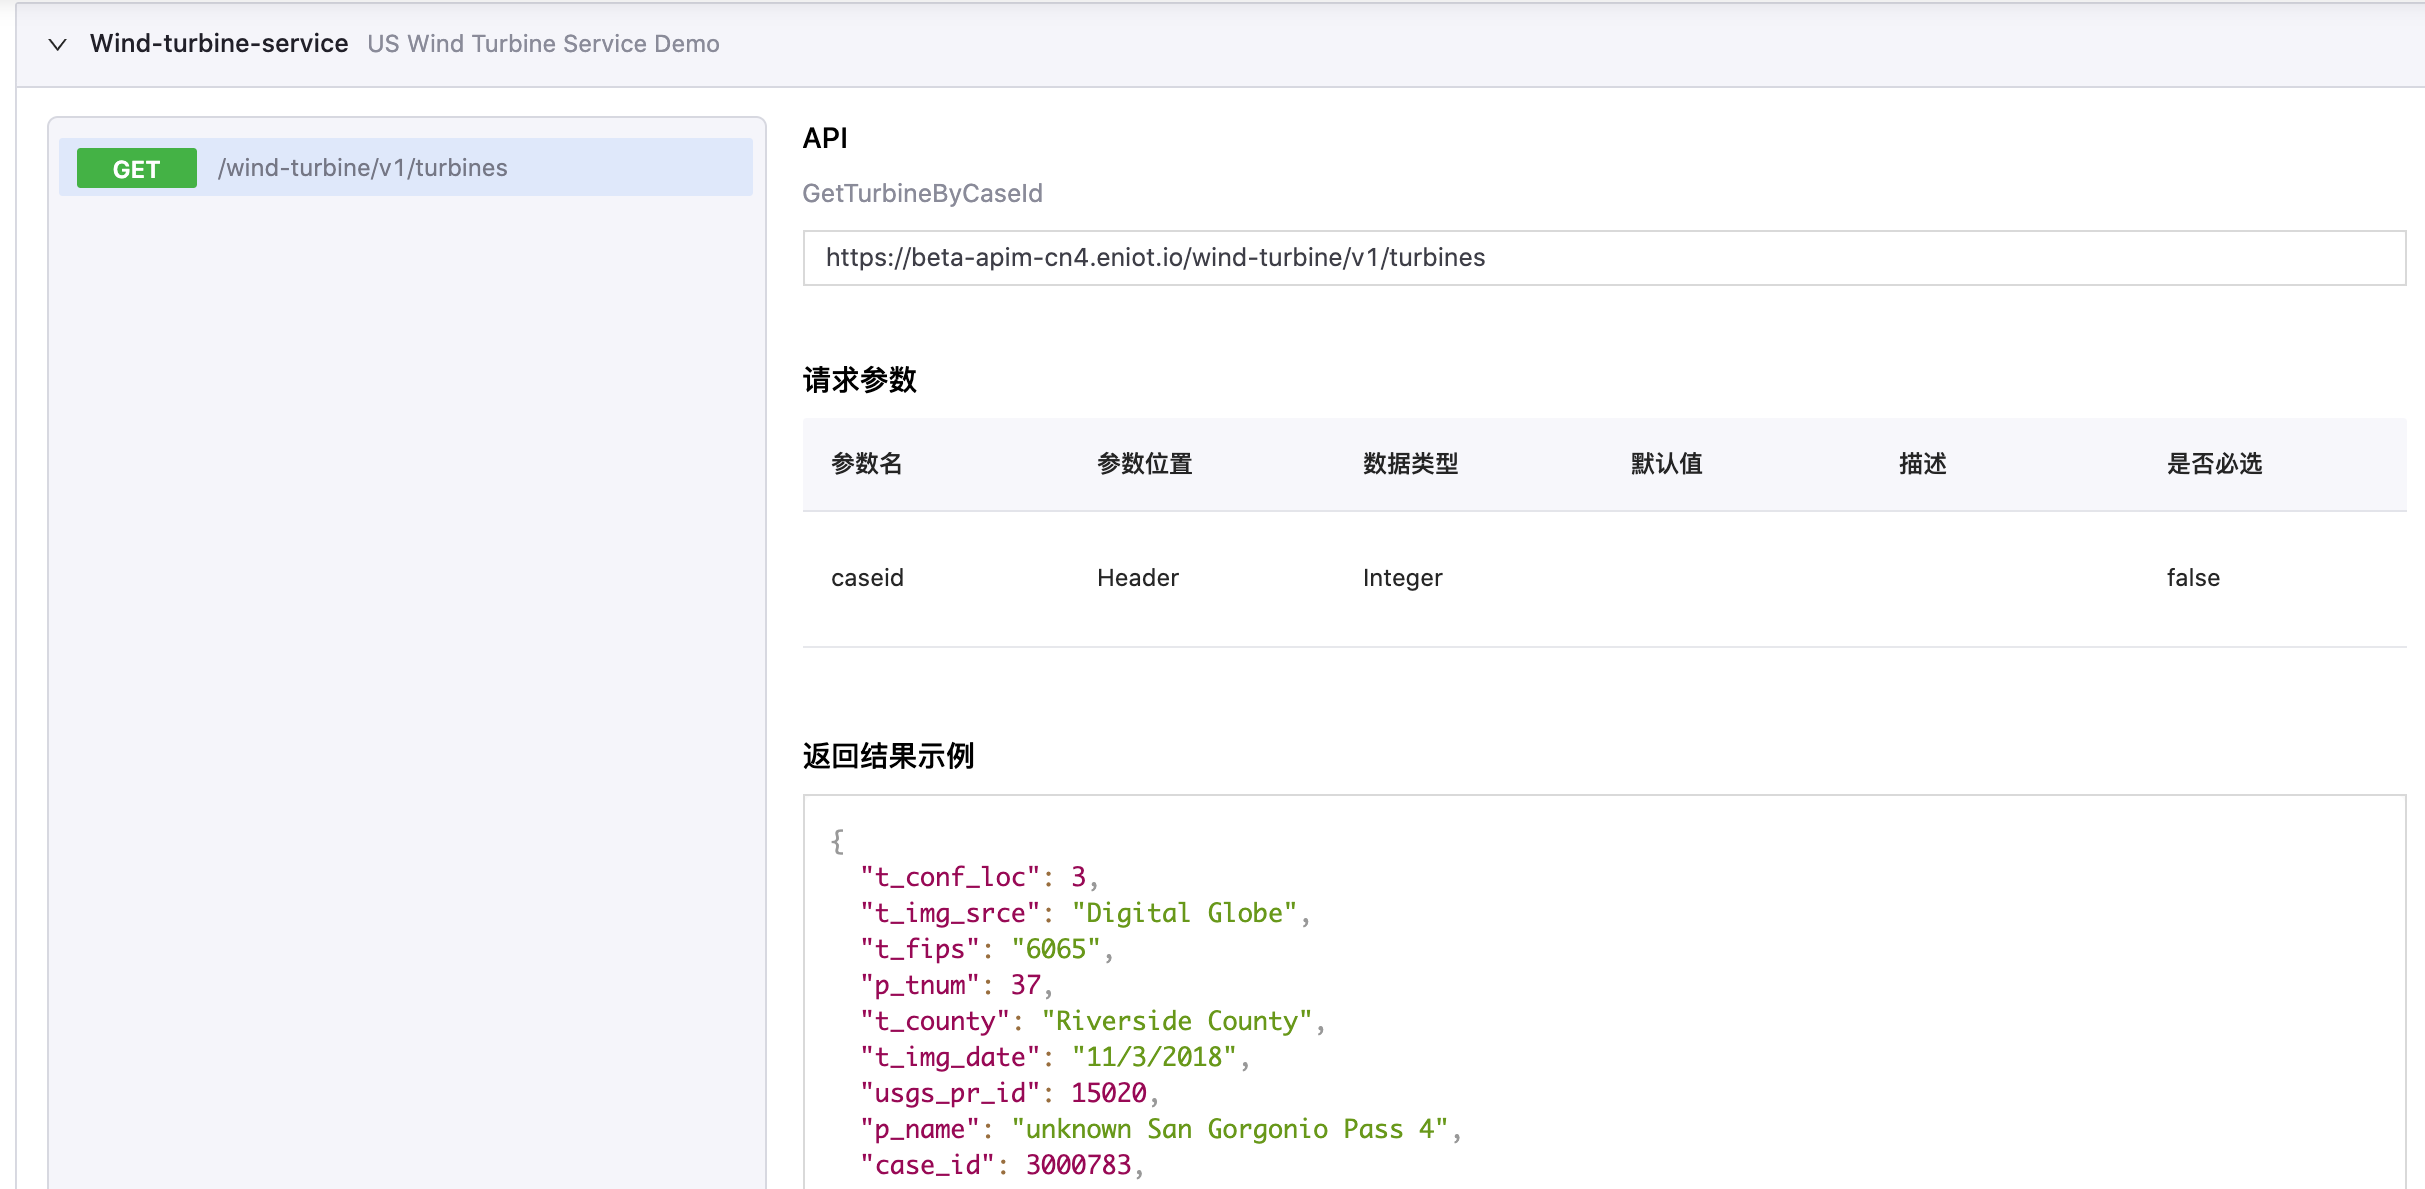
From the left navigation menu of the EnOS Management Console, go to Public APIs and you can see the API group Wind-turbine-service. Click to expand the group to view the details of the “GetTurbineByCaseId” API.
Step 5: Invoke the API
When the API is published, third-party users can invoke the API.
public class test {
  public static void main (String[] args) {
    String appKey = "yourAccessKey";
    String appSecret = "yourSecretKey";
    String result =
            Poseidon.config(PConfig.init().appKey(accessKey).appSecret(secretKey).debug())
                .url(
                  "https://ag-cn5.enos-iot.com/wind-turbine-service/v1/turbines?&case_id=eq.3000783")
                .method("GET")
                .sync();

    }
}
For details on how to invoke APIs, refer to Get Started with EnOS API.
Step 6: Monitor the API
Once an API is used by the user, you can check the invoke status of the API in API Monitor.
Note
The number and state using Test are not counted.
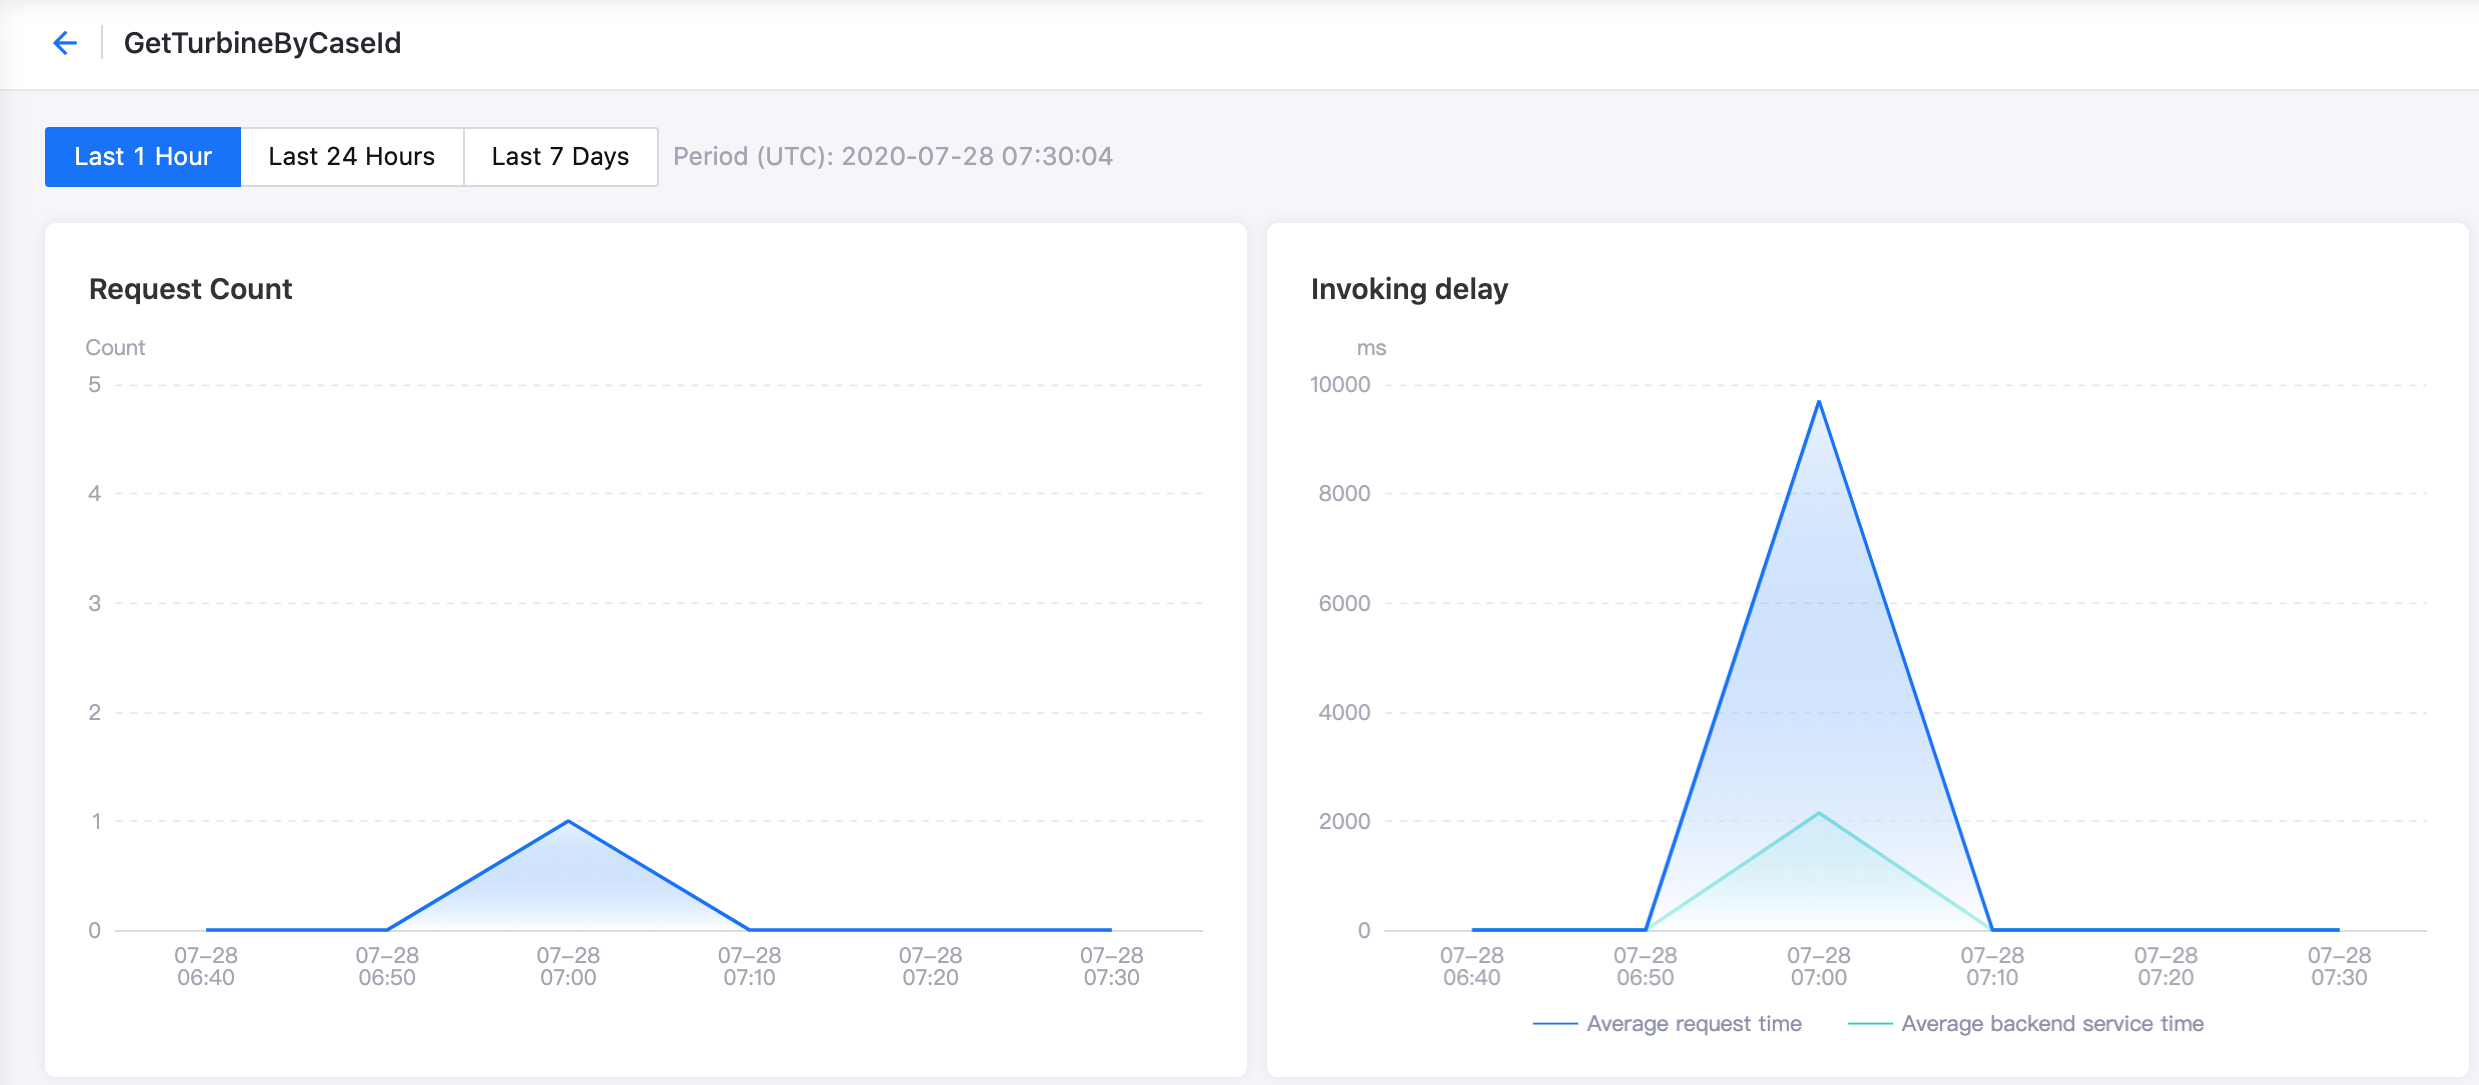
Click the Statistics button of the API to view the request number and the invoking delay for the past hour, the past 24 hours, and the past 7 days.
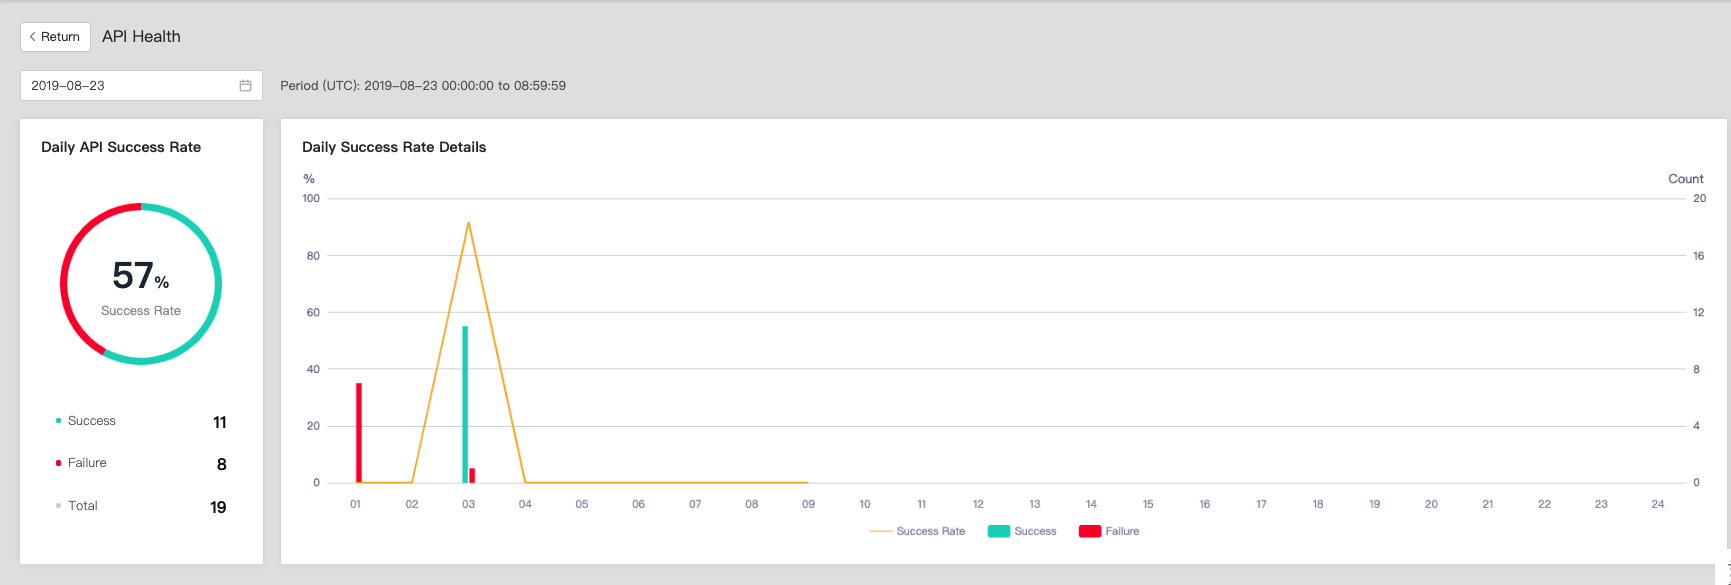
Click the Health button to view the number and success rate of invoking the API for the past 24 hours.
Step 7: Custom Verification
You can create custom verifications and bind APIs to them. This provides another authention option other than the usual authentication methods. When invoking the APIs that are bound, APIM will then execute the customized verification.
Select API Management > Custom Verification, click the Create Custom Verification button, fill in the fields as per the following, and click Save.
Name: wind-turbine
Custom Variable:
Name: url
Value: http://apim-api-test.beta-k8s-cn4.eniot.io/test/get/1/
Script:
-- Urls can be assigned by custom variables
-- Apim_http_util built-in variable, HTTP request tool
-- CJSON built-in variables, JSON parsing tools
-- Returns two values
-- The first return value is true/false, true = authentication successful
-- The second return value returns information about the response
-- -----------------------------------
function processLogic(api_queries, api_headers)
    local method = 'GET'
    local header = {}
    local body = {}
    url = url .. api_headers['caseid']
    local res = apim_http_util.do_http(url, method, header, body)
    if not (res.status == 200) then
        return false, res:read_body()
    end

    local resp_body = res:read_body()
    local response = cjson.decode(resp_body)

    -- Process logic
    return response.value == 'test-1-version13000783', resp_body
end
Click the Bind API icon for the created wind-turbine custom verification and search for Wind-turbine-service in the group dropdown under the Select the API to bind section.
Select the GetTurbineByCaseId API and click Save.
You can test the API by following the steps in Step 3: Test the API.
Note
If the API is authorized or published, SA authentication is required for API debugging. Therefore, to successfully invoke the API when debugging, the access key and secret key needs to be provided.